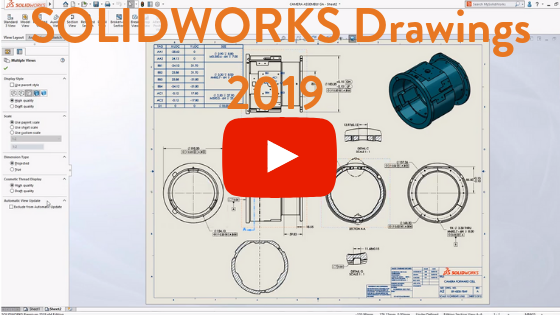
What’s New in SOLIDWORKS Drawings 2019
SOLIDWORKS 2019 delivers powerful new productivity enhancements that make documenting your designs even faster. Users can now create a slice section through the model at any location using the new Removed Section view command. Simply select two opposed model edges and a view is created perpendicular to the section line eliminating the need to create any additional construction geometry. Keep reading to learn more about what’s new in SOLIDWORKS Drawings 2019.
When manufacturing high precision parts, detailed tolerances are critical to ensuring that a high degree of accuracy is achieved. ISO tolerance modifying symbols and other text can now be added directly to dimensions and tolerances. Simply select a dimension and then use the new options available on the property manager to choose the desired modifier symbol for general or upper and lower limits. The resulting dimension contains all the necessary information required for high precision manufacturing.
Hole tables are a great way of displaying hole location and size information without having to use dimensions that would potentially make a drawing view cluttered and difficult to interpret. SOLIDWORKS 2019 introduces new options that deliver even greater flexibility over the way holes are tagged. Reduced tool path calculates the shortest distance to connect all holes providing the most efficient order for a manufacturing perspective and radial tags holes in a radial pattern from the origin. In addition to tag order, tag type can now be manually defined giving you total control over how holes are labeled.
At any time, a tag for an individual hole or group can be changed with a simple right mouse button click over the cell followed by assigning a prefix. These new options give you complete control over every aspect of a hole tables format and style.
SOLIDWORKS’ integrated design environment ensures that any changes to a model can be automatically propagated to its associated drawing. Now in SOLIDWORKS 2019, you can control the update of individual drawing views by simply picking one or more, then selecting the new Exclude from Automatic Update option in the property manager.
In my example, with the plan view, section and it’s related detail views on the drawing sheet now excluded will open the camera body part and will increase the thickness of the rear flange to 13mm. When switching back to the drawing, excluded views are highlighted with an orange hashed border and rebuild flags on the Feature Manager. When you’re ready to update, select one or more excluded views followed by the new update view option from the shortcut toolbar.
With SOLIDWORKS 2019, it is now easier than ever to manage updates to large or complex drawings. SOLIDWORKS creates highly configurable bills of materials directly from your assembly designs. In addition to the information displayed in the table, for added transparency, each component can be easily identified by displaying a graphical preview.
Now in SOLIDWORKS 2019, when saving a bill of materials to Microsoft Excel, these component previews can be included in the Excel spreadsheet. The graphical previews provide even greater clarity, reducing the risk of identifying the parts incorrectly.
These are some of the powerful new productivity enhancements in SOLIDWORKS Drawings to help you get your designs documented faster.

Related Articles
New Assembly Structure Features in SOLIDWORKS Treehouse 2019
SOLIDWORKS Inspection 2019: Flexible First Article Inspection Reports
SOLIDWORKS 2019 Touch and Gesture Sketching
About the Author
 Angelle Erickson writes about how companies are using innovative technologies, such as 3D printers and SOLIDWORKS software to increase productivity, improve product development processes, and maximize business potential.

 Blog
Blog