Watermark Work Around
To trick SW into printing drawings with a watermark you need to use the following work around steps
- Open a new or existing drawing file
- Right click on the drawing sheet and select –Edit Sheet Format–
- Now that you can edit the sheet format you want to insert a MS Word Document. Do this by going to –Insert — Object –
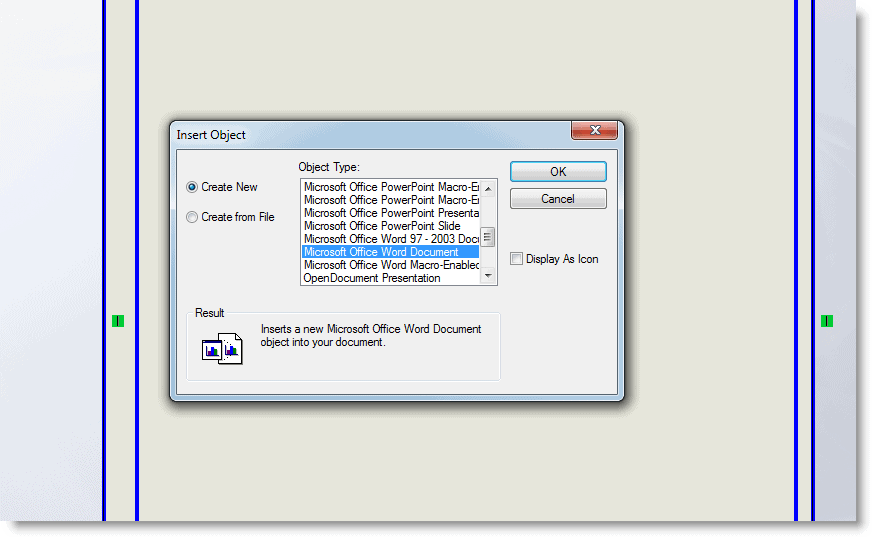
- In the Insert Object panel check -Create New- and select -Microsoft Office Word Document- as the Object Type. Click –Ok– This will insert a MS Word Document into your SW drawing sheet format.

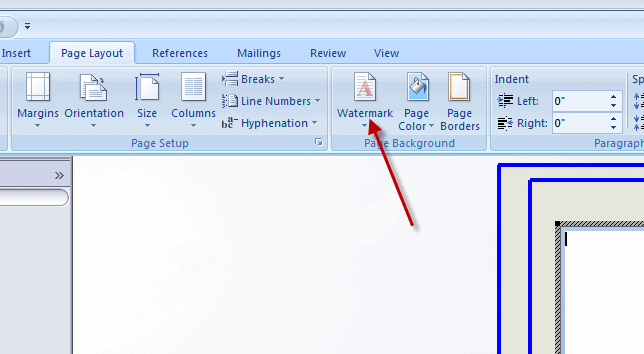
5. Now size the MS Word Doc to your specifications and go to the -Page Layout- tab and select -Watermark – Custom Watermark-

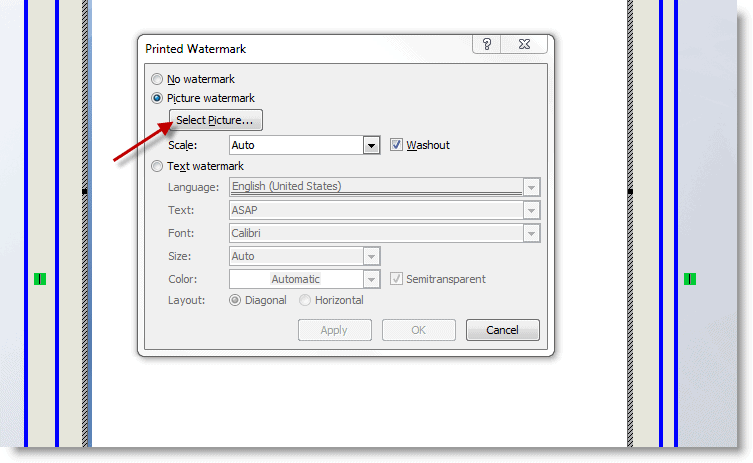
6. In the Custom Watermark Panel Select -Picture Watermark- and select the picture you would like to utilize. Click –ok-

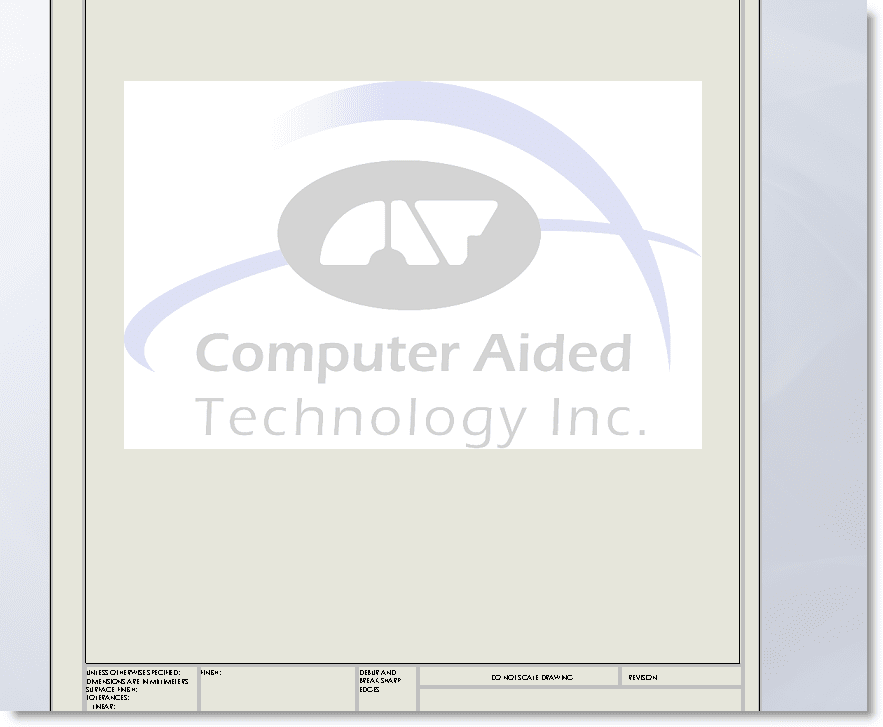
7. Tada!! This will insert the watermark into the MS Word Document that is now part of your sheet format.

8. Finally click outside the MS Word Document to exit it and then right click and select –Edit Sheet- to exit the Edit Sheet Format mode and return to your drawing.
Note: The watermark will appear to be in front of any drawings inserted into the drawing sheet. However when the drawing is printed the watermark will appear as a watermark in the background.
Nick Jansen
CATI Technical Support

 Blog
Blog