Using the SOLIDWORKS Spin Box, Tips, Tricks and How-To’s
If you’re unaware of the SOLIDWORKS Spin Box, it’s the Thumbwheel or Slider at the bottom of the Modify Dimension Dialog box that comes up when you double-click to edit a dimension.
The Spin Box acts as a “fine-tuning” for adjusting your dimension value by certain increments.
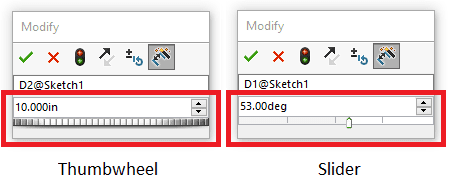
Tech Tip: You’ll see the Thumbwheel when editing non-bounded dimensions such as linear dimensions and the Slider when editing bounded dimensions such as angles (between 0 and 360 degrees).
The Thumbwheel and Slider both work by using your mouse to drag the adjustment left and right.
However, one of the best ways to change the dimension on the fly is to just place your cursor inside the dimension field and use the Middle Mouse Wheel to scroll by your pre-defined increments.
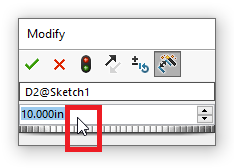
You can also use the Up/Down buttons found to the right of the Dimension Field or even your Up and Down Arrow Keys on your keyboard to adjust your dimension value.
Tech Tip: When using any of these methods to change the dimension value, you can hold down the Ctrl key to multiply your increments by 10, or the Alt key which divides your increments by 10. For example, if you have your increment value set to .1 inch, holding down Ctrl will change the increments to 1 inch and holding down Alt will change it to .01 inch increments.
To set your default Spin Box Increment values, go to Tools > Options > System Options > Spin Box Increments.
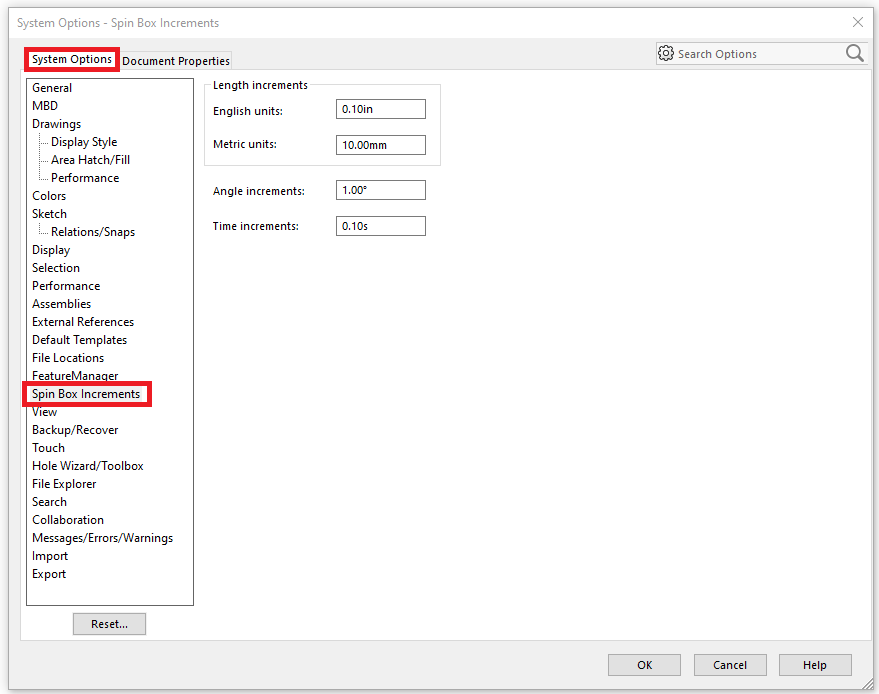
Note that this is a system wide setting, so it will carry over from session to session.
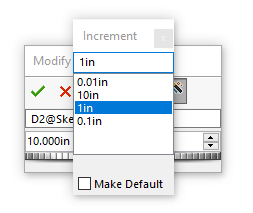
There is also one more way to change the increment values on the fly, and that is done through the Reset Spin Increment Value button on the Modify Dimension Dialog Box.
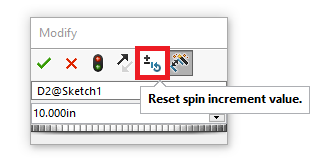
This will provide a custom list of increment values for you to choose from and change at any time. At the very least, you will see your default spin box value listed, however you can type in any custom increment value and even set it as your default value from here.
Jordan Puentes
Application Engineer
Computer Aided Technology, LLC

 Blog
Blog