Toon Shading in Visualize 2021 Professional
SOLIDWORKS added a new Camera filter in Visualize 2021 Professional, and today I will be diving deep into this new set of options to help you get the most out of SOLIDWORKS Visualize. If you are using SOLIDWORKS Visualize included with Subscription, and part of your SOLIDWORKS Pro or Premium License, you will notice that this filters tab is missing from your install. This tab is part of an advanced feature set that is only included with Visualize Professional.
Filters can help with many post-processing effects. Effects that would normally be done after rendering in a 3rd party application, can be added to the preview and final render to eliminate the need to edit later.
With filters in Visualize Pro, you can add vignette (reduction of brightness toward the periphery edges), darken, or lighten (shadows and highlights), increase the color saturation, exposure time, gamma correction, and brightness to all rendering outputs from stills and animations, to panoramic and interactive images. You can even add bloom to an image or animation; an effect that simulates the illusion of an extremely bright light source that, in the real world, overwhelms the eyes or camera by producing a fringe of light around the borders of bright areas in the scene. And lastly, toon, an option that produces a unique shading and line style that allows you to adjust the color of sharp/silhouette edges, and the color/shading of faces and surfaces.
Let’s look at the toon settings in more detail and render a few examples.
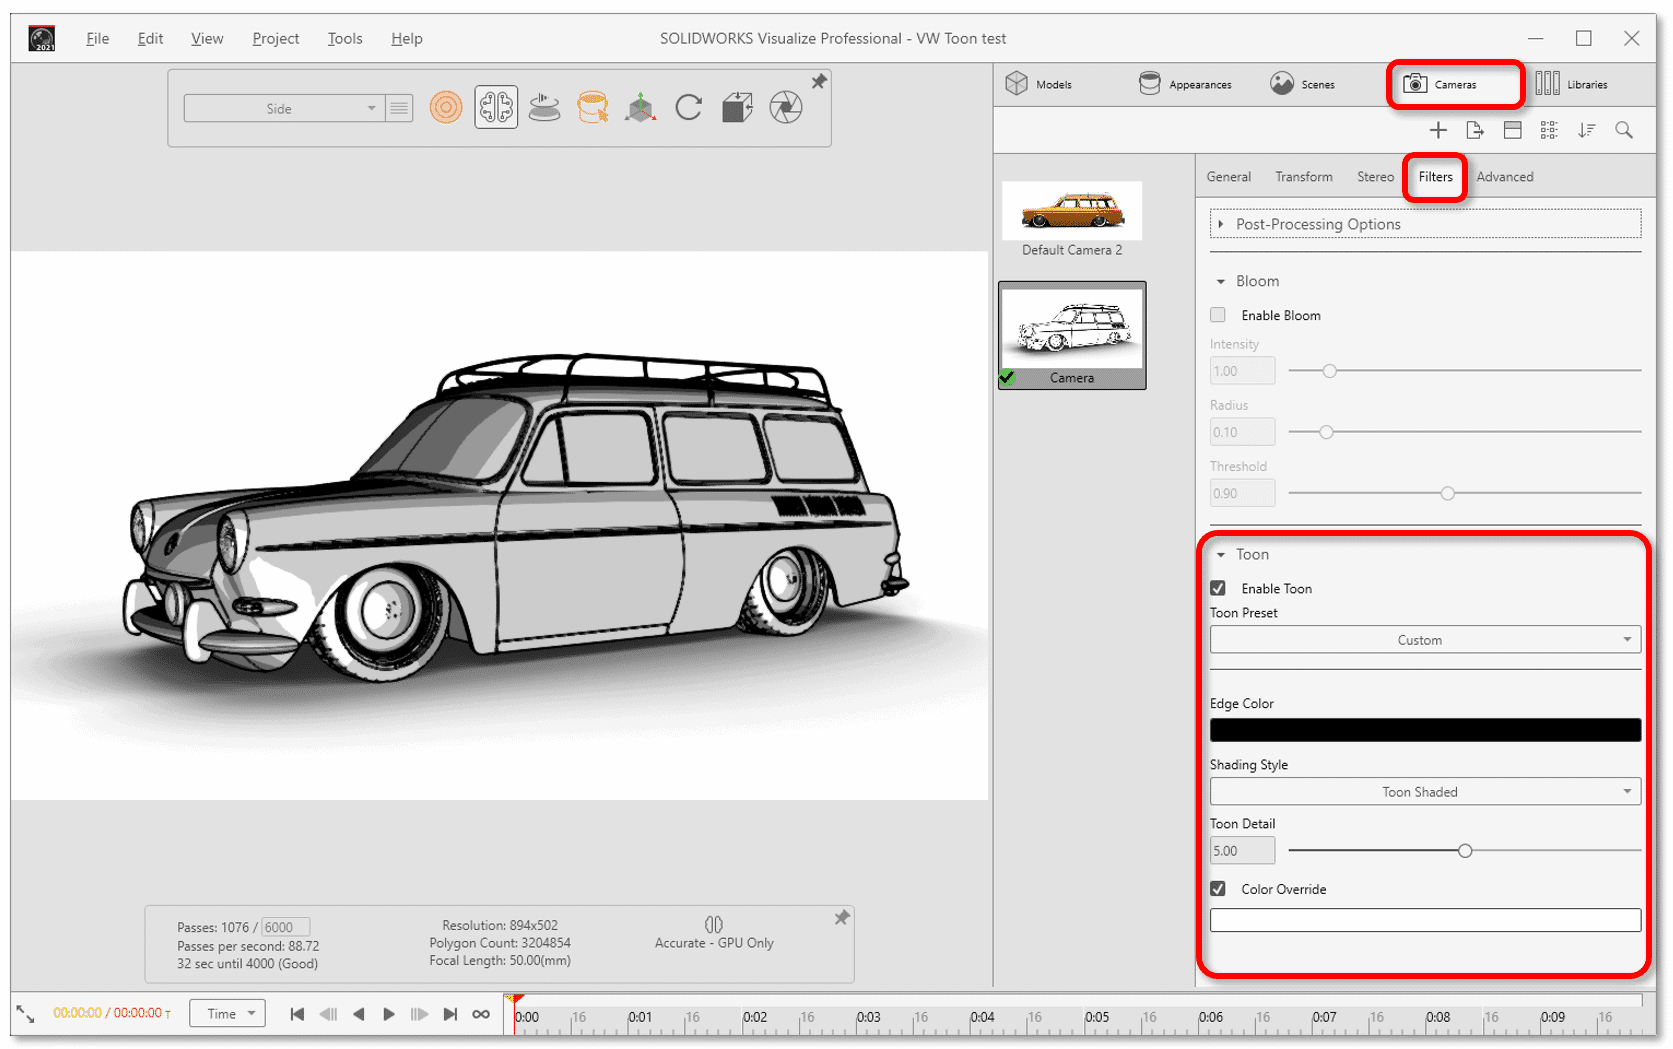
Presets
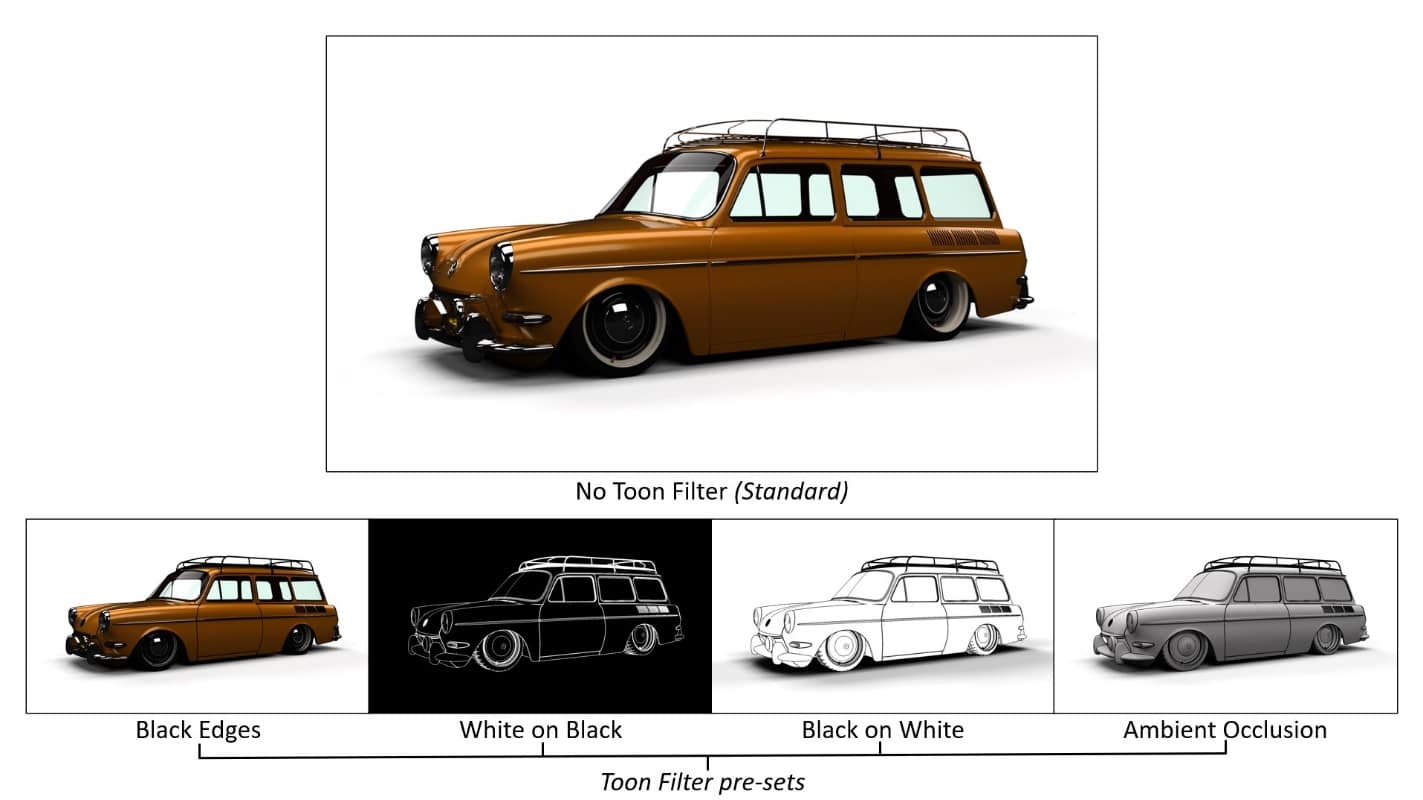
There are 4 presets to start from, each preset can be further customized by adjusting the edge color, or by changing the shading style. The toon filter can range from a simple edge highlight, to toon style, to plain shading.
Toon Shading
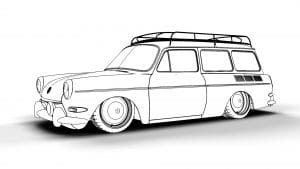
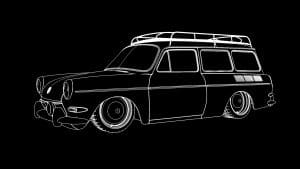
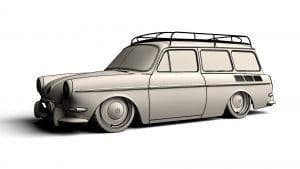
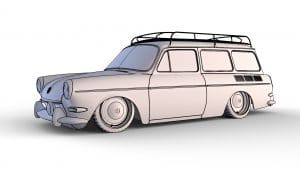
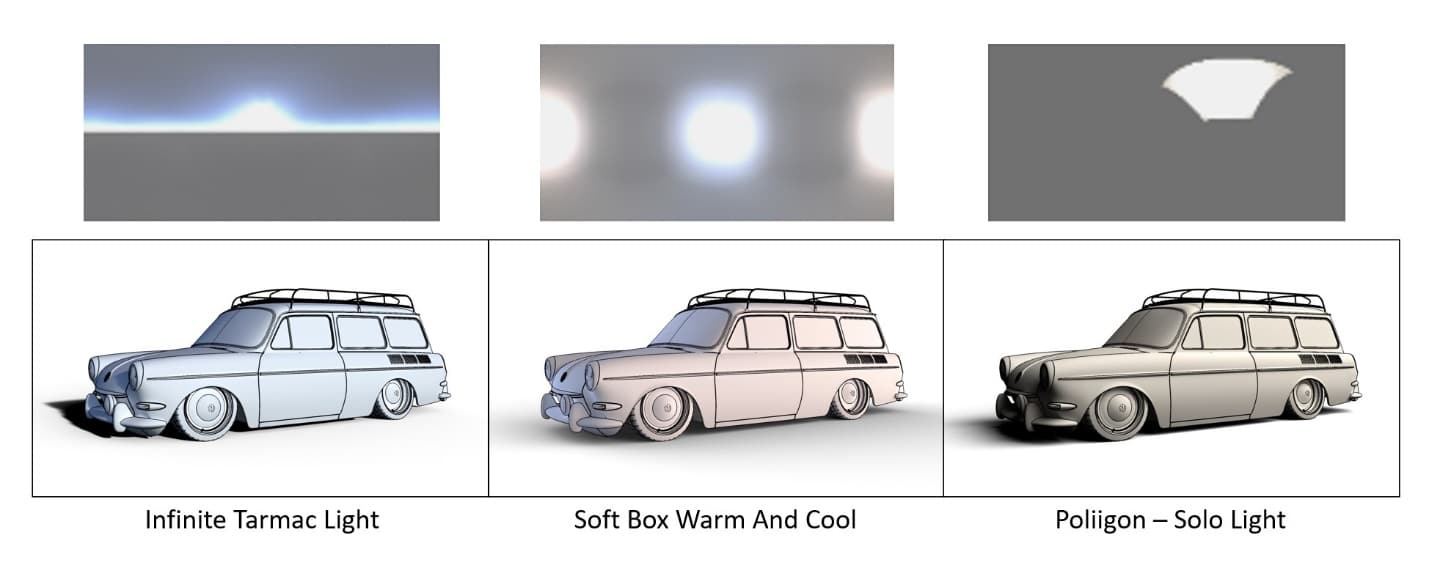
Black on White and White on Black presets use the ‘Toon Shaded’ Shading Style along with color override. Increasing the ‘Toon Detail’, varying shades of grey can be added to provide a unique shading effect. light provided by the environment does not have any effect on the shading when using the ‘Toon Shaded’ style.
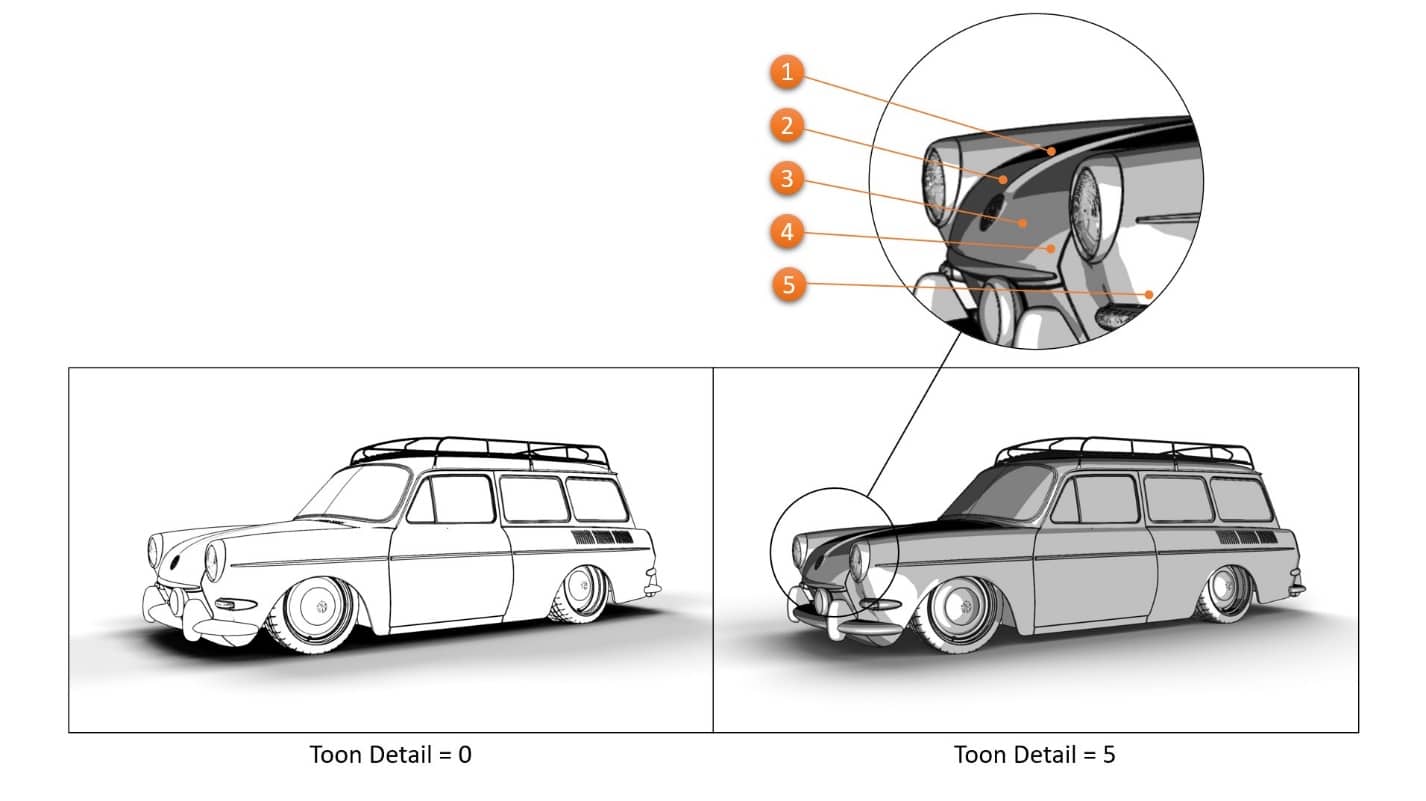
Color override
This setting allows you to use either the base color of the appearances, or a selected color for shading.
Note that texture bump map will affect the shading as shown in paint in the examples below.

Plain Shading
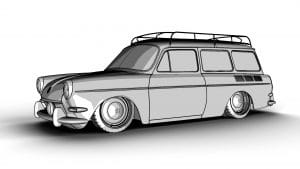
The ‘Ambient Occlusion’ preset uses the ‘Plain Shaded’ Shading Style. This shading is like a matte finish appearance and is affected by Environment lighting and other lights in the scene without any reflection. The bump map channel will also affect how smooth the surface appears. With the Plain Shading Style, renders are limited to a single input color, and do not use the original assigned colors from the appearances. This type of render is often referred to as a ‘clay pass’ as only the lighting characteristics are captured in the render.
The Toon filter can also be used with animations for a technical illustration look.
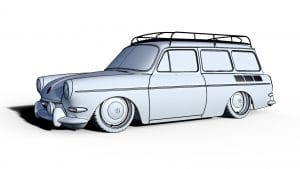
So, there you have it, the Toon Filter is an easy and fun way to bring some artistic creativity into your CAD models. Original images are below.
Alex Worsfold
Sr. Application Engineer, Visualize Specialist
Computer Aided Technology, Inc.

 Blog
Blog 


