Stratasys Digital Anatomy 3D Printer: Tissue Matrix Deep Dive
Late last year, we announced the addition of the Digital Anatomy Printer series to our line of Polyjet machine offerings from Stratasys. We have a few great blog posts that tackle this announcement and machine capabilities, specifications, and ideal applications from a high level. Here, I’d like to take the time to focus a bit more on a topic that comes up quite a bit in the field. That is, the concept of the printed micro-structures, or morphologies, that are a big key to the success of the DAP system in mechanical simulation of real organic samples.
For those of you not as familiar with the Polyjet printing process, a quick summary is the machine uses very fine droplet print heads (similar to an inkjet printer), to very precisely spray a layer of liquid photo-polymer which is then cured solid via a UV light source. The process then repeats itself over and over to build up the layers of the part. In addition to being high resolution, this printing process allows us a very unique ability to do material mixing on the fly. Consider a Polyjet machine loaded with both black and white material. During the printing process it can mix the two materials (or more, depending on machine model) to create different shades of gray. This is done within the actual print layer on the part itself, not premixed in the printer.
The Digital Anatomy printers take this concept to the next level. Now instead of being limited to homogeneous grays or parts with a single degree of flexibility, we can control prints at the voxel level. This means the introduction of the micro-structures mentioned above. Let’s take a look at a specific example.
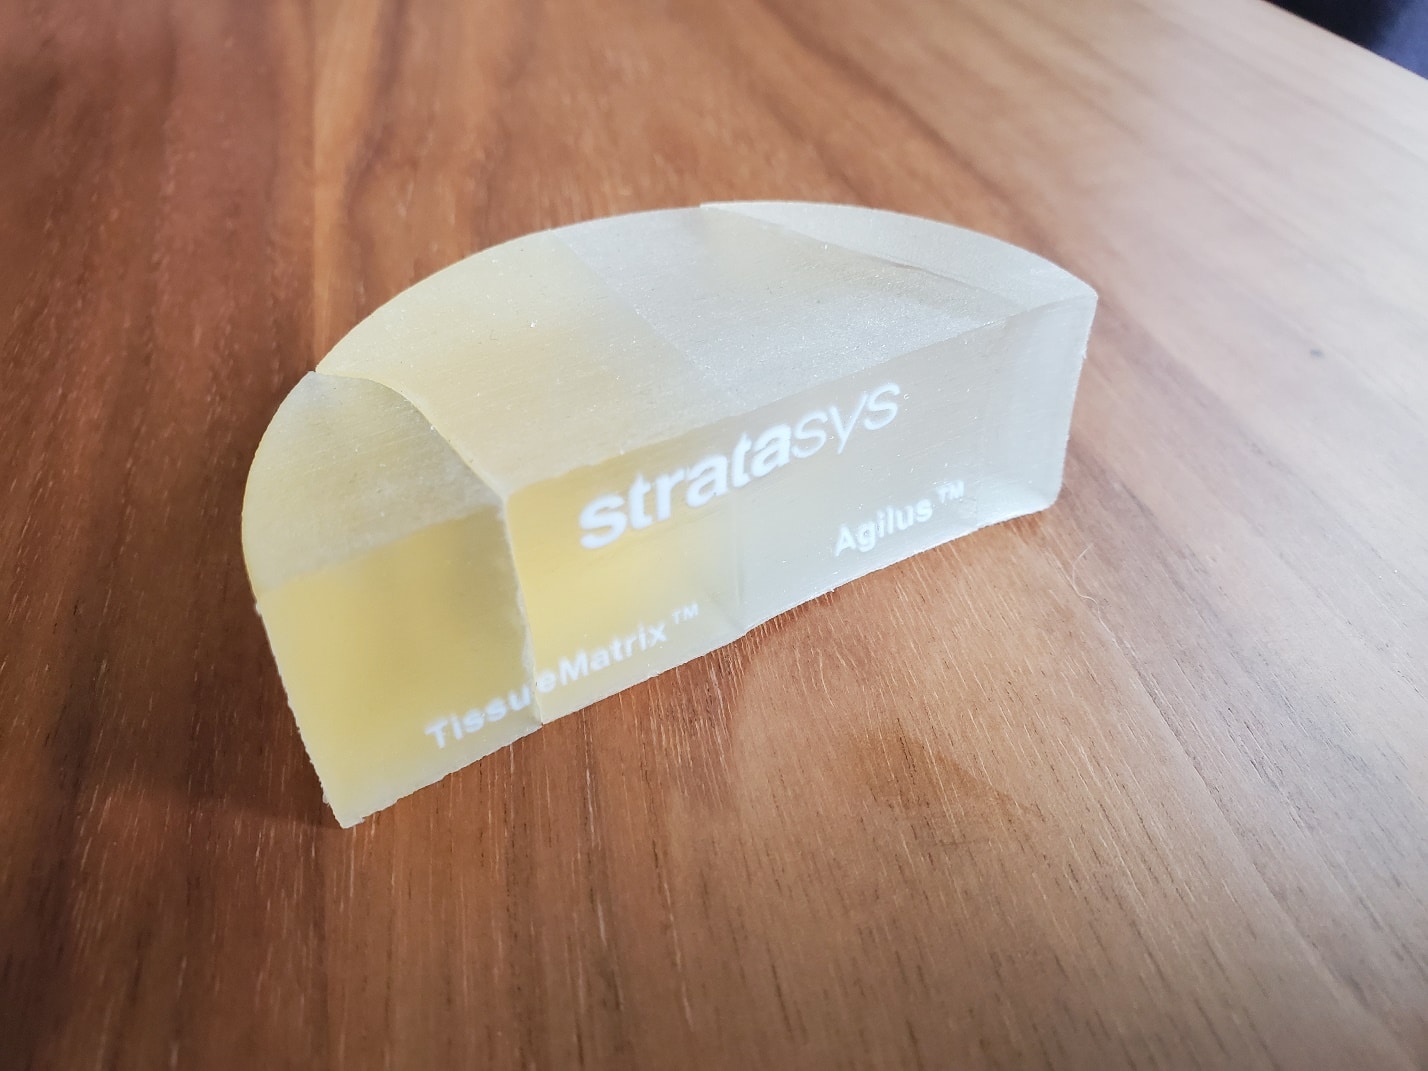
Here is a printed sample comparing the new Tissue Matrix material to our previous softest material, Agilus. The lines you see are cuts I’ve made so we can better see the cross sections of both materials.
Here is a quick comparison for those of you familiar with Agilus to show how much softer Tissue Matrix is.
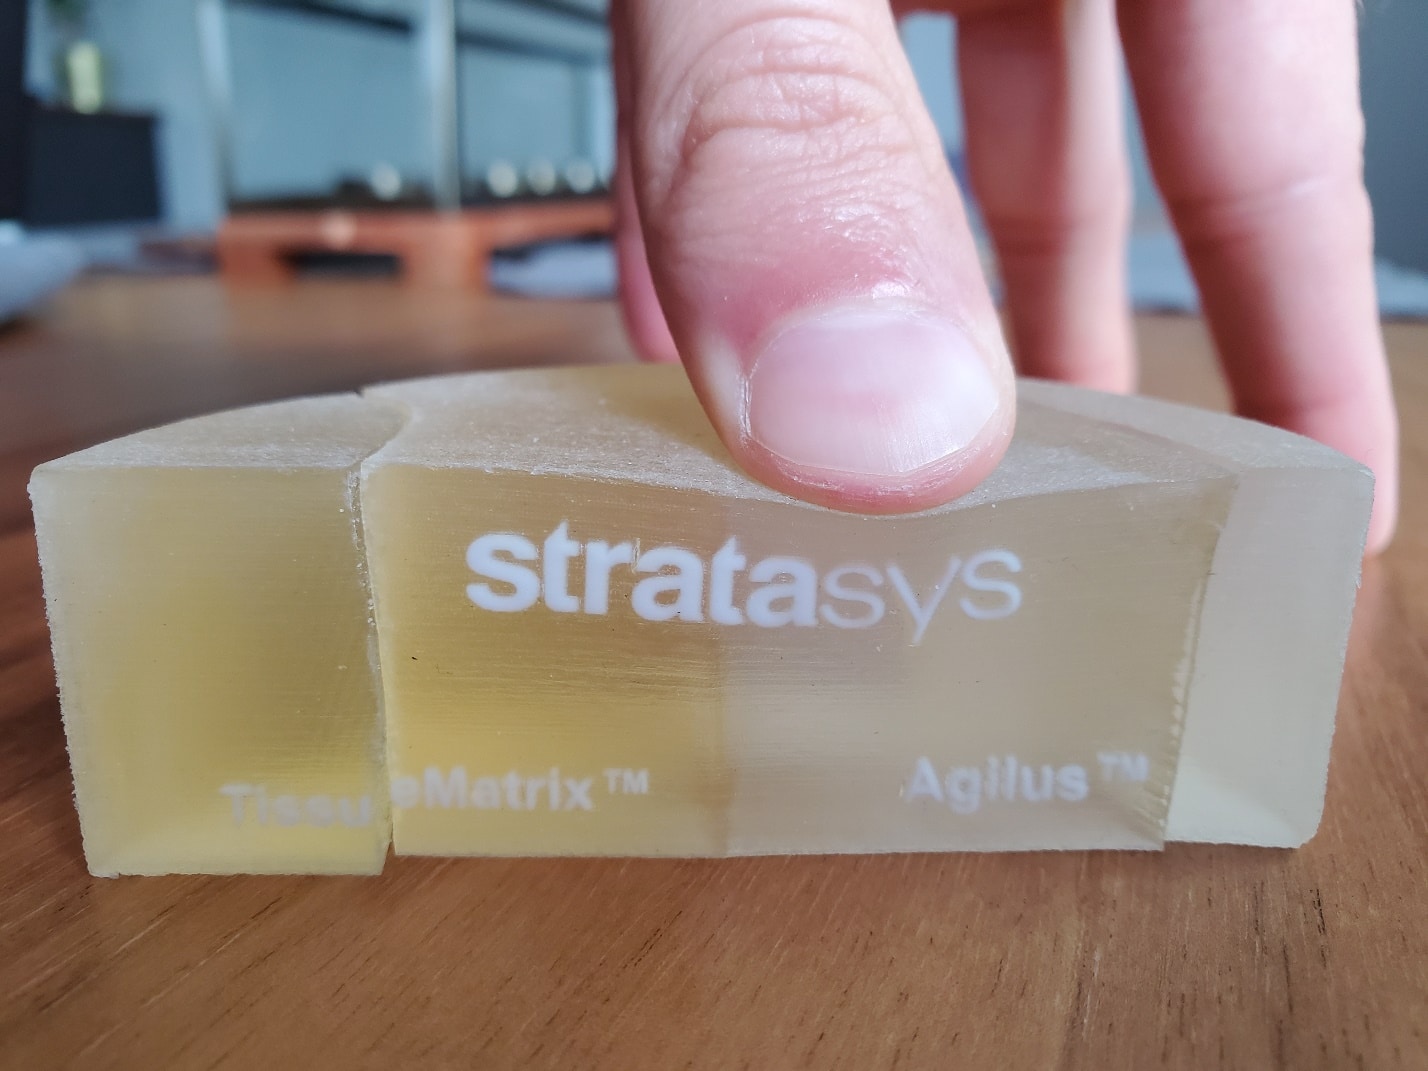
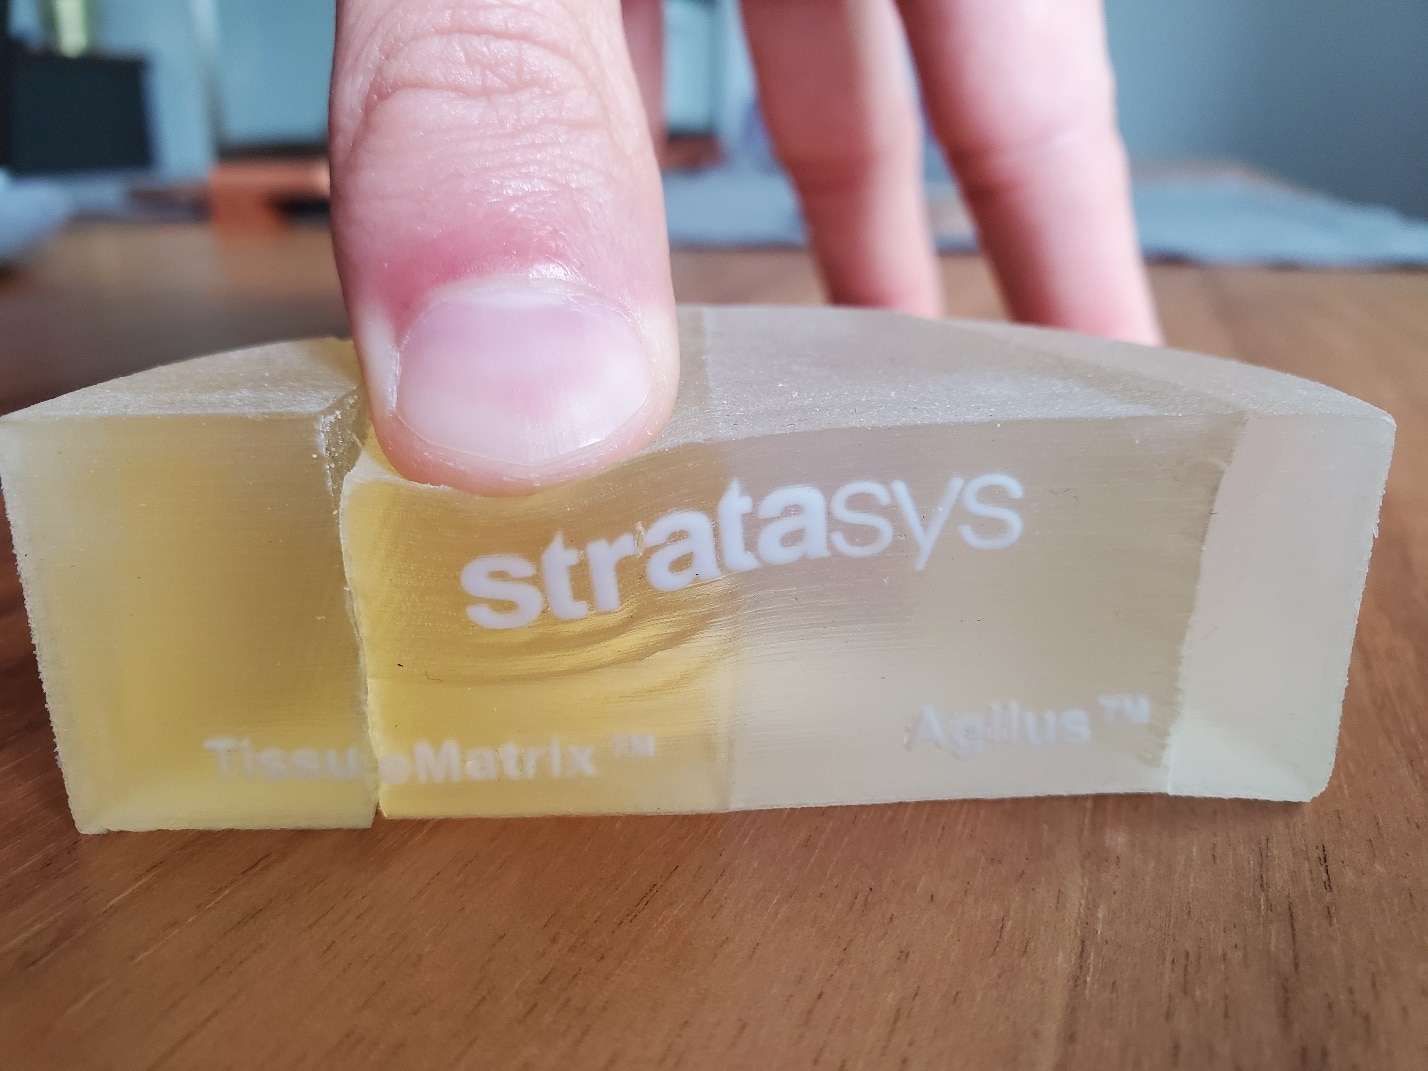
Let’s take a look at what’s going on inside this part. We can see the Agilus is a very uniform cross sections (ignoring my cut marks). It is a solid wedge of Agilus through and through. This is how parts were made previously. Although mixing could occur, it was always a homogeneous mixture throughout the part. 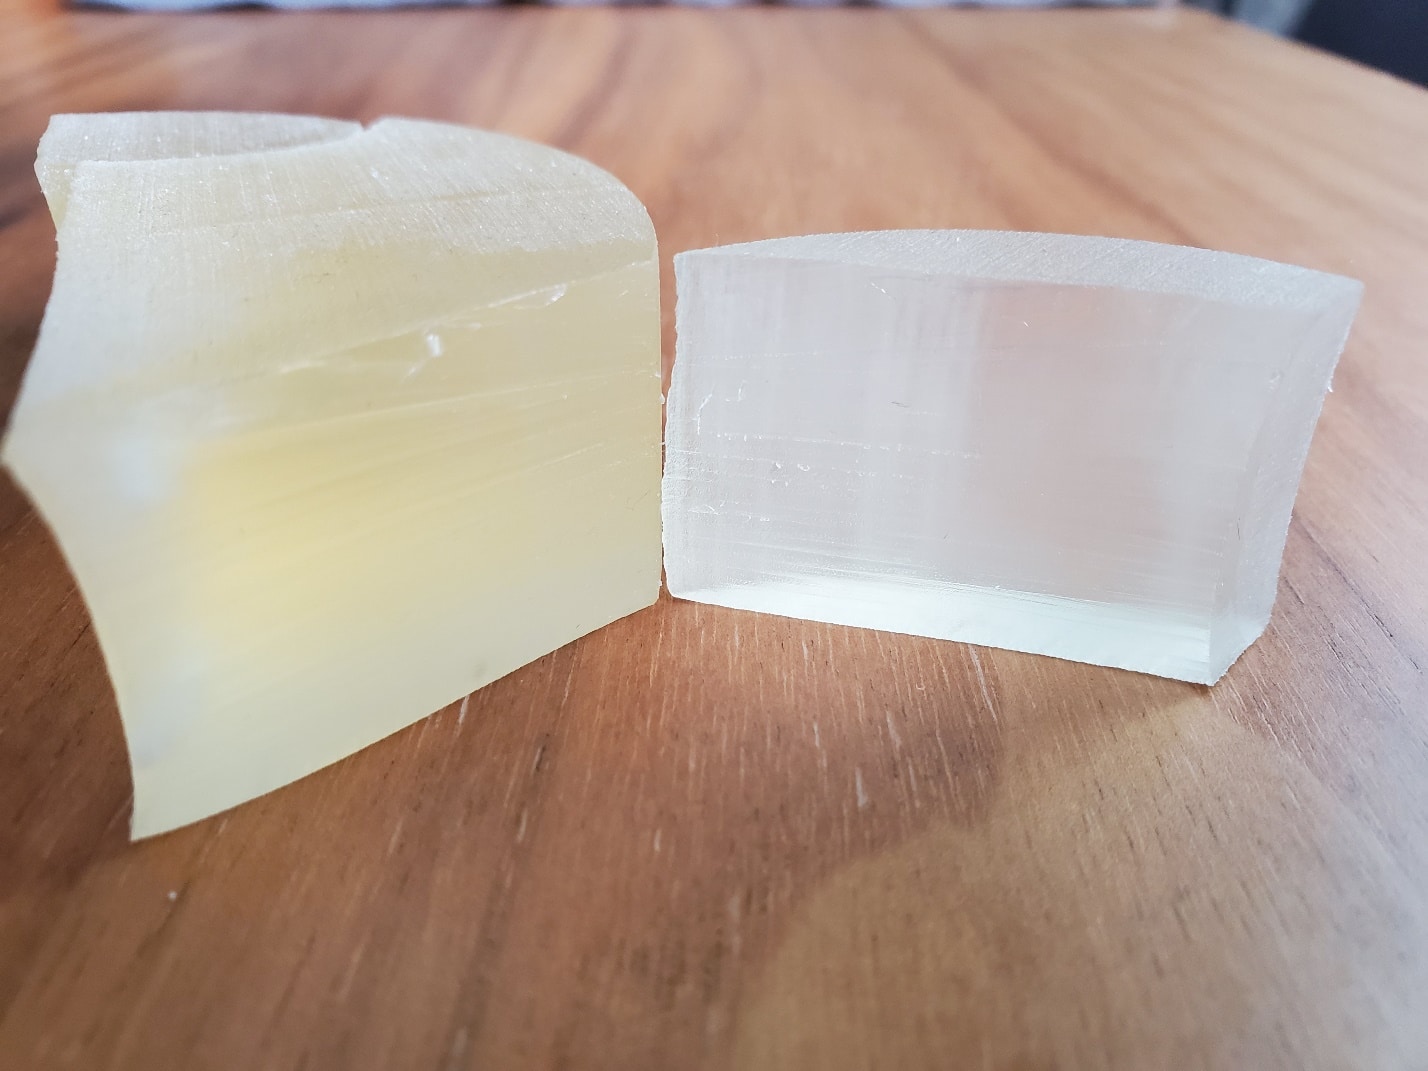
Now looking at the tissue matrix, we can see an almost honeycomb/grid pattern within.
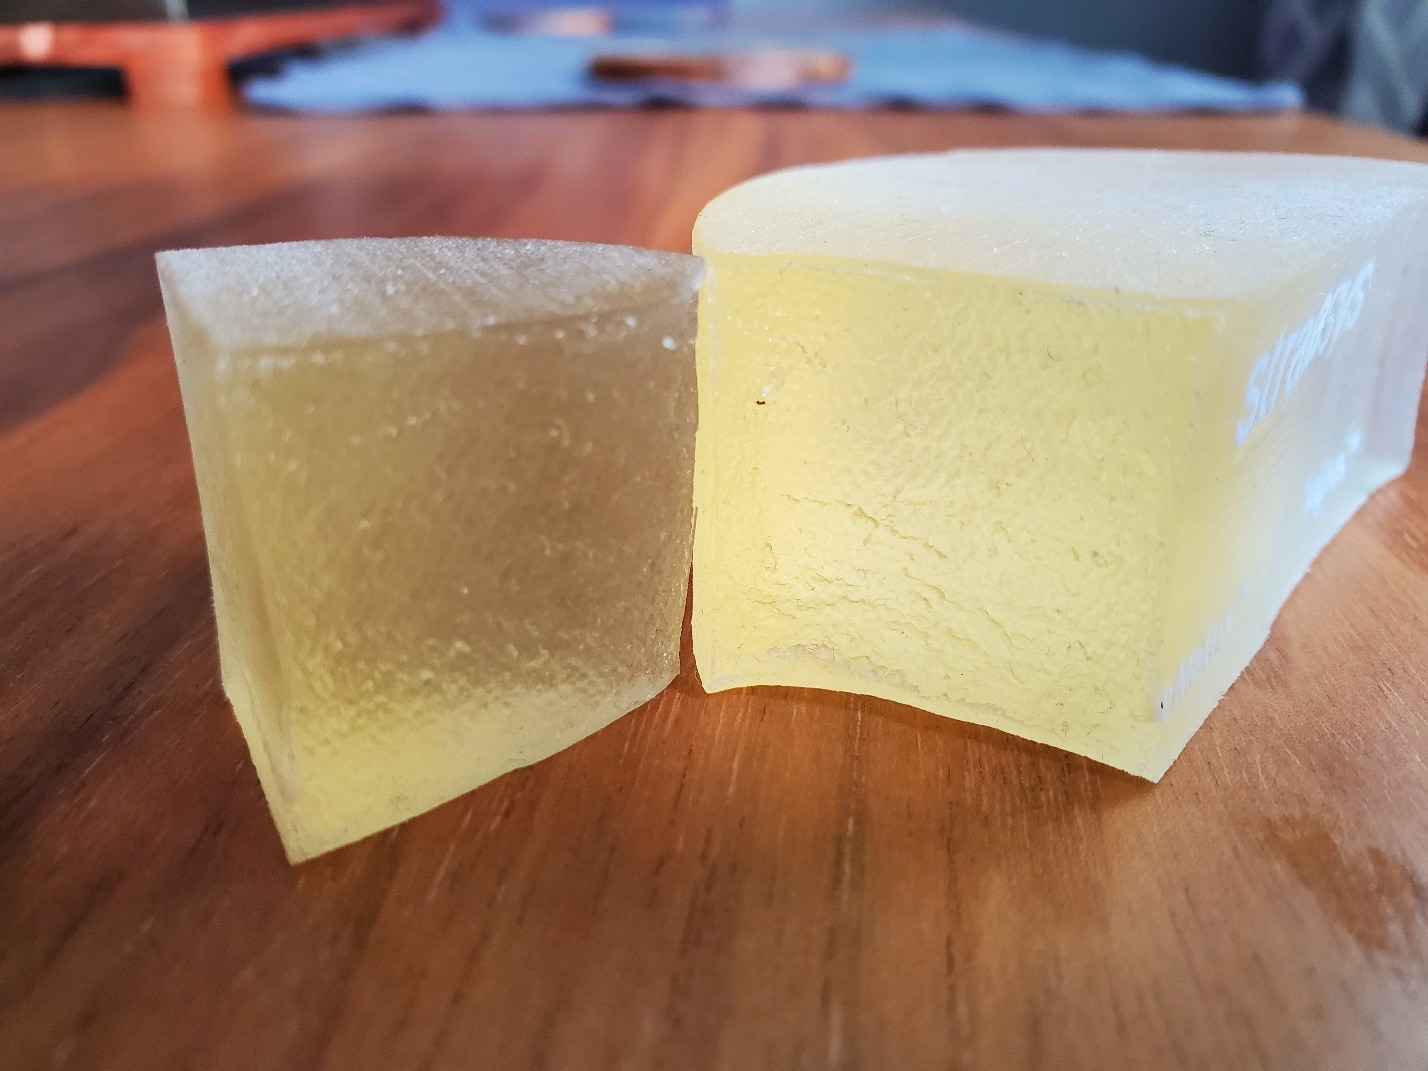
This internal micro-structure pattern is critical to the behavior of tissue matrix. When Stratasys first started developing the DAP system they had two challenges. Not only did they need a much softer material than Agilus to better match the consistency of human tissue, but just printing a solid, soft structure wasn’t enough for medical professionals. That’s because human tissue isn’t a solid homogeneous structure. It has many of these fibers running through it, giving it strength and also a “grain” of sorts. This fiber structure was the final piece of the puzzle for the material to satisfy medical professionals that the material behaved and felt like human tissue. Without the fibers, the material cut too easily, had no grain, and didn’t mechanically behave quite how the surgeons were used to.
In this material, the fibers themselves are actually Agilus suspended in tissue matrix material. There is also a thin Agilus shell around the entire part to give strength, as Tissue Matrix by itself is too fragile to stand up to handling. The graphic below has a few different examples of some other micro-structures present in human biology. Again, these are created by two different materials printed simultaneously, but they are far from homogeneous mixtures of material.

Feel free to reach out to us if you’re interested in 3D Printing simulated human tissue and bone(also printable on the Stratasys DAP system).
Cullen Williams
Application Engineer, Manufacturing Solutions
Computer Aided Technology, Inc.

 Blog
Blog