SOLIDWORKS Frequently Asked Questions: Top 10 Tips and Tricks of 2017
 “How do I do..?”, “What’s the difference between..?”, “Where do I find..?” These are all common phrases SOLIDWORKS and 3D Printing users start with when seeking answers to their questions. Often times, there is a question that is asked time and time again. In 2017, here at Fisher Unitech, we answered lots of questions and closed over 22,000 customer support cases. Some of the most popular questions we published on our blog. Here are the top ten SOLIDWORKS tech tips our readers searched for in 2017. Did you?

#1. Best Practices when Installing SOLIDWORKS 2017
When the time comes to install or update your SOLIDWORKS software to a newer version, the process can be a bit overwhelming. This SOLIDWORKS tech tip guides you through the process step-by-step to ensure a clean and successful installation.
#2. Two Great Tools Every SOLIDWORKS User Should Know (But Many Don’t)
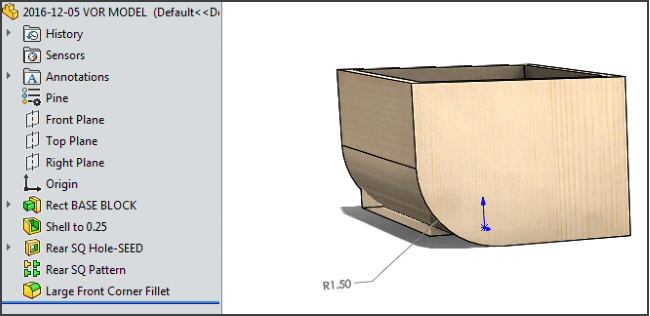
CTRL+Q and V.O.R. are two great tools that all SOLIDWORKS users should know about. They are similar in that both options allow users to perform a more elaborate rebuild of their SOLIDWORKS models, but that rebuild takes a bit longer. This SOLIDWORKS tech tip demonstrates why you should be using these tools.
#3. The Difference Between a Sheet Format and a Drawing Template in SOLIDWORKS
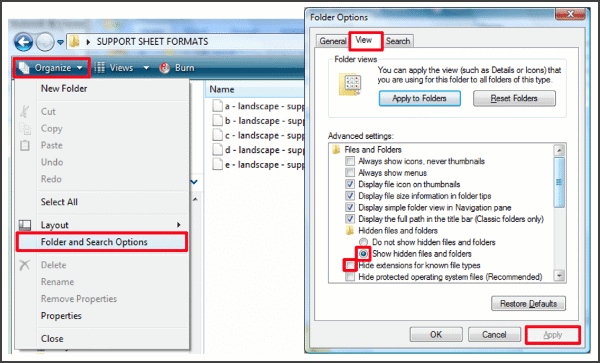
Understanding the terms “Sheet Format” and “Drawing Template” in SOLIDWORKS terminology is central to your success. Although they might look the same on the screen, they have distinctly different jobs within the SOLIDWORKS file infrastructure. This SOLIDWORKS tech tip discusses a few handy strategies that will streamline your process.
#4. How to Use the ‘Pack and Go’ File Management Feature in SOLIDWORKS
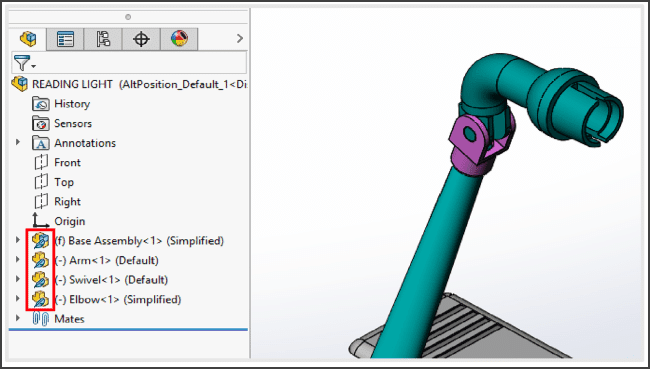
SOLIDWORKS Pack and Go has been around since 2007, but many users don’t know how useful it really is. This SOLIDWORKS tech tip covers two scenarios including the duplication of a data set for sharing or repurposing and organizing a data set by renaming multiple files simultaneously. You’ll want to see this walkthrough on how to start using Pack and Go today.
#5. How to Link Variables in SOLIDWORKS PDM to a Newly Created Drawing
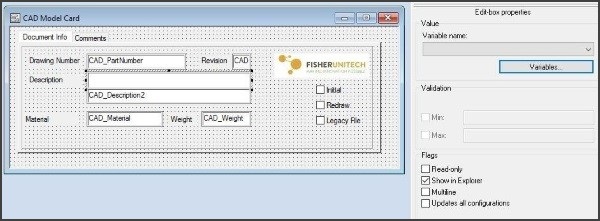
Often times, linking the variables in SOLIDWORKS PDM to newly created drawings can seem like a puzzle with a piece or two missing. Fortunately, this can be mitigated by arming yourself with a useful system. This SOLIDWORKS tech tip takes you through the steps to easily link variables in SOLIDWORKS PDM to newly created files.
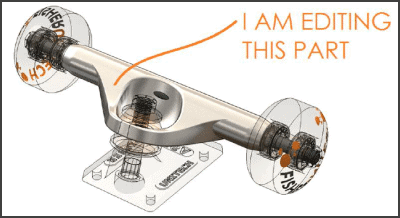
#6. Setting Parts Colored and Opaque when Editing in SOLIDWORKS
When editing a component in the context of an assembly, SOLIDWORKS automatically makes all of the other components transparent. This makes it easy to see through everything else, to get at what you need, but can bring on its own challenges. This SOLIDWORKS tech tip gives step-by-step instructions on how to override this default behavior to get assemblies looking just the way you need.
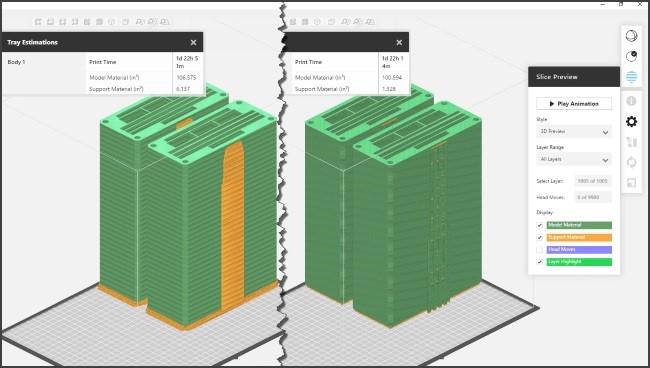
#7. How to use GrabCAD Print: FDM
GrabCAD Print is the new slicing software from Stratasys and offers an intuitive user interface with improved scheduling functionality. This 3D Printing tip demonstrates how to use GrabCAD Print for FDM (Fused Deposition Modeling) in practice, with a real-world example designed in SOLIDWORKS.
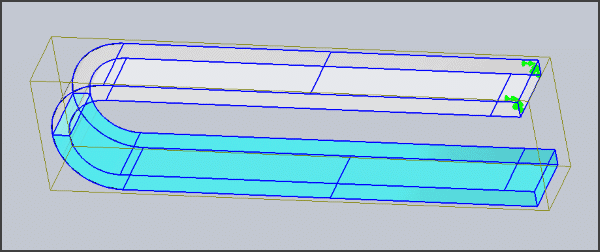
#8. How to Deal with Fixture Warnings in SOLIDWORKS Simulation
If you’ve been using SOLIDWORKS Simulation for a long time you’ve probably come across a fixture warning box. This SOLIDWORKS tech tip shows a handy tool that can remedy the issue quickly allowing you to get back to your project without a hitch.
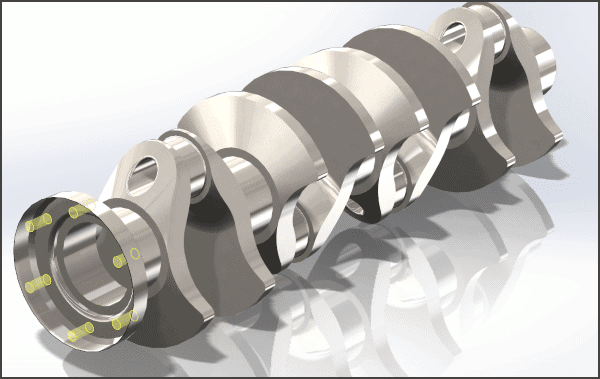
#9. The Power and Value of the SOLIDWORKS Hole Wizard
With the SOLIDWORKS Hole Wizard you can automatically bring in your hole callouts into drawings, have the toolbox match the appropriate fastener size to the hole, and even have SOLIDWORKS automatically populate your holes with the correct fastener. If you do not use the Hole Wizard then you are manually performing all of these actions, which is a lot of extra design work that could be better spent on other tasks. This SOLIDWORKS tech tip helps you work smarter, not harder.
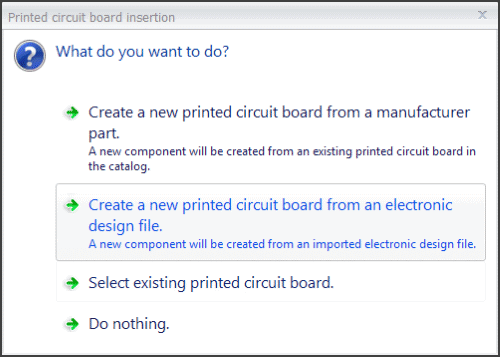
#10. How to Insert a Printed Circuit Board into SOLIDWORKS
How many objects are designed with a Printed Circuit Board? LOTS. Designers today have to consider not only the aesthetics of products, but how to integrate all the electronics that go with it. Trying to document that integration can be challenging without the proper tools. When you select the “Insert Printed Circuit Board” icon in SOLIDWORKS Electrical, you are given four options. This SOLIDWORKS tech tip explains what each of those options mean.
Have more questions? Our exceptional customer support team is here to help or join us for “Straight from Support” where our experts answer the most frequently asked questions in real-time along with any other questions you may have during the Q&A session. Register here.
More SOLIDWORKS Tips and Tricks
Boost Your Productivity with SOLIDWORKS Visualize Boost
Using Automatic Login with SOLIDWORKS PDM
Forgotten SOLIDWORKS Tools and Reasons to Use Them
About the Author
 Angelle Erickson writes about how companies are using innovative technologies, such as 3D printers and SOLIDWORKS software to increase productivity, improve product development processes, and maximize business potential.

 Blog
Blog