SOLIDWORKS – Exploded View into Visualize
So you went through a lot of effort to get your exploded view perfect in SOLIDWORKS, but what could be the next big thing that sets your project apart from others? For starters, you could make a high-quality video of it in Visualize with very little work.
The 1st step is to convert your exploded view into a motion study. So navigate to the motion study Tab on the bottom left of the feature manager.
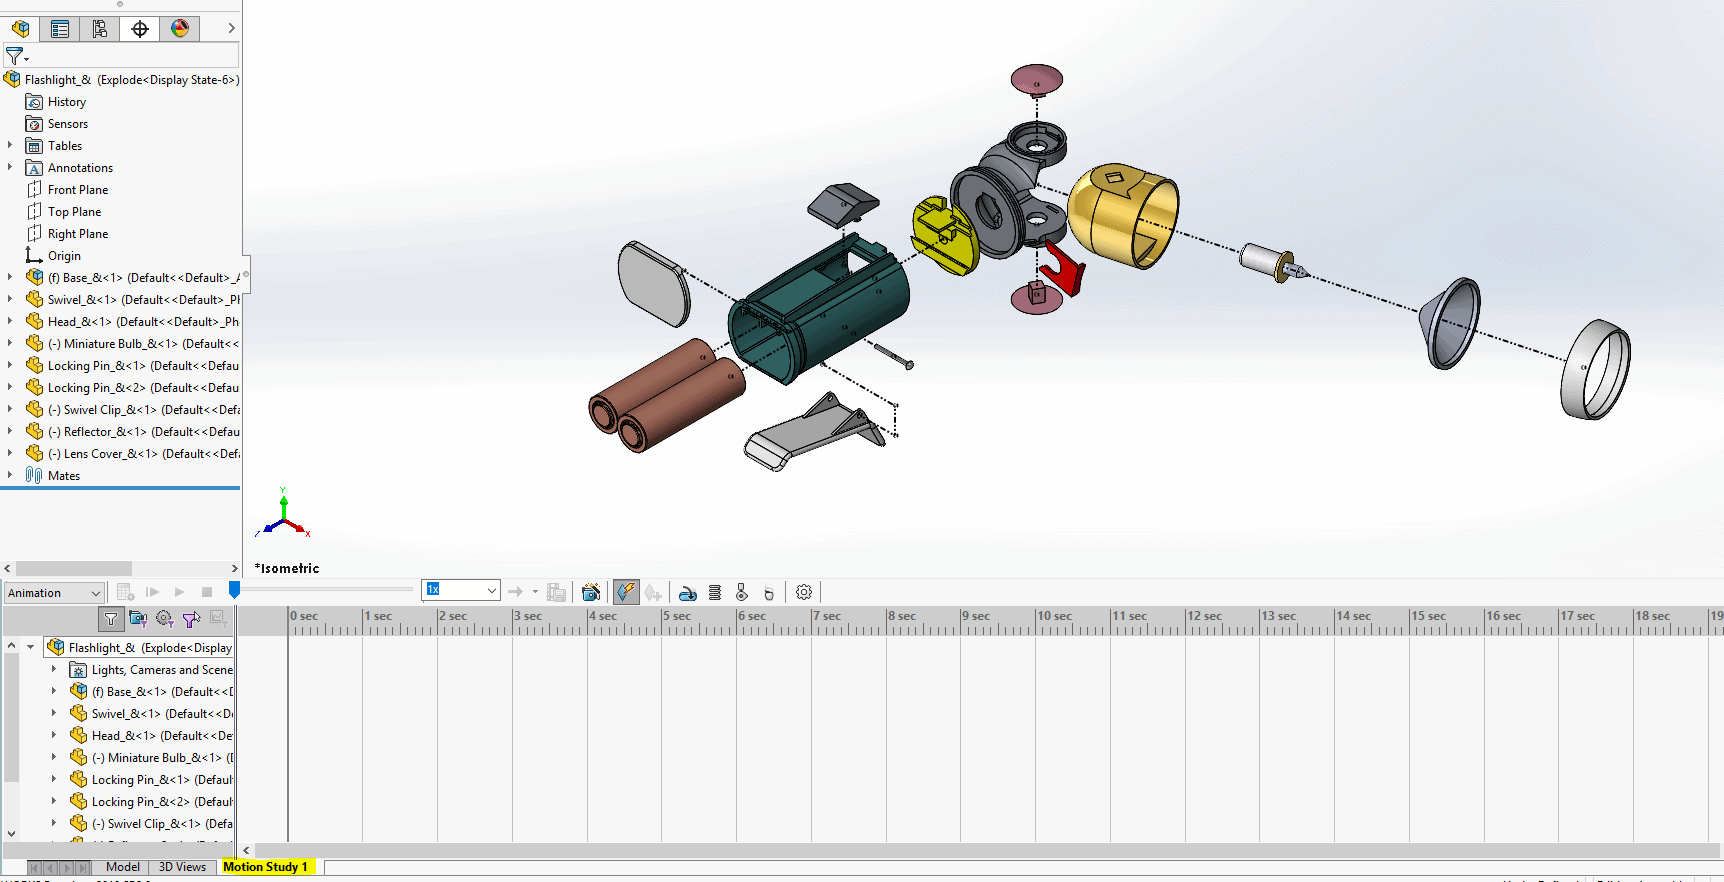
The motion study has a wizard that will convert your exploded steps into a motion study.
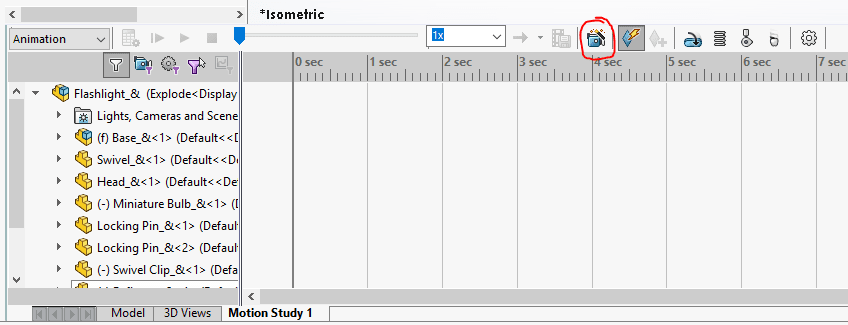
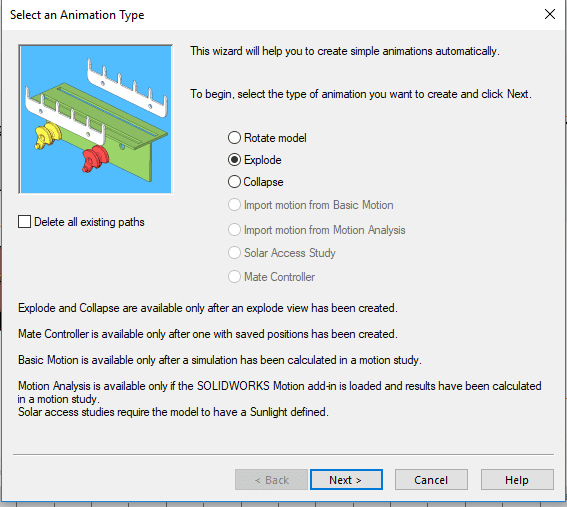
Once you click that, the wizard will prompt you.
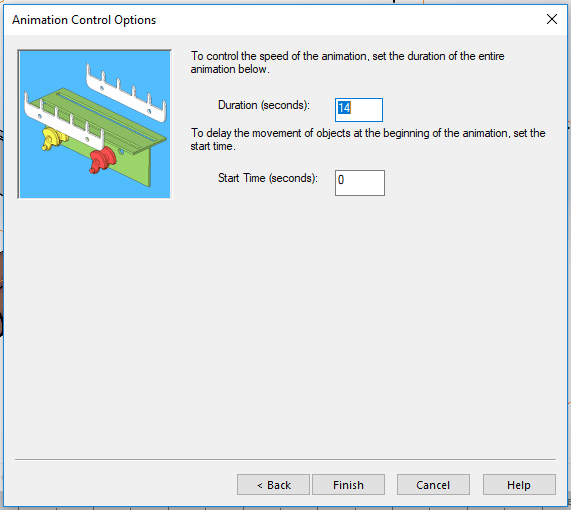
It will ask how long you want to make the video and when to start it. In this case, we are starting it at 0 seconds and running it for 14 seconds.
The wizard does the rest and puts in the keyframes.

The 2nd step is to export.
In order to do this, we will turn on our Visualize add-in under TOOLS> Add-ins.
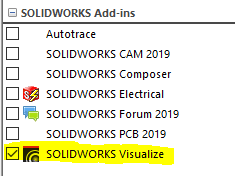
Under the Visualize tab, we get a few options
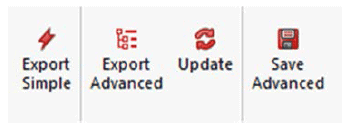
Export Simple
This option provides you with the fastest way to paint and take photos of a model you created in SOLIDWORKS. To achieve faster rendering, it minimizes the number of parts in the Visualize Scene Tree.
Click Export Simple to save a copy of the active model and load it into SOLIDWORKS Visualize using Appearance mode part grouping.
Export Advanced
This option gives you more flexibility if you update your model often.
Click Export Advanced to save a copy of your active model with Automatic mode part grouping and Monitor File enabled.
If you have Visualize Professional and the model includes a motion study, the Select Motion Study dialog box lets you save or not save the motion study, or save only the camera motion.
Update
This option exports the latest version of your active model and triggers an update in Visualize. Click Update and confirm that you want to reimport the model into SOLIDWORKS Visualize and update it.
Save Advanced
This option saves a copy of your active model and motion studies to a specific location, so you can import the model into SOLIDWORKS Visualize. You can use this option to export the model to other users who do not have SOLIDWORKS installed on their computer.
Click Save Advanced and specify a directory in which to save the model. If you have Visualize Professional and the model includes a motion study, the Select Motion Study dialog box lets you save or not save the motion study, or save only the camera motion.
Once decide on one of the options we can export this out, Visualize opens and it includes our motion keyframes.

The 3rd step is to add any kind of Visualize enhancement to our model. Could be modifying the lighting, colors or textures. Those options are limitless and let your imagination go crazy. Once you’re done here, it’s time to render it or send it to the render queue.
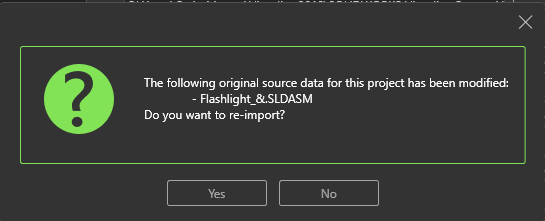
The 4th and may only be an optional step is that your model could change. If you decide to make changes to your model, Visualize will pick up those changed steps and will ask if you would like to update it.
I hope you were able to learn something new with this post and give this a shot to minimize a lot of rework in Visualize.
Craig Maurer
Applications Engineer

 Blog
Blog