SOLIDWORKS: Curve Driven Pattern
Curve Driven Pattern

Ho ho ho-ld up a second and take a look at the under-used, yet over-awesome Curve Driven Pattern.
Curve driven pattern does what no mere linear pattern can do. It allows the user to pattern a feature, face, or body following a curve. The curve can be generated from all types of features: a split line, a projected curve, a composite curve, a curve through reference points/XYZ, a helix/spiral, or even a 3D sketch.
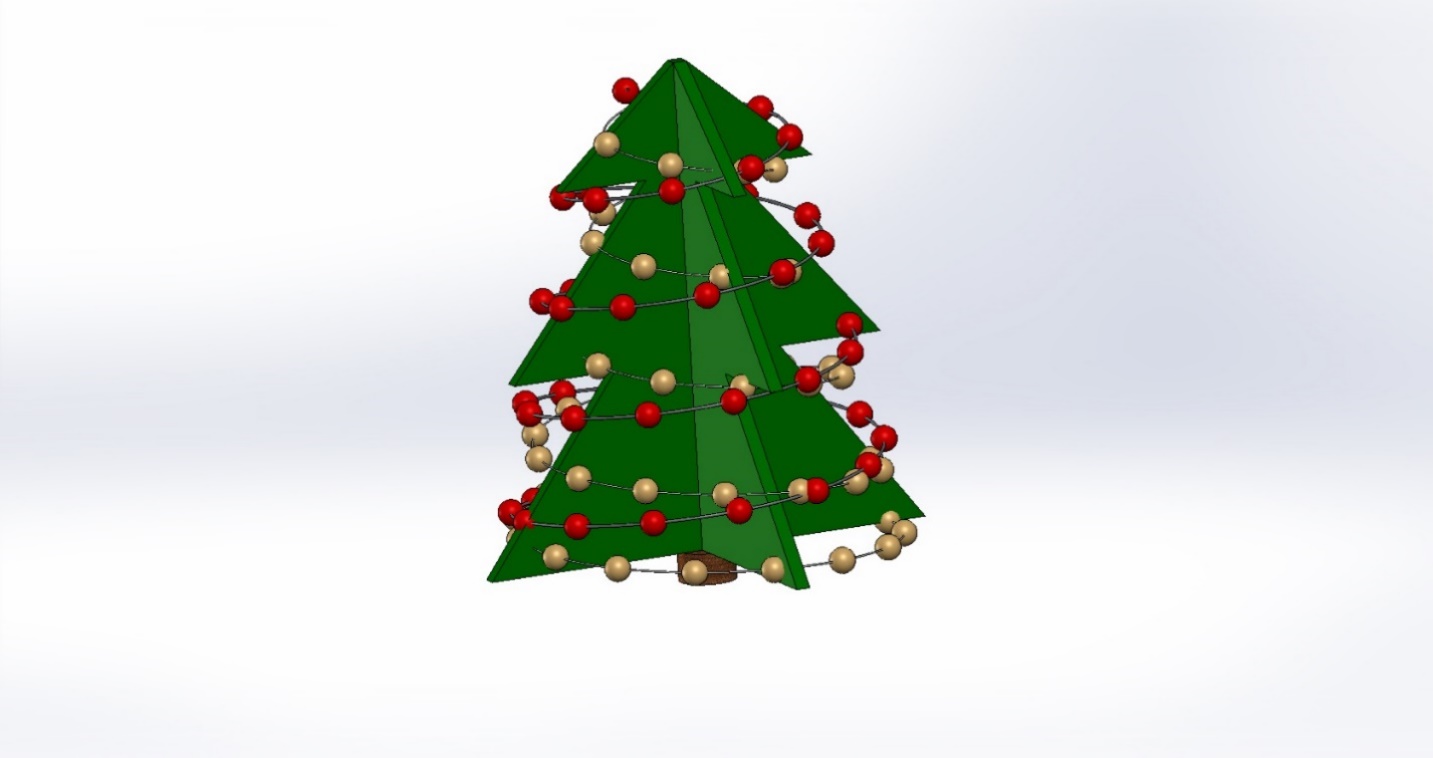
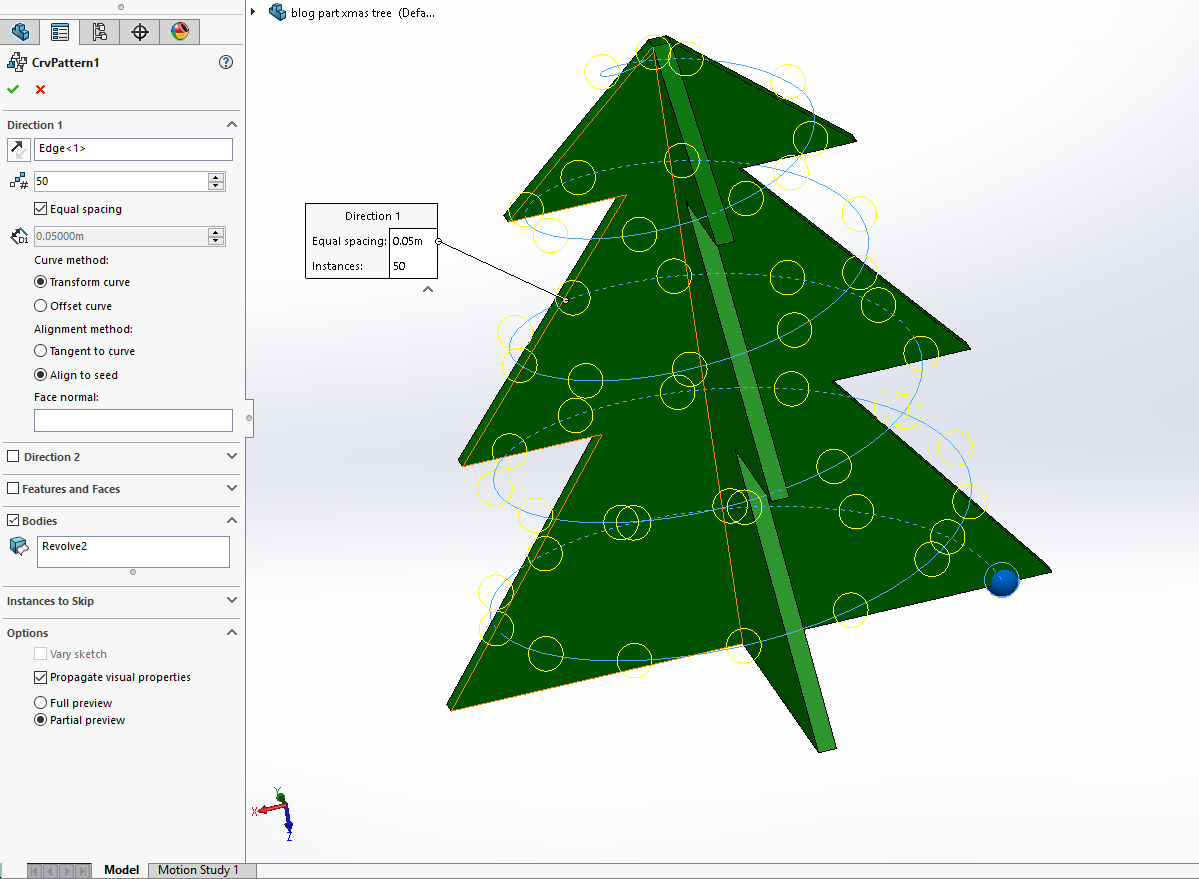
In my case, I used two helices to wrap around my tree.

Similar to the linear pattern, the first prompt is for a pattern direction, but unlike the linear pattern, you must choose a curve or edge, no faces allowed. You can then choose the instance count and the spacing (I left mine equally spaced along the helices).
The next section can be a little tricky, and if you’re like me, the meaning of “Curve method” is not overly obvious. The first option, “Transform curve” is going to maintain the change in X and change in Y from the origin of the curve to the seed (the original feature/face/body). The second option “Offset curve” is going to keep the normal distance from the origin of the curve to the seed.
The “Alignment method” has two options as well, the first being “Tangent to curve”, which aligns all the instances to the curve. The option “Align to seed” aligns the instances to the seed’s direction.
The video below shows all four options, with half cylinders to make the alignment methods more noticeable.
The last option, “Face normal” only applies to 3D curves that lie on a face used to make the curve.
I only used one direction and patterned the ornaments as separate solid bodies. The result was a holly, jolly decoration that came into being because of the Curve Driven Pattern.
Madeline Speer
Application Engineer
Computer Aided Technology

 Blog
Blog