SOLIDWORKS Composer Animation Library tips
I’ve recently received a few questions about animation and the Animation Library in SOLIDWORKS Composer and since I don’t receive many animation questions in Composer, I thought I would share them. Below are a few tips that came out of these conversations.
Before I get into any tips about the Animation Library, I have the most important Composer tip of all. Increase the Undo history size. Out of the box the Undo history is only 20 and I can run out of that many undo’s by editing a single annotation. You can fix this by going to: File, Preferences, General, Undo history size and type in a nice large value.
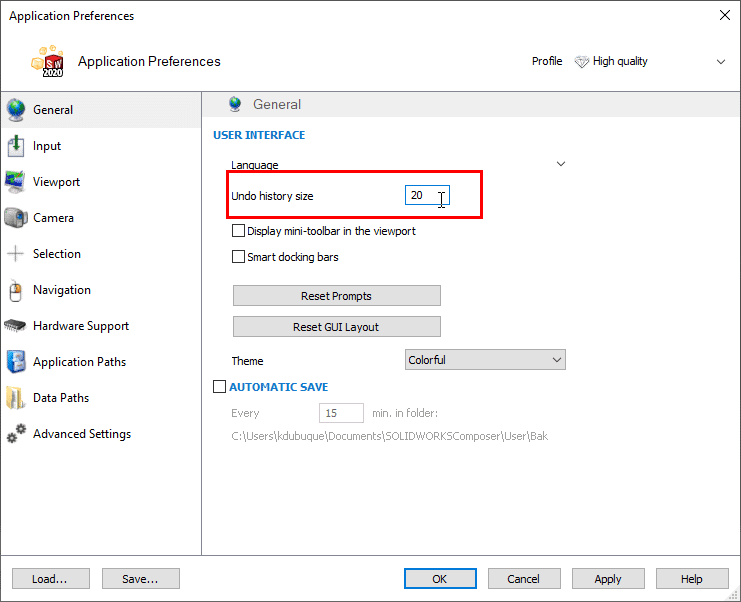
The Help file states that larger values will consume more memory, but I have used numbers in the thousands for years and never notice any ill effects. I typically add a few zero’s and setting on 2000 undo steps.
So now that you have a few thousand undo steps to work with, on to the Animation Library. It resides in the Workshops Pane and contains a few pre-built animation “macros” that make it easy to add special effects to your animations. You have options for installing and removing components, screwing and unscrewing fasteners or maybe having a component highlight in your animation.
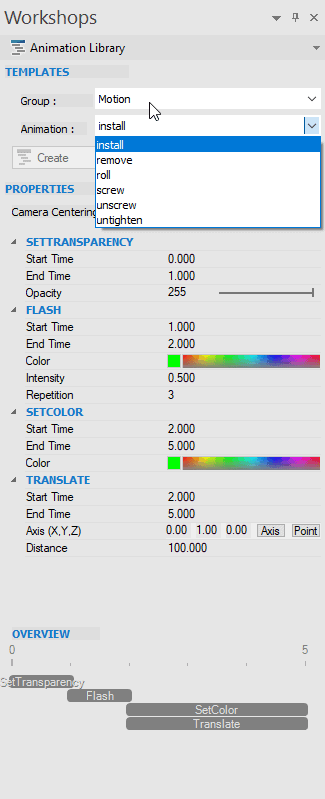
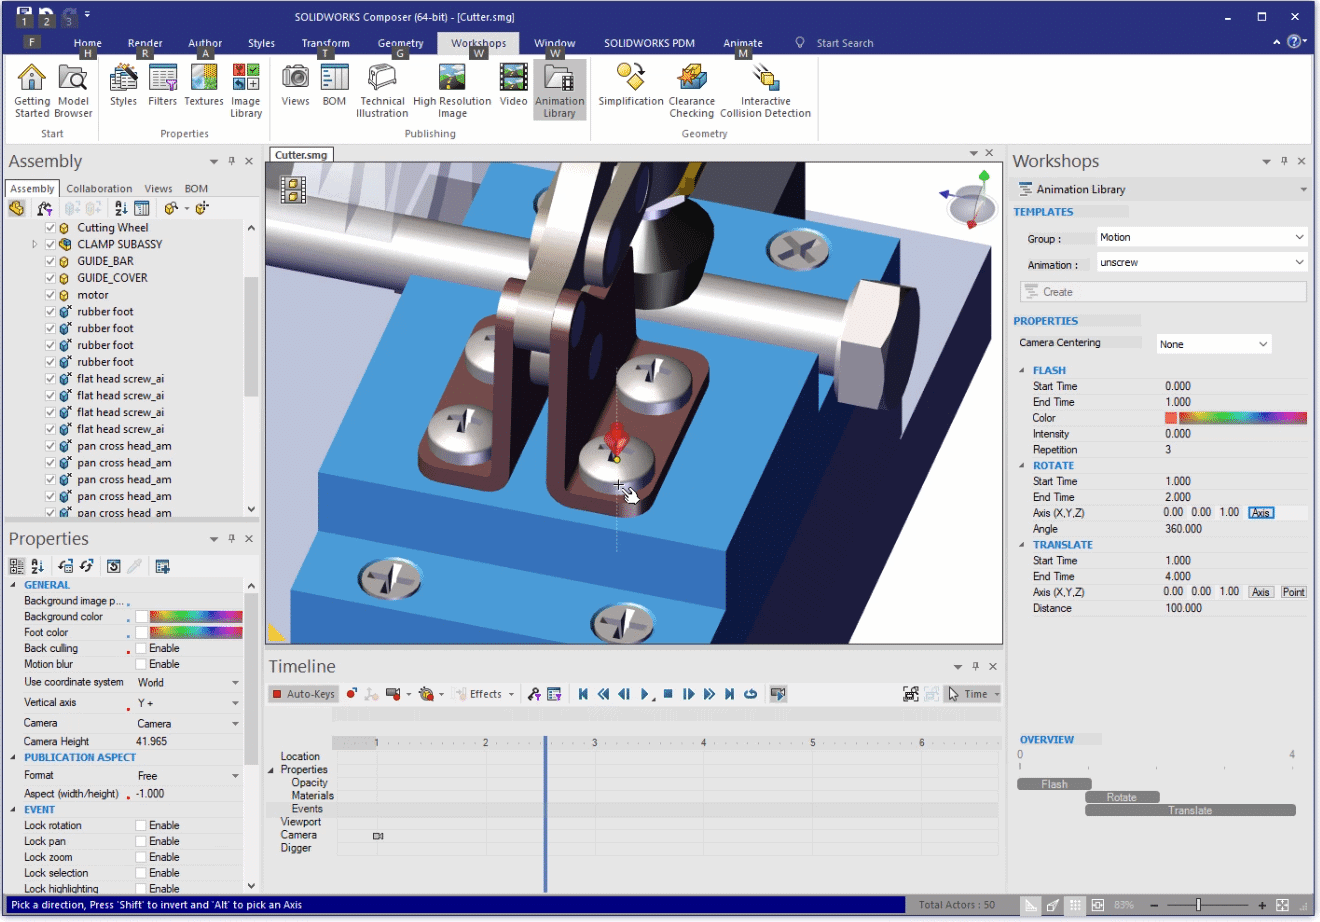
Any “motion” animation from the Animation Library needs the user to define an Axis for Translation and Rotation, depending on the animation selected. To the right of the text “Axis (X, Y, Z)” are buttons to select geometry to control the directions for these actions.
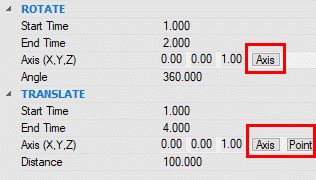
When selecting the Axis button, you can use ALT for Curve Detection mode to extract the axis of a hole or fastener, for example. At the same time, you can use SHIFT to reverse the direction arrow. That’s ALT+SHIFT+ selecting a curved edge, there is quite a bit going on with that and it’s very easy to have direction reversed. Every field that contains a numerical value can be modified and it may take experimentation to get those values dialed in and entering a negative number will reverse the action. This is why having so many Undo steps is helpful.
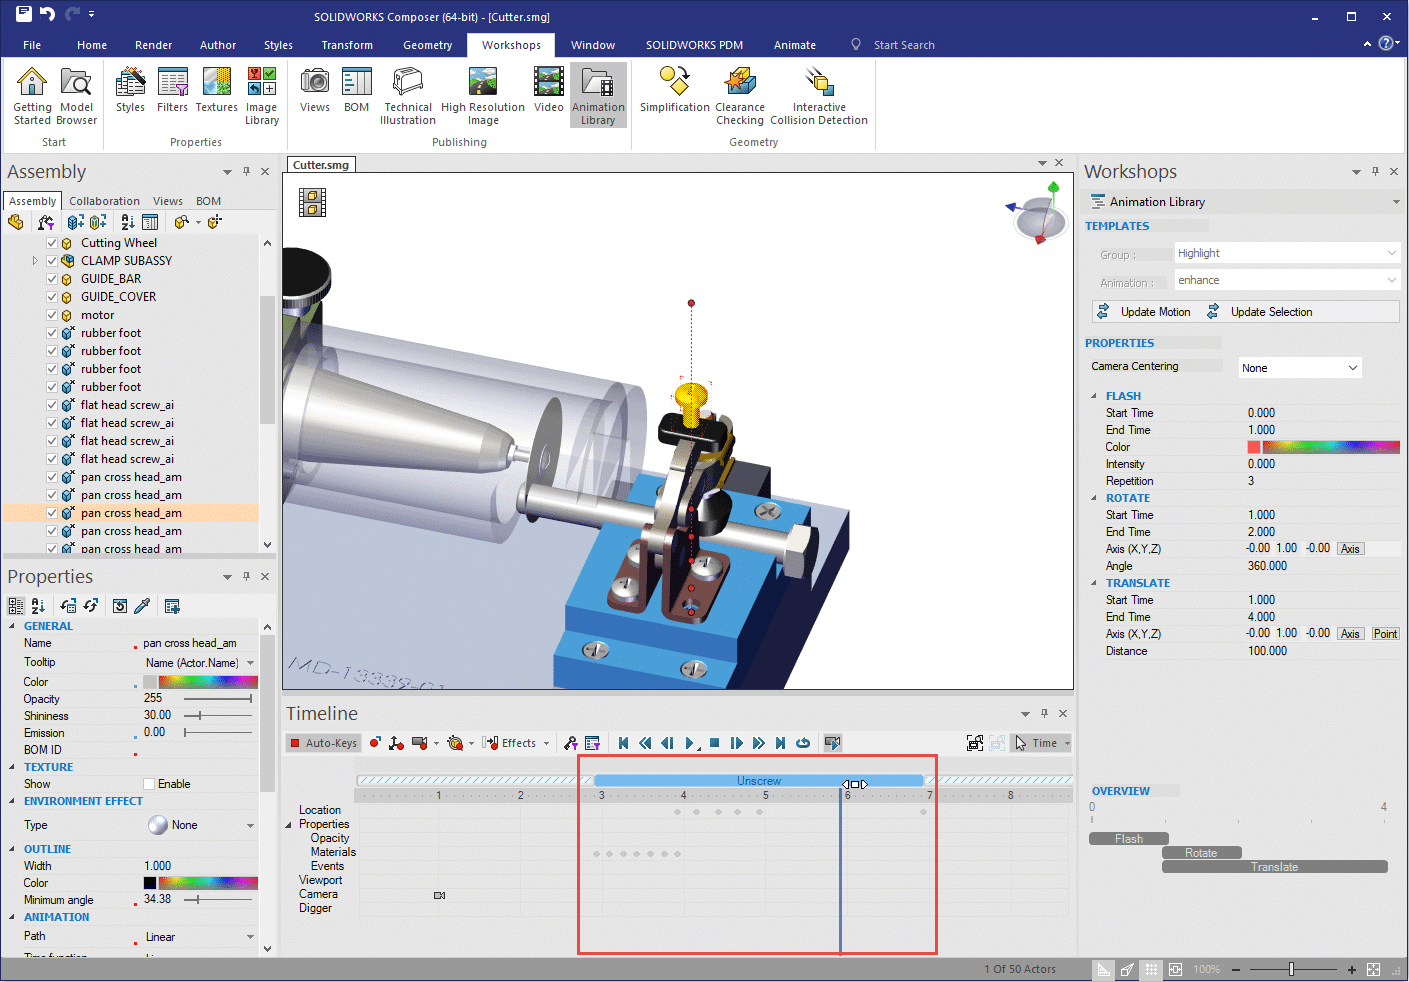
After the animation sequence is added to the Timeline it will look like the following. The name of the animation sequence will exist in the Markers field. The animation sequence is considered a General Animation and all the property changes are in a “container” called an Animation Block. In this example, Unscrew.
Editing an animation block is easy to do. You can move them in the Timeline with left click and dragging to place them correctly in your overall animation sequence.
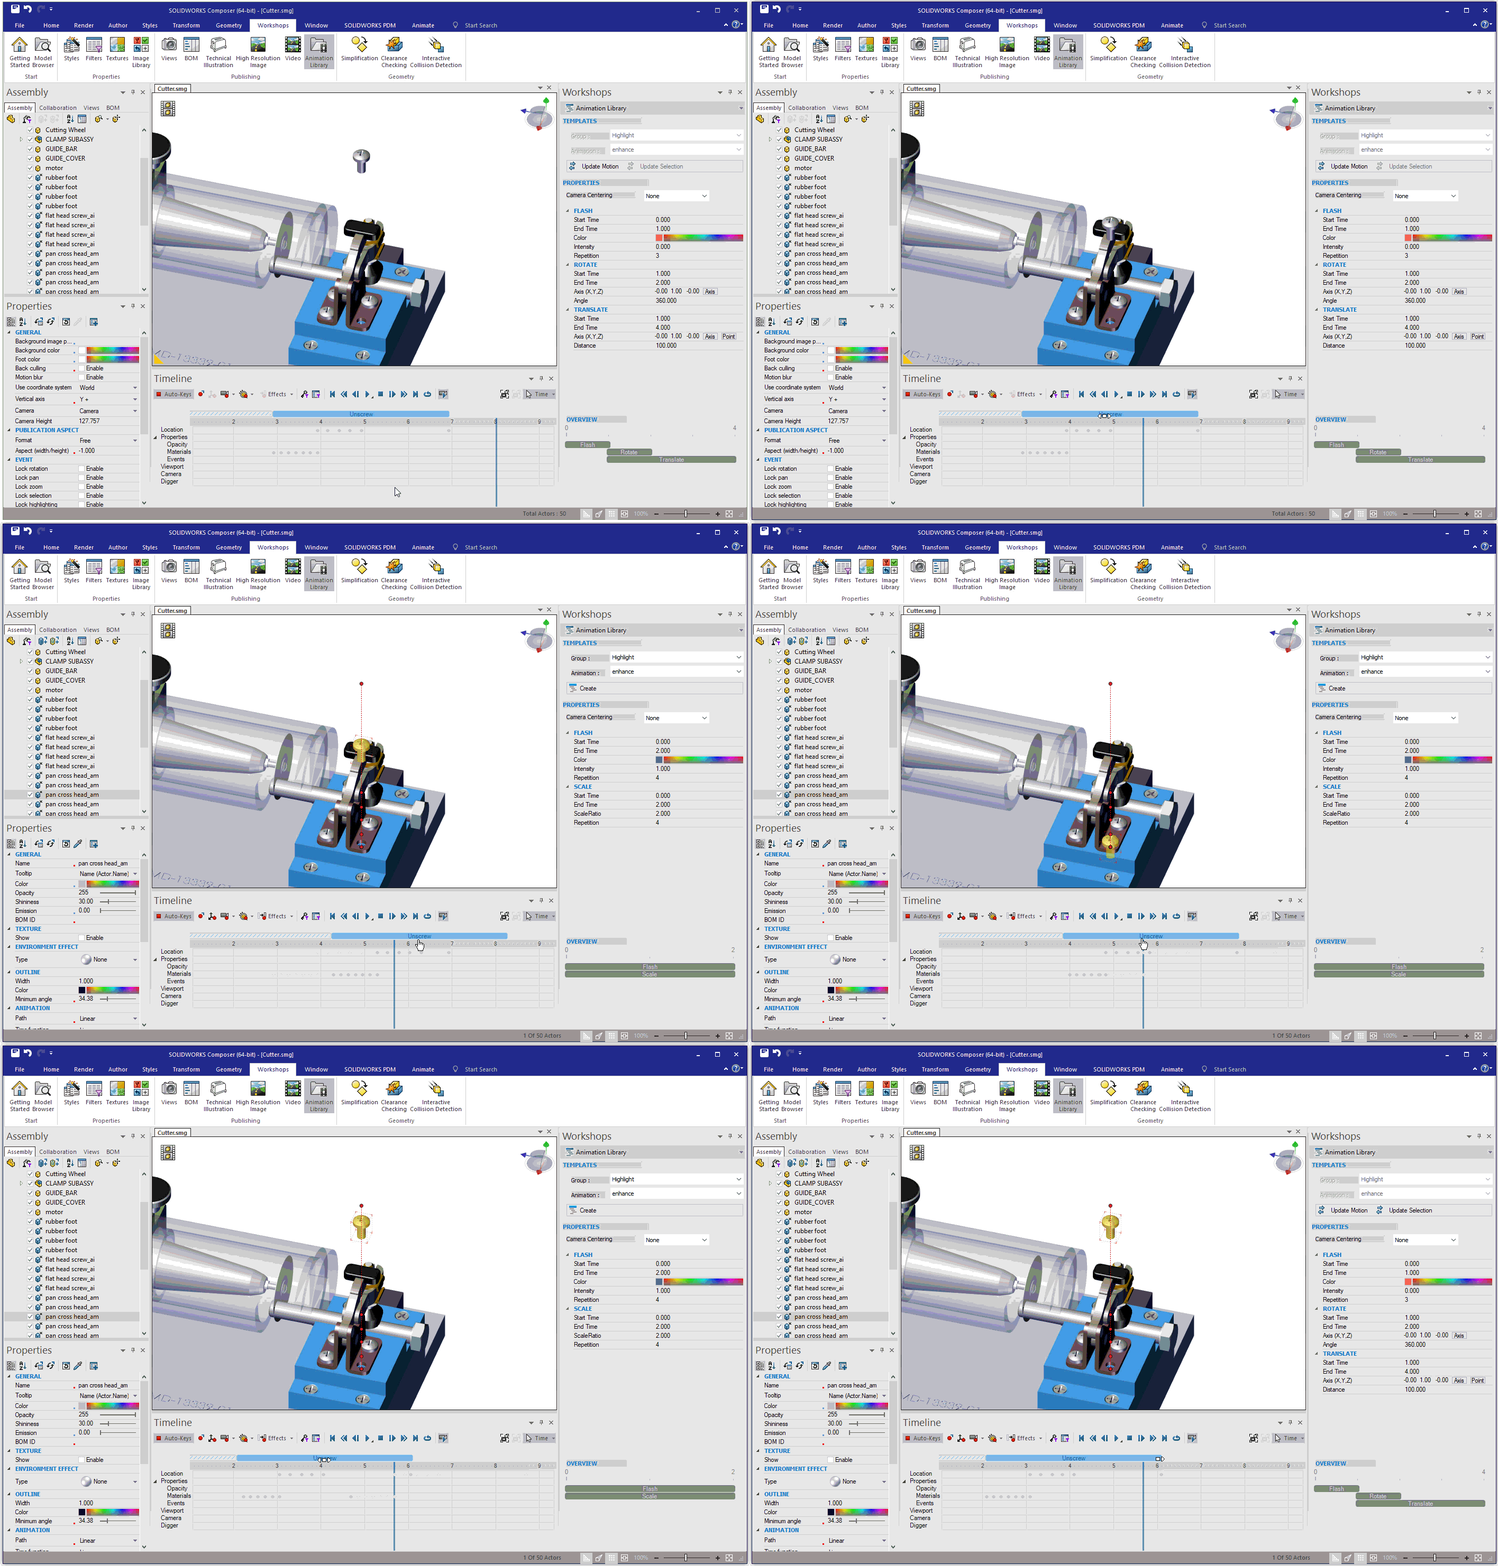
You can scale them with a left click and drag of either end of the block.
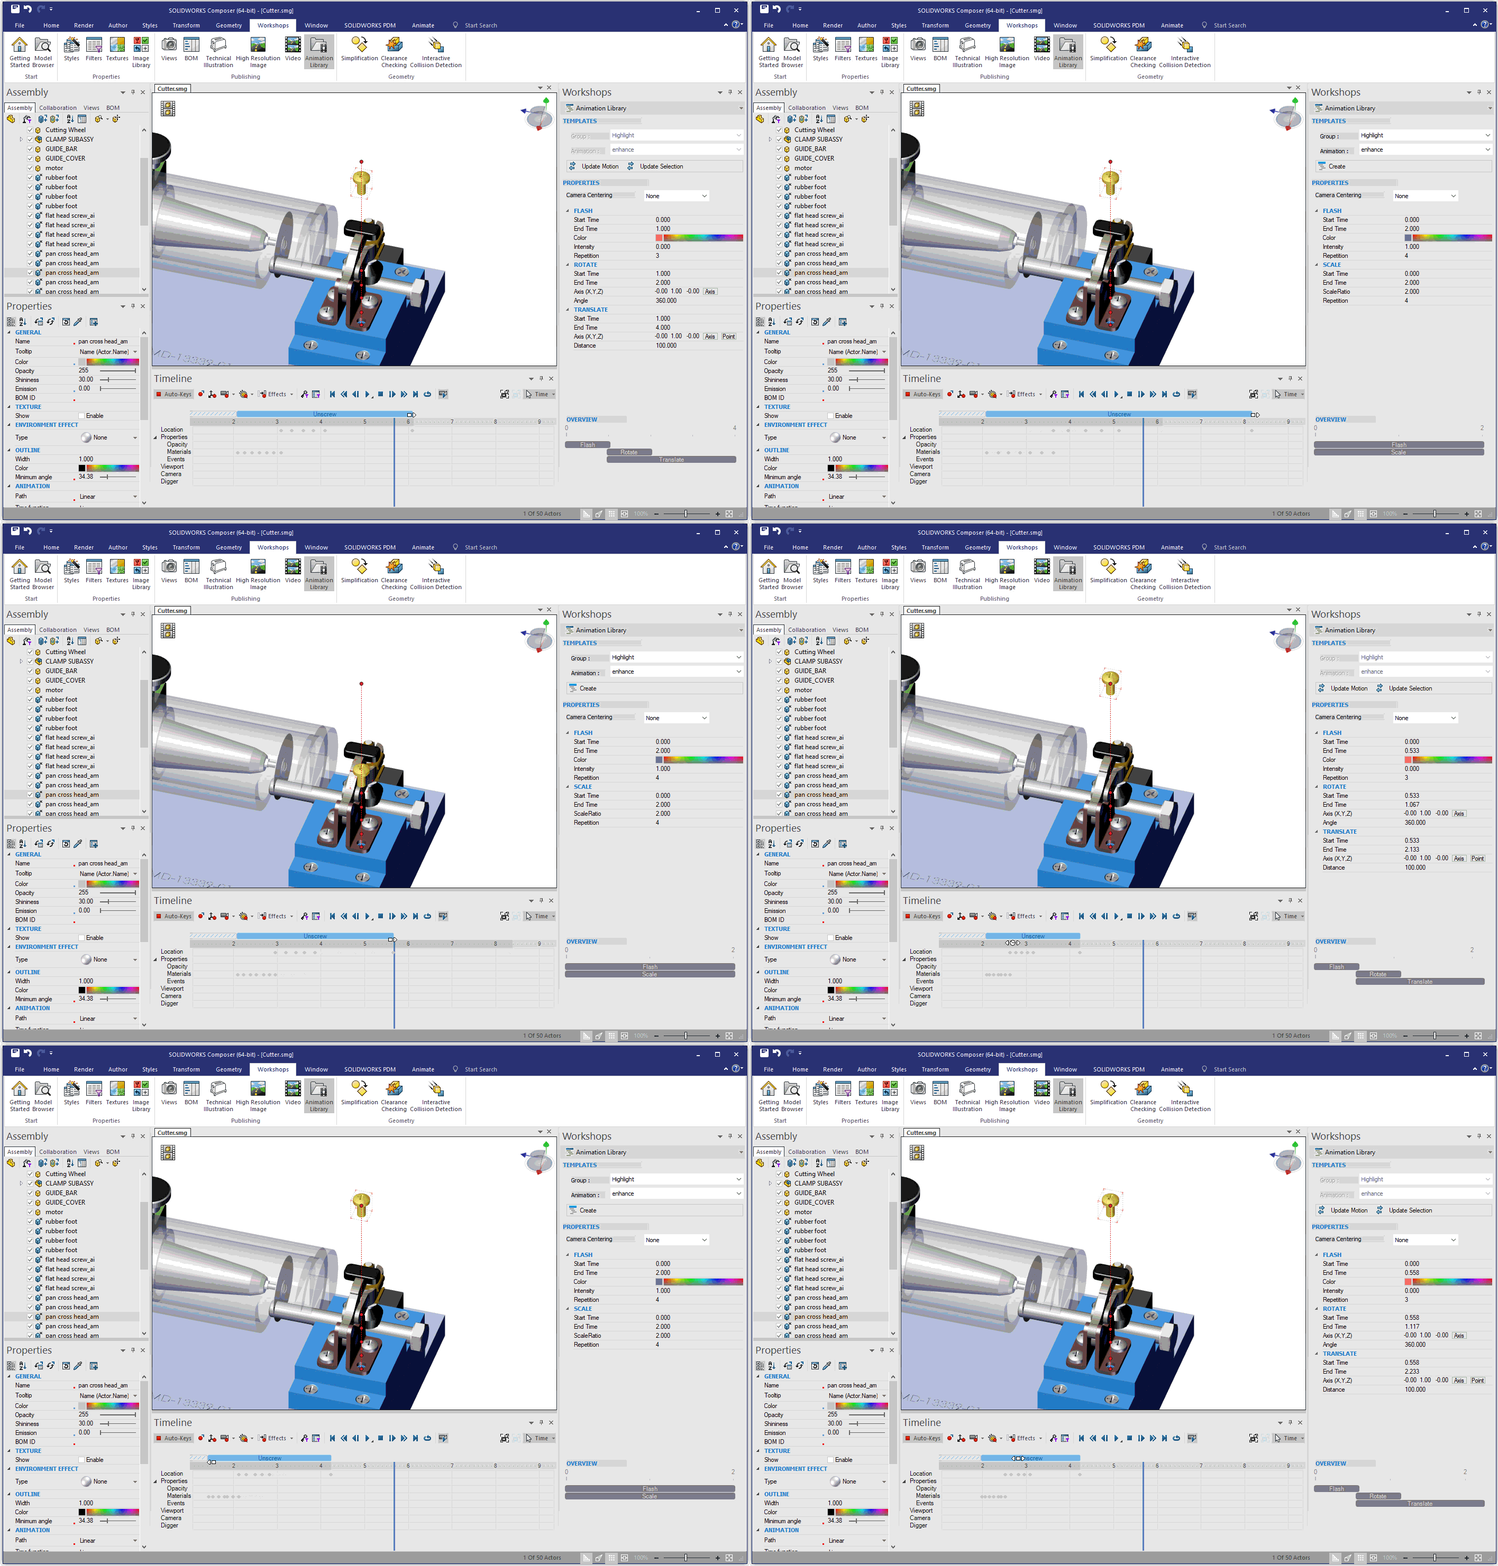
You can copy the entire animation block with a CTRL drag of the block.
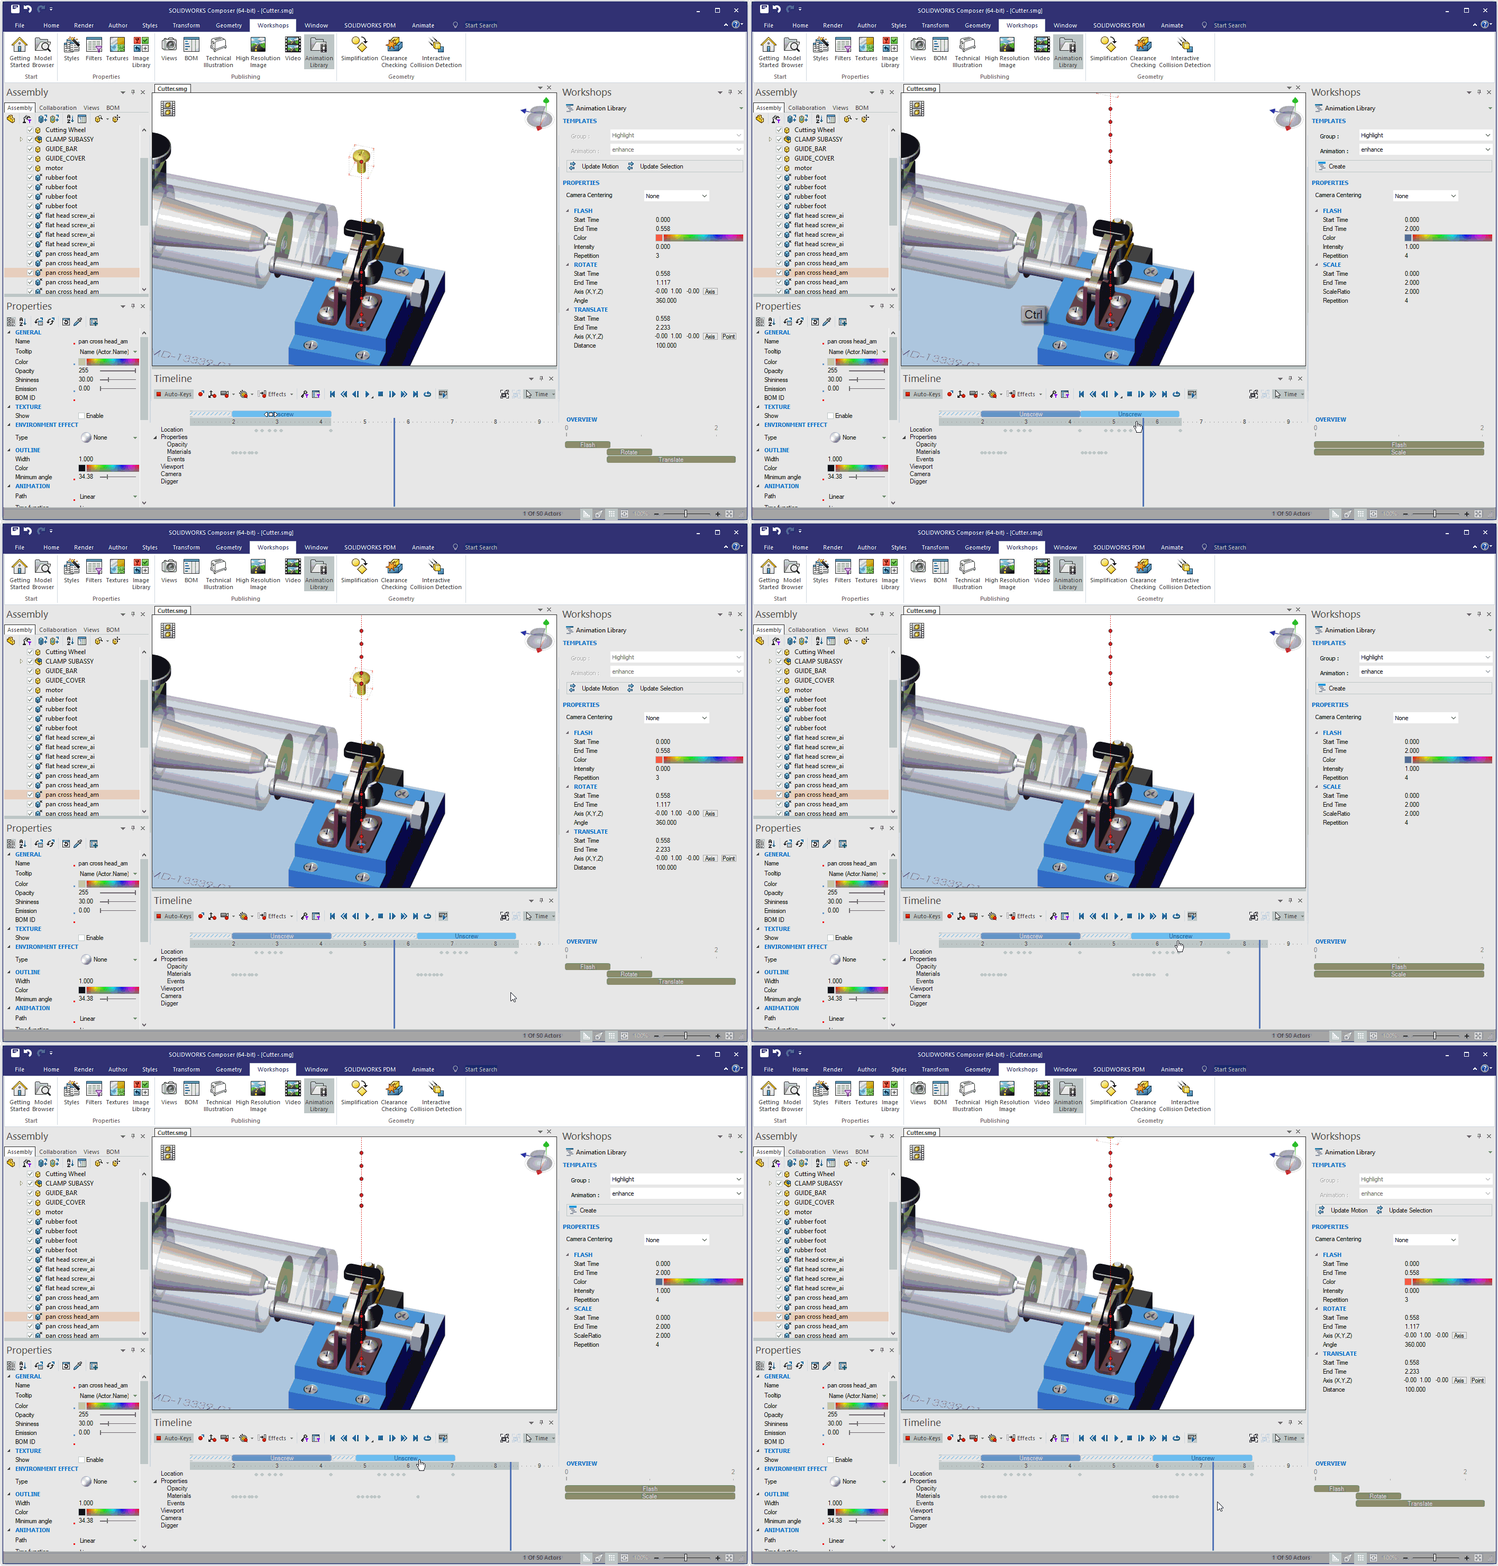
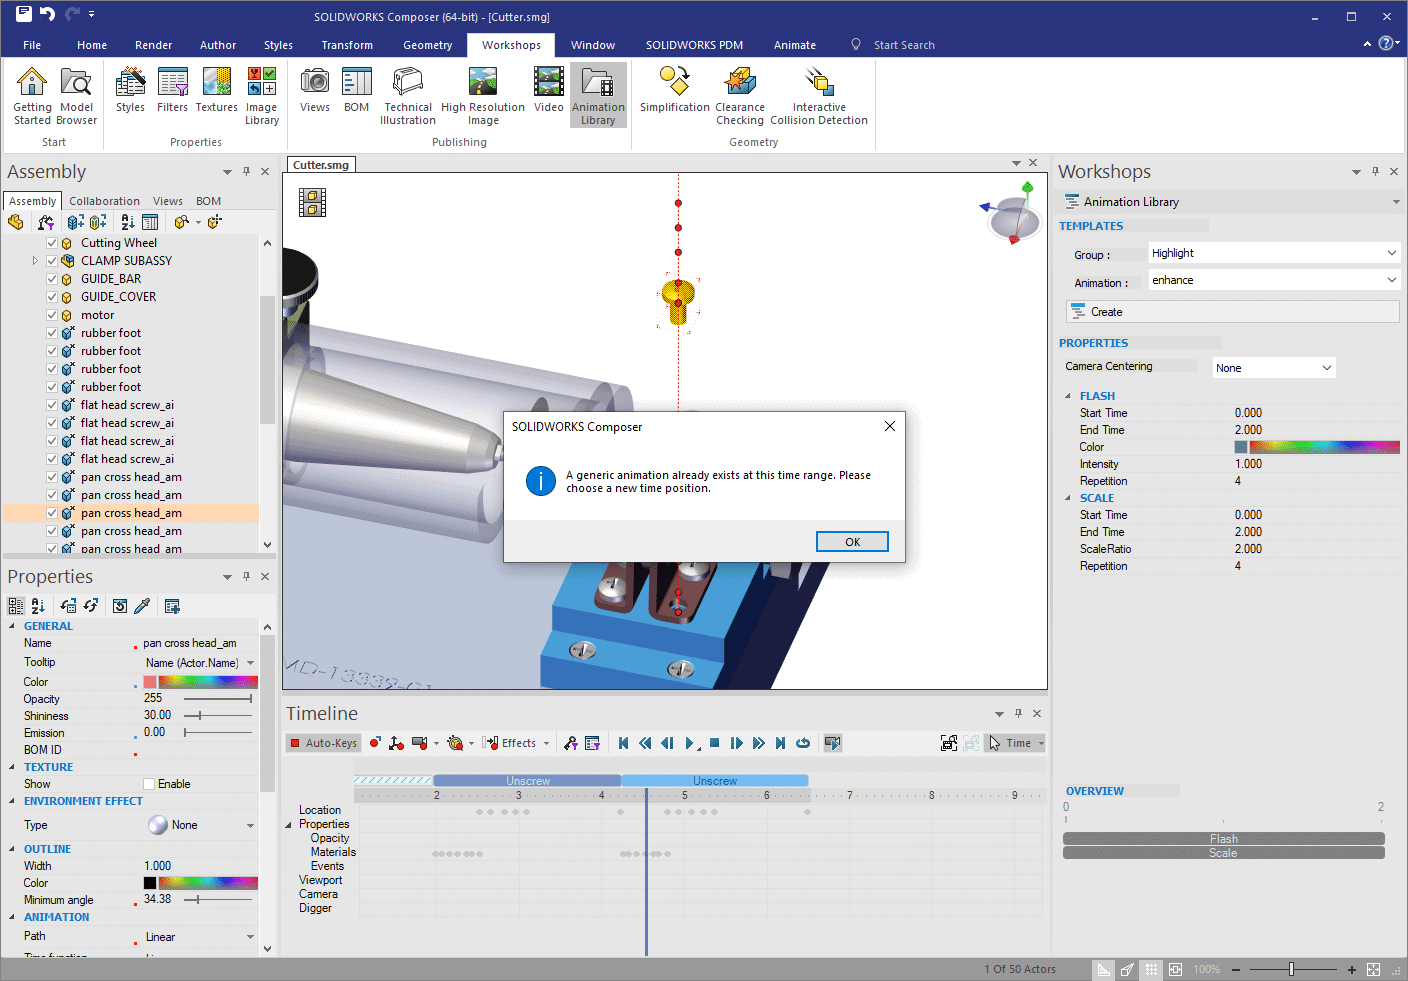
Now, what you cannot do is have one animation block overlap another. If you try doing so by dragging, they’ll stop when they “contact” each other. If you try creating another animation block while the Timebar is within an existing block, you’ll receive the following message.
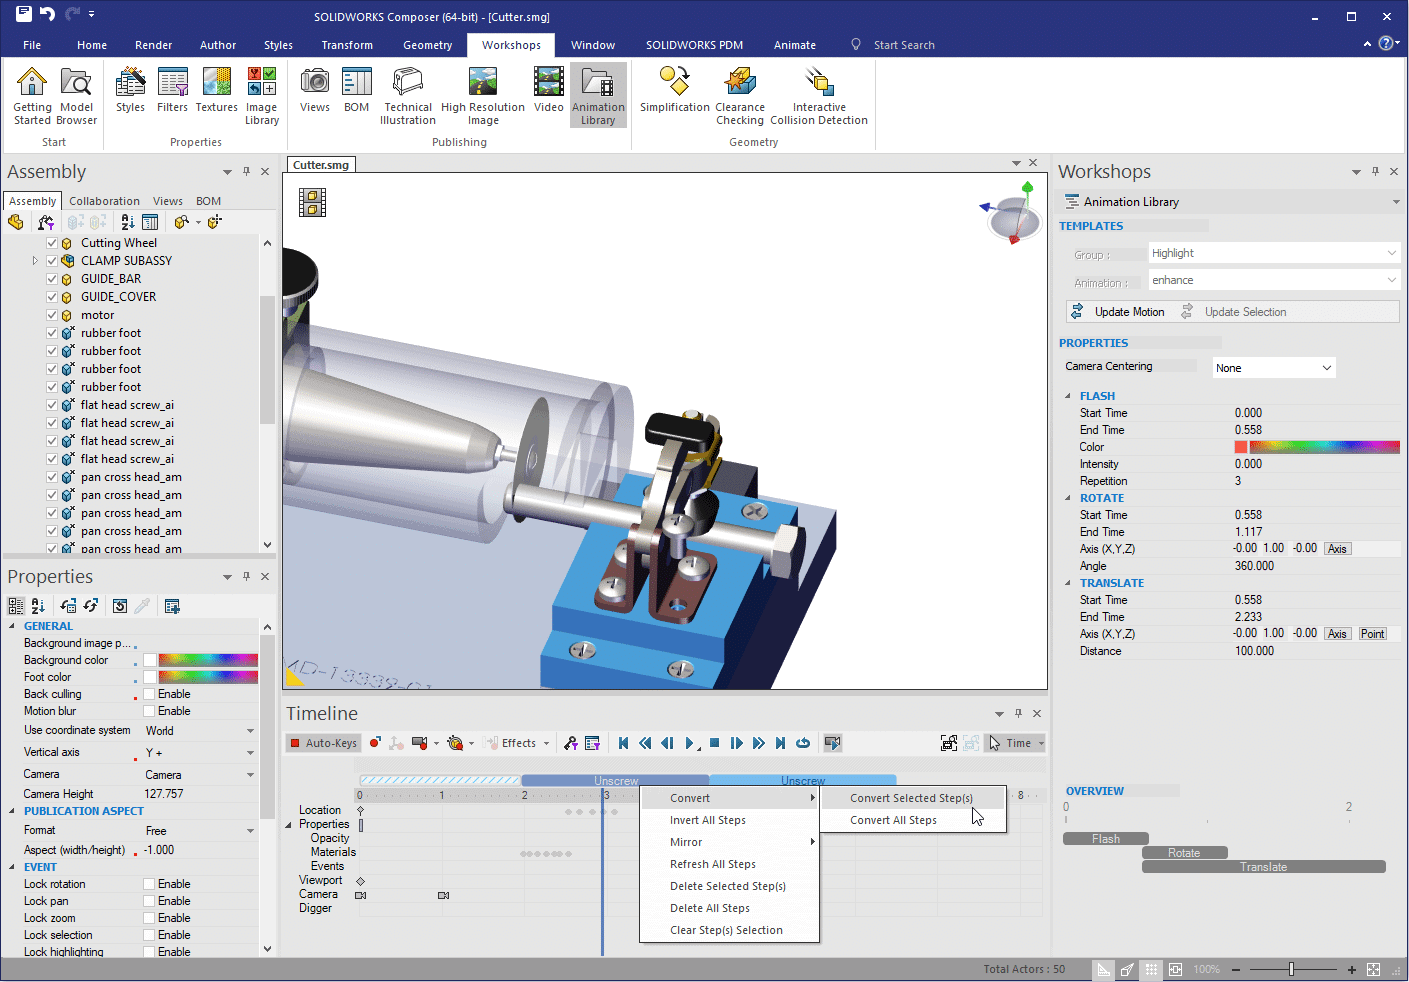
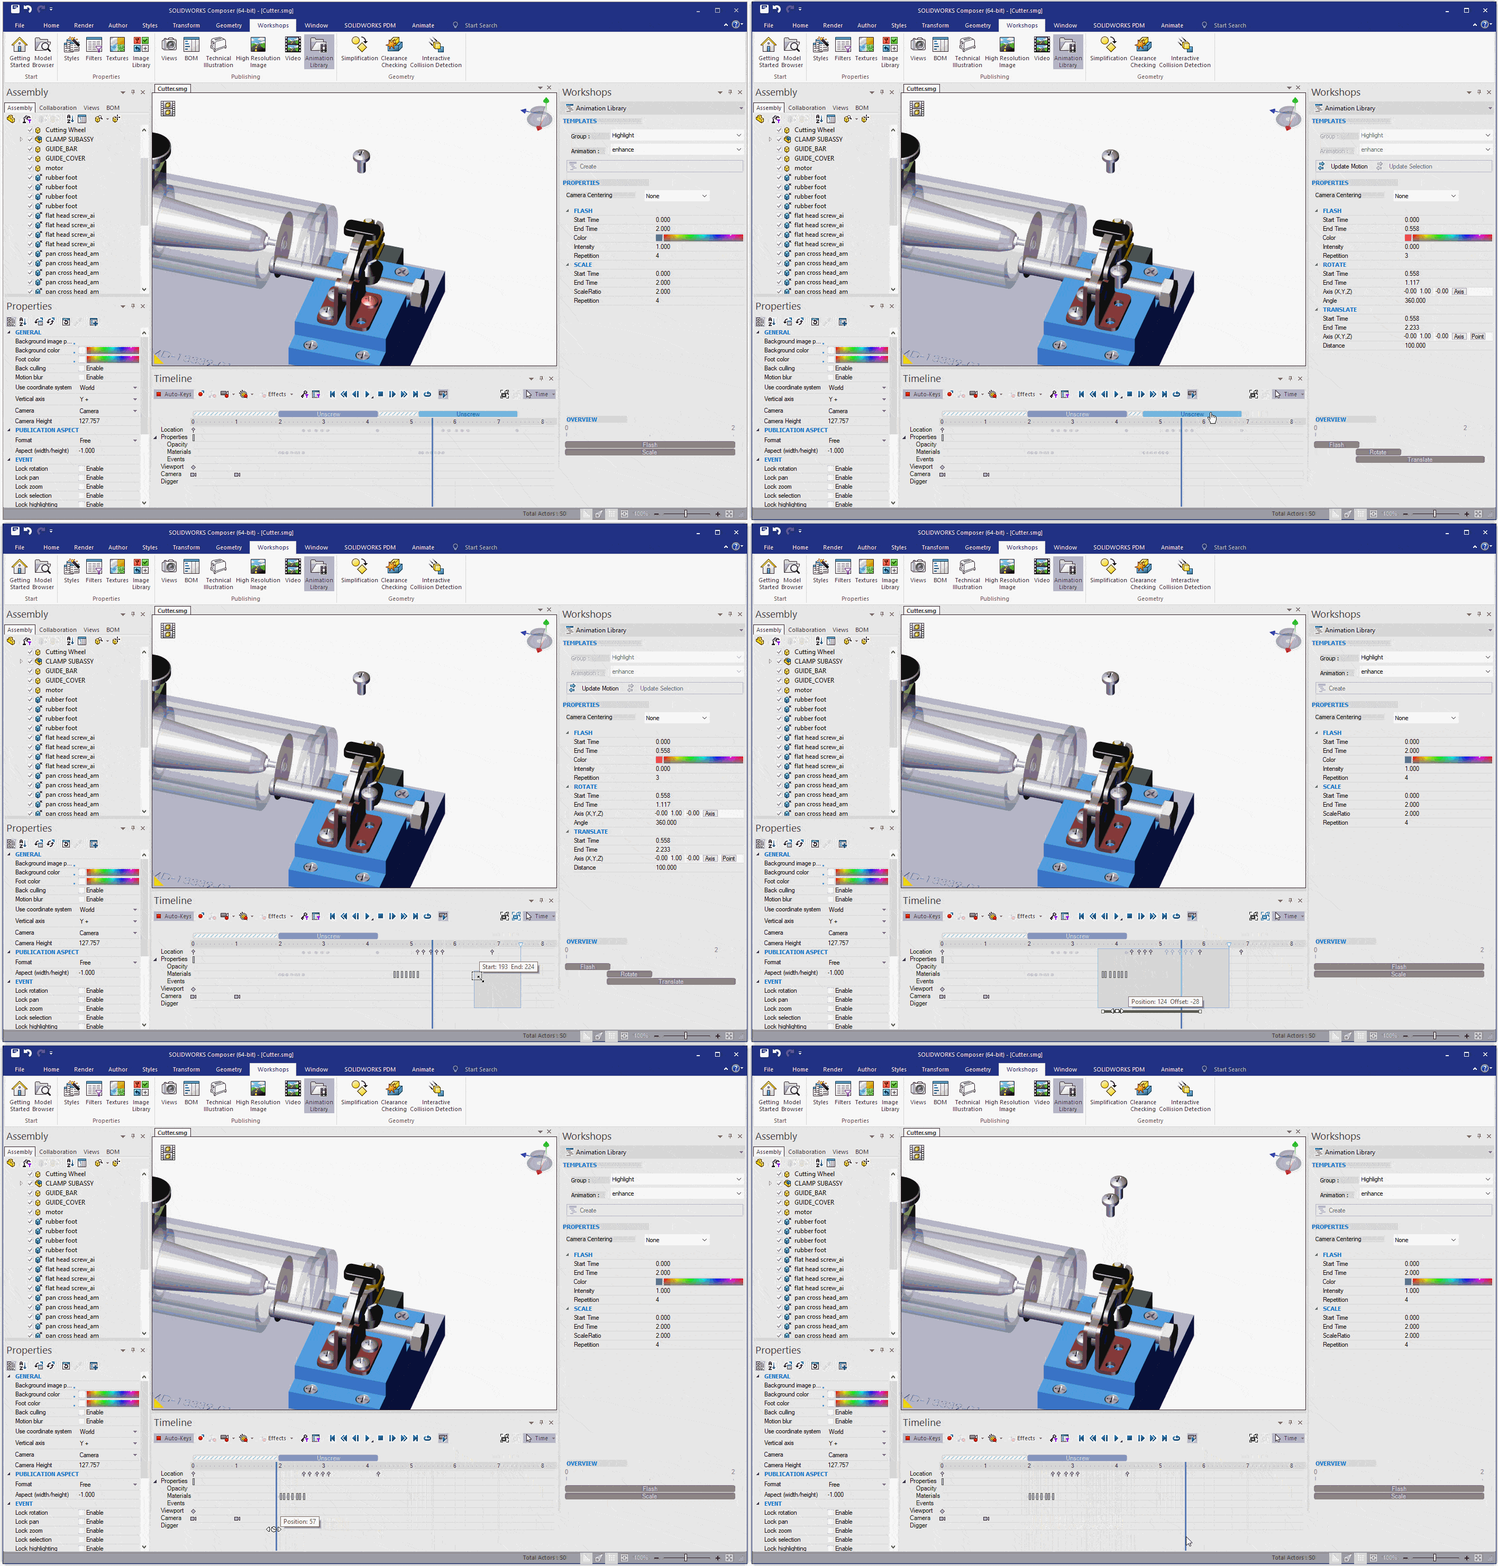
If we need multiple animation blocks to occur simultaneously, they need to be converted to regular keys in the Timeline. This is easy to achieve by the Right click menu and choosing Covert Select or Convert all Steps.
Once converted, the keys are manipulated like any other with single selection, CTRL selection, or window selection. If you need to Move, Mirror, Invert, you can now do what you’d like as they’re just regular keys in the Timeline.
Hopefully, these tips shed a bit light on working with the Animation Library. Once you understand the nuances of the resulting animation block and how to modify them, they’re quite useful. Thanks for reading.
Kris Dubuque
Field Technical Services Manager
Computer Aided Technology, Inc.

 Blog
Blog 