Redefining Your Isometric View in SOLIDWORKS – Simple and Fast!
Who hasn’t received an imported part before and the Isometric View was jacked up like this? Ugh!!!
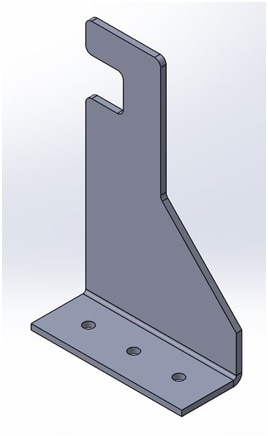
This could’ve happened due to a couple of other reasons as well, such as:
- Was the sketch drawn initially on the wrong plane?
- Or the sketch was extruded in the wrong direction for your Isometric View to display like you want it to?
No worries!
Here’s a simple and fast way to redefine your Isometric View while in SOLIDWORKS!
So it looks like this!
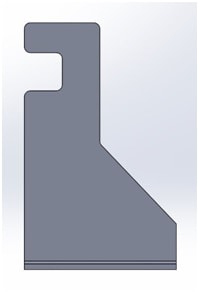
Step 1. Get the model orientated to whatever view you want to define as your Front View to redefine the Isometric View.
Such as the image below, which I will redefine as my NEW Front View.
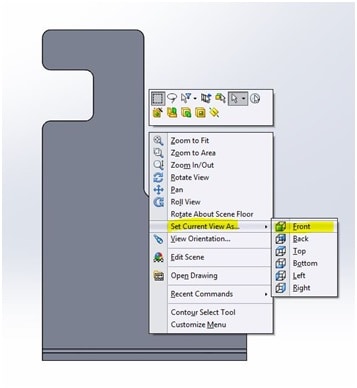
Step 2. Right Click in the Graphics Area(GA) and click on the Select Current View As. Then, select the Front view selection to redefine this view as your Front View.
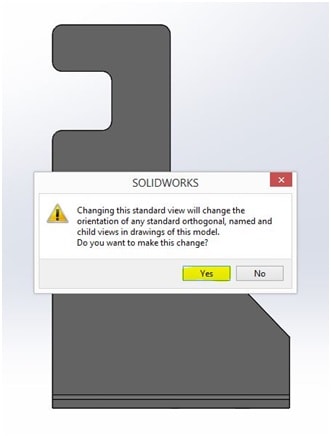
Step 3. Click YES to except this as your new Front View.
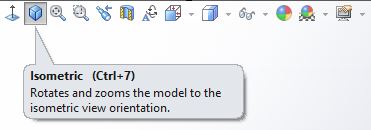
Step 4. Click on Ctrl+7 of your Isometric View Icon to see your redefined Isometric View.
BOOM! Here’s the redefined Isometric View shown below:

I hope this helps you become more efficient!
Don Glaske
Sr. Application Engineer

 Blog
Blog