Mirror, Mirror, Where's my sheet metal notes?
So many of us have had the opportunity to make mirrored sheet metal parts. Over the years the process has changed and we are pretty close to having it all. However we still see a snag here and there with the drawings for these neat tools.
On the mirrored sheet metal part, if you choose to keep the link in the model you can't get your notes on the drawing. If you break the link you can get all your features and then create a new flat blank, but then it's not updating on it's own. So what can we do?
I have created a workaround mirrored sheet metal part to make both updating and sheet metal notes work on the drawings.
Since the sheet metal notes are created with the flat pattern view we need to have 2 of them. A good way to do this is to duplicate the sheet metal bodies and not the whole part.
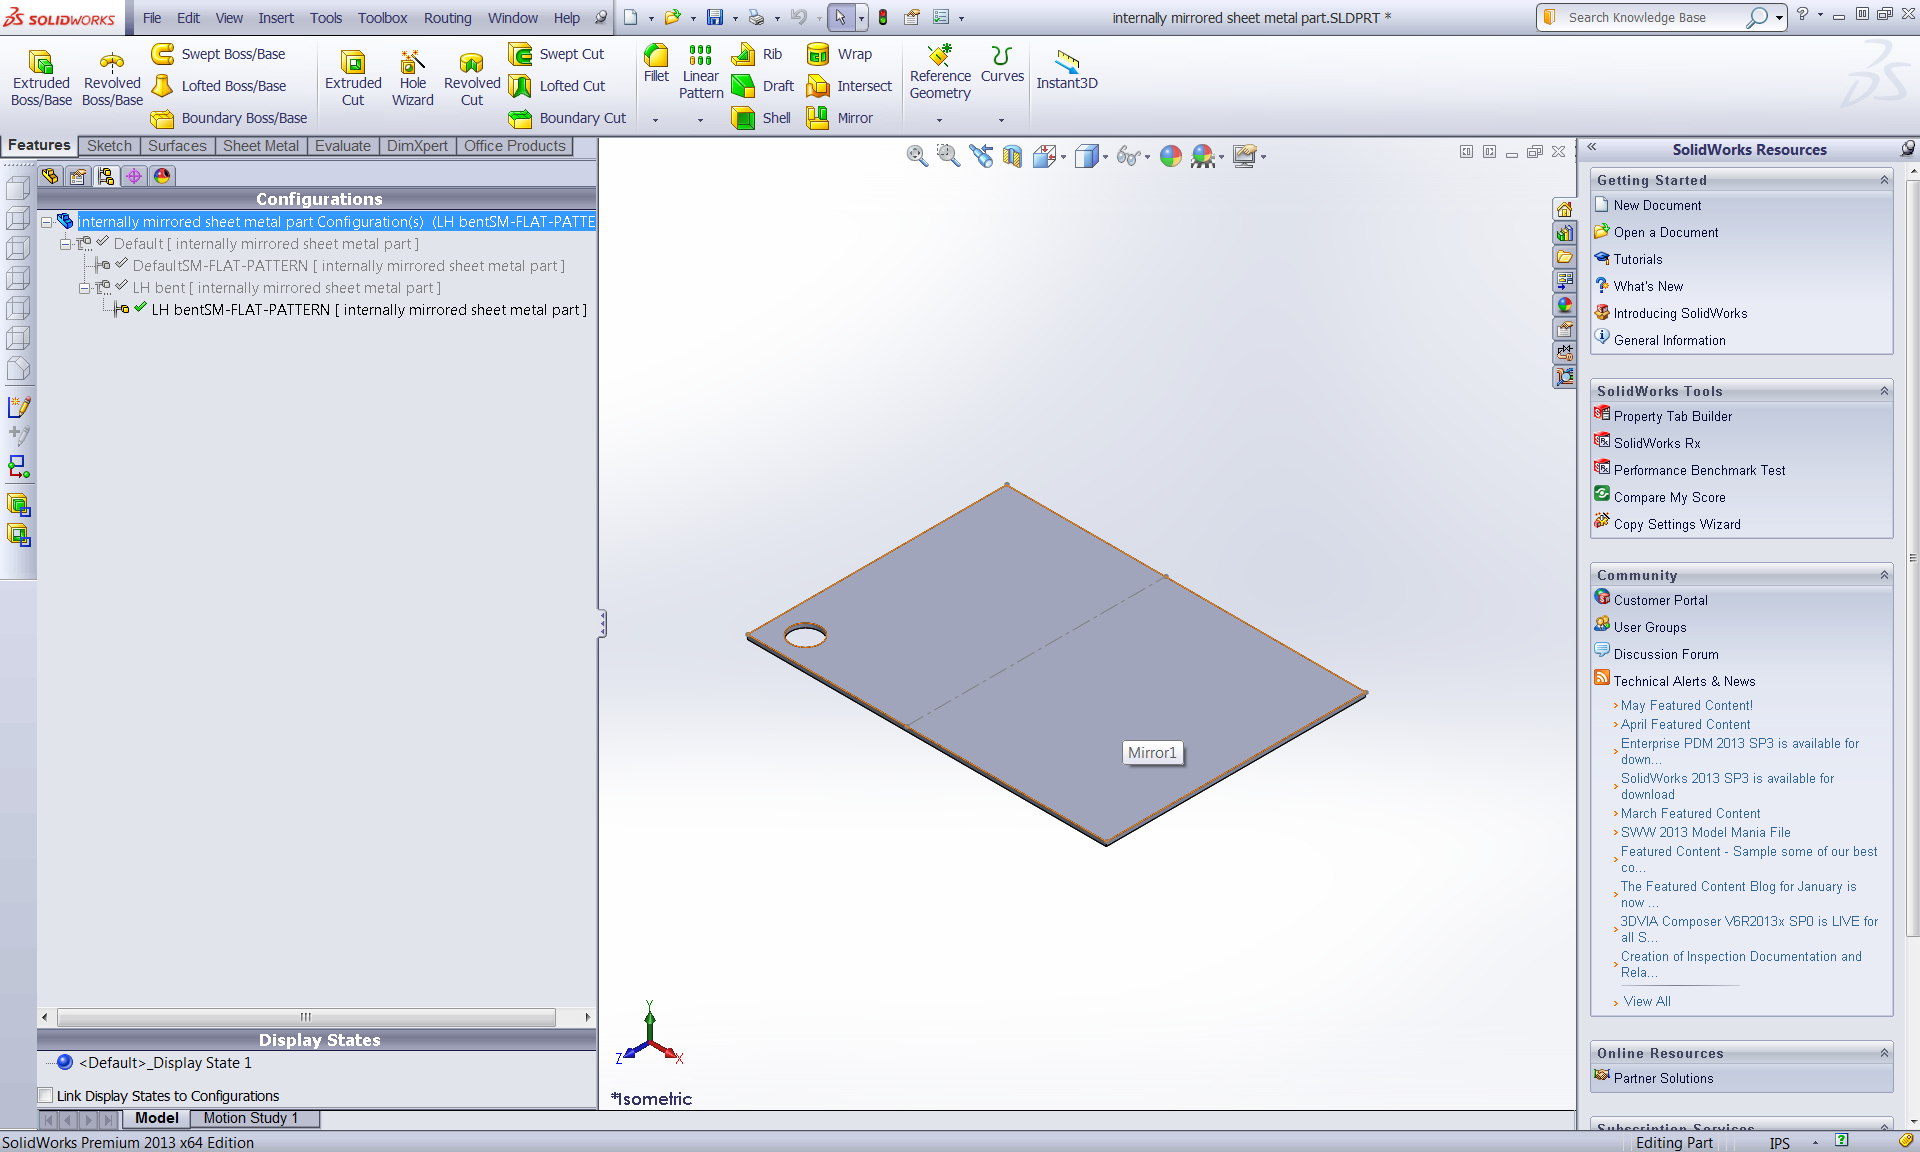
Here we see the whole tree, let's break it down.
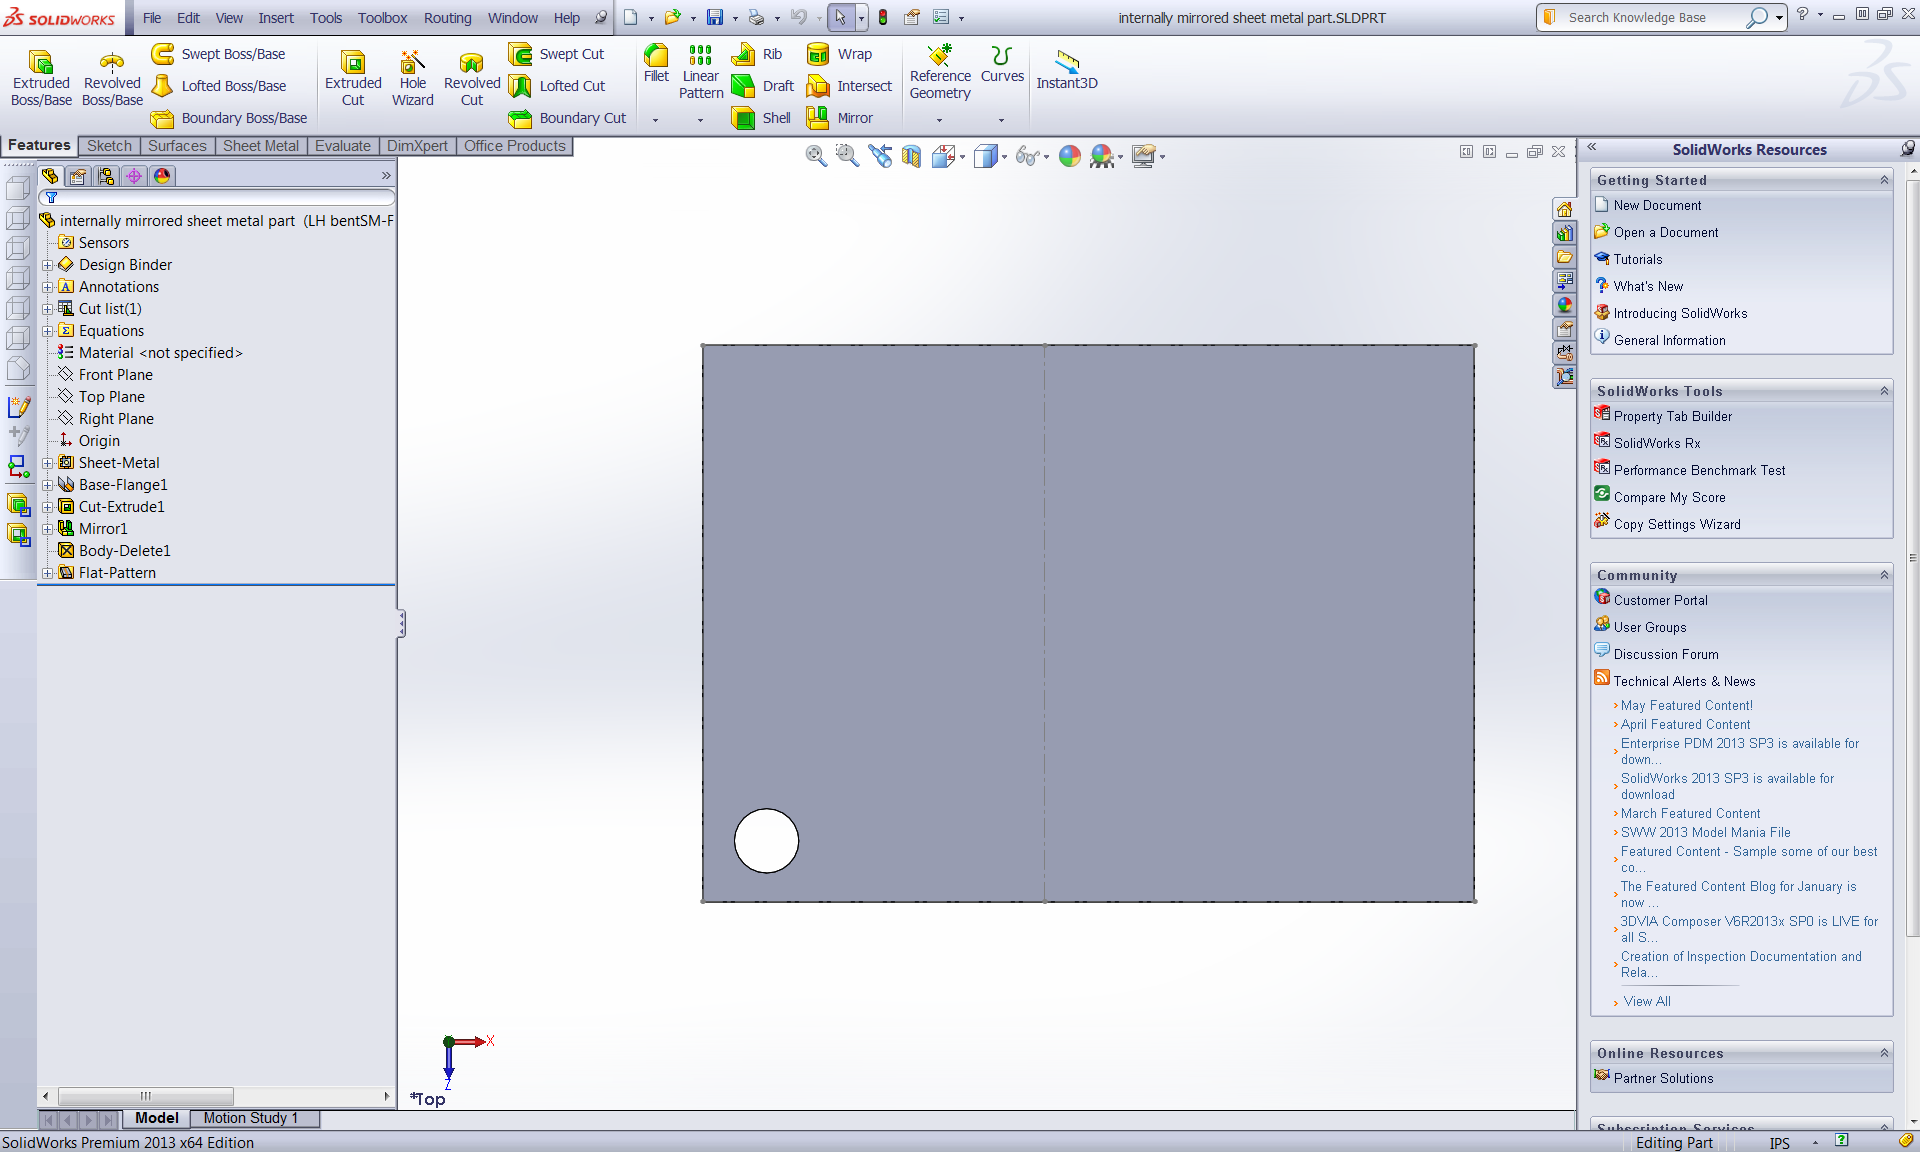
First we have rolled it back to look at our steps.
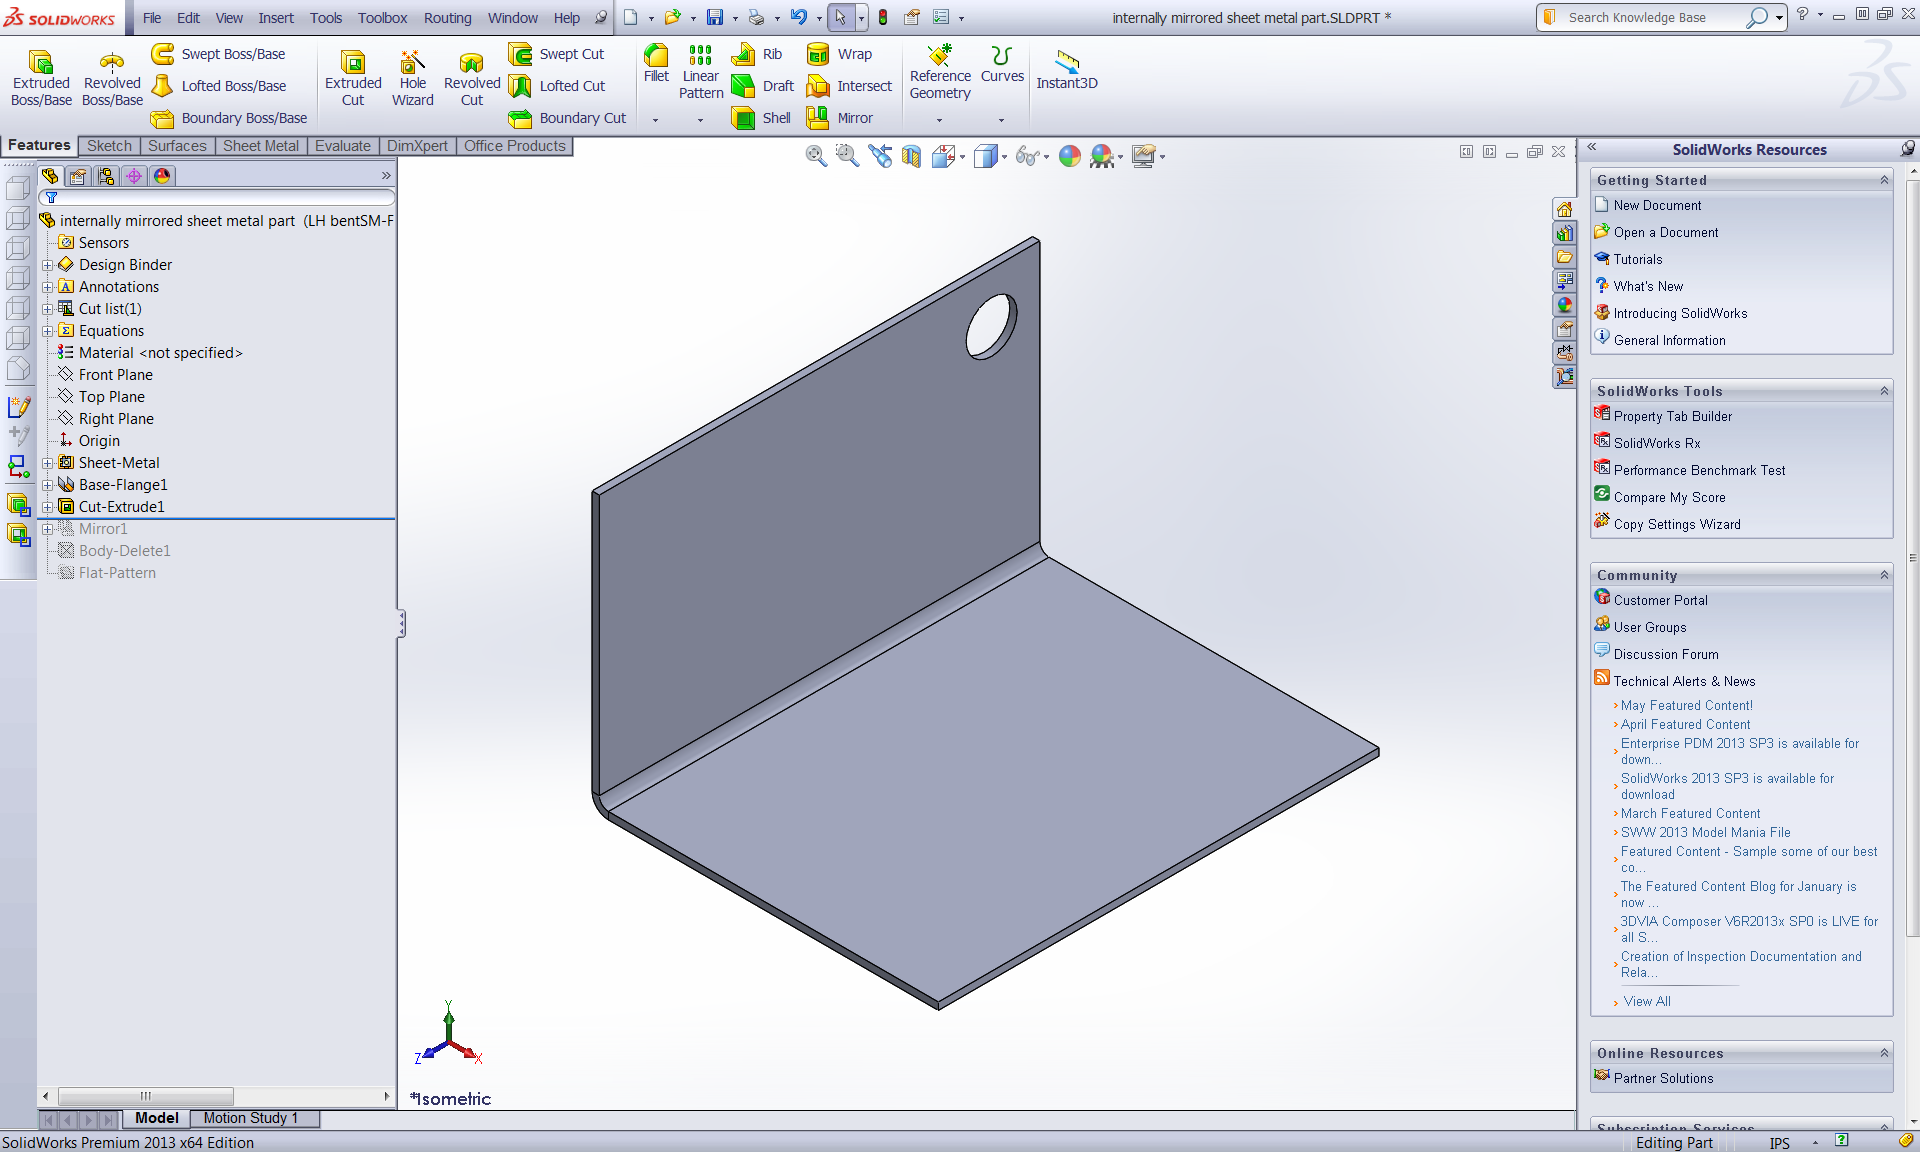
I created a mirror feature and chose the bodies to mirror option.
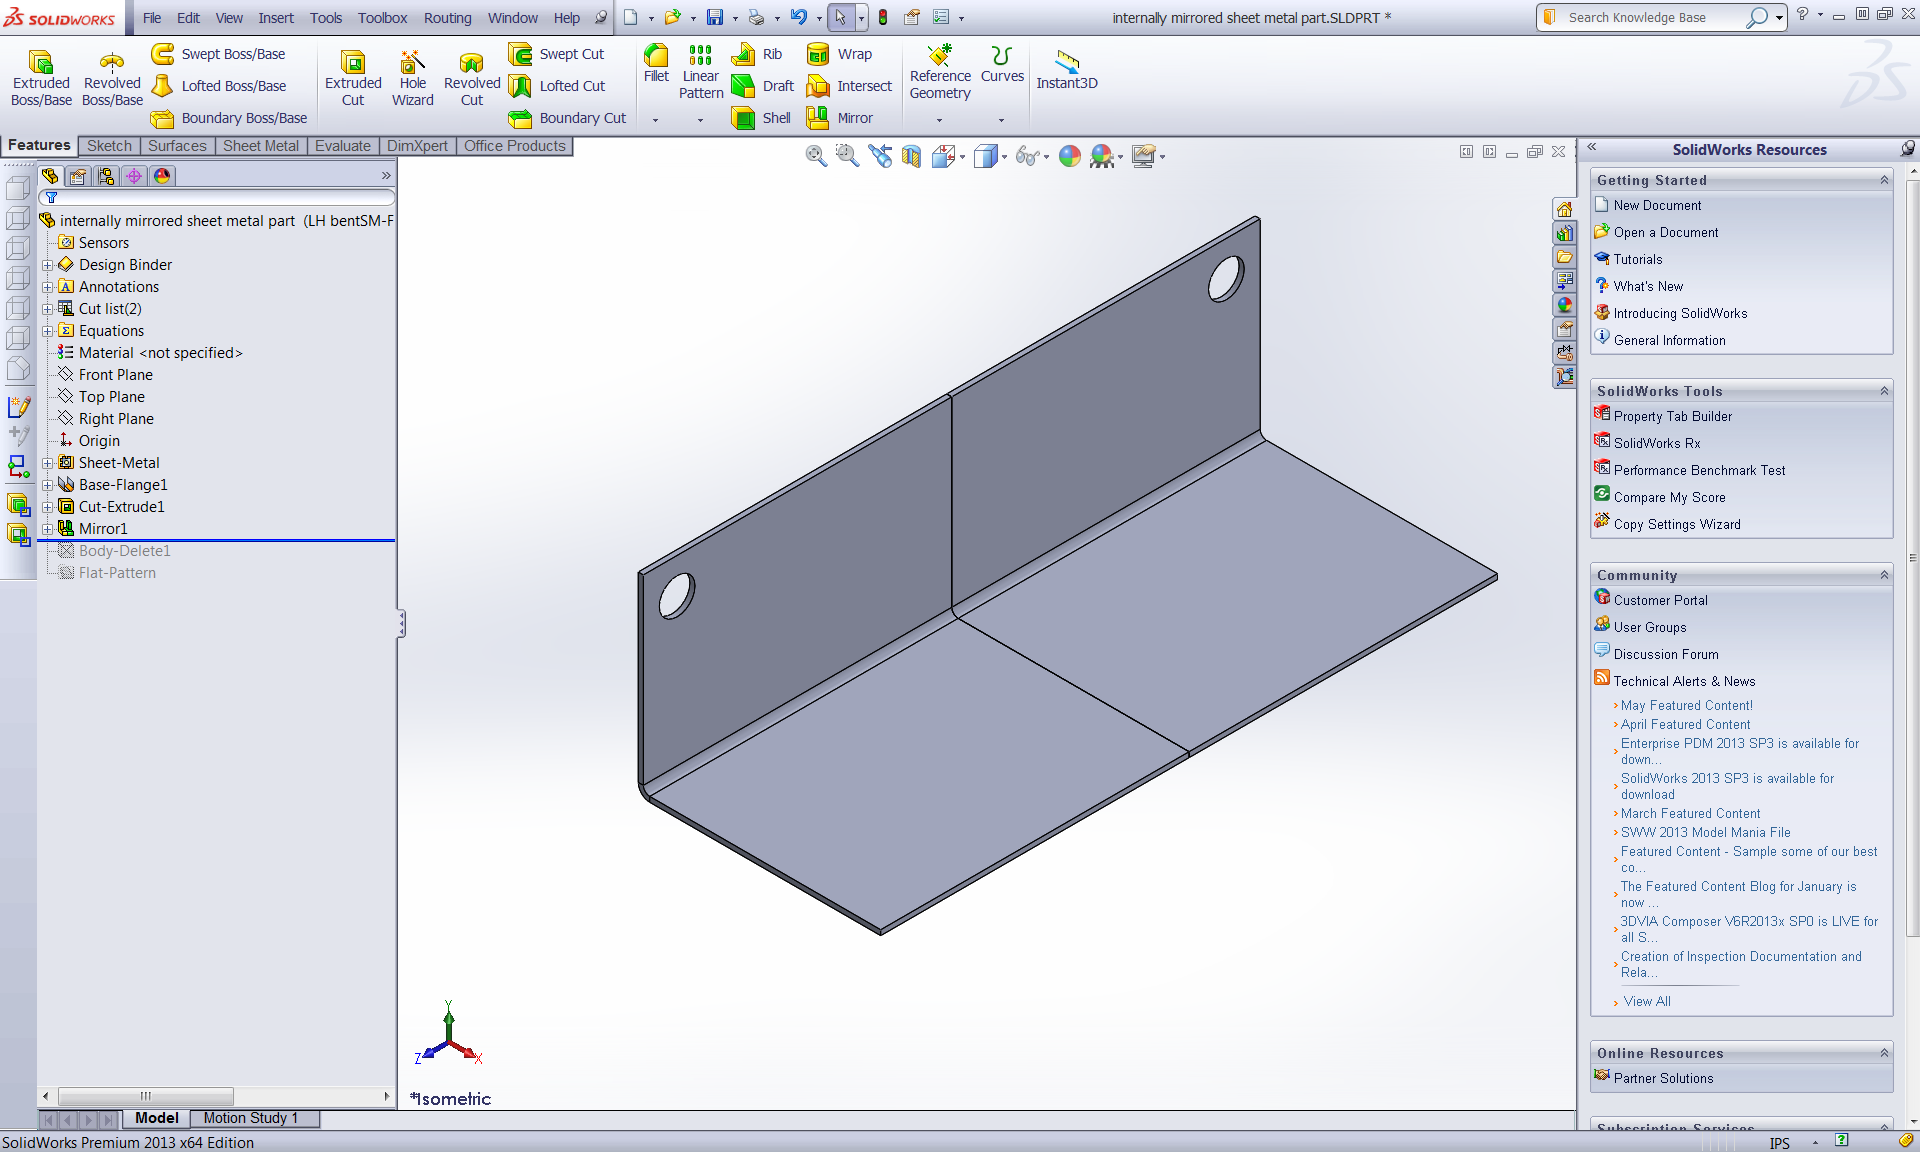
Then I deleted the initial body. (don't worry we get that back later)
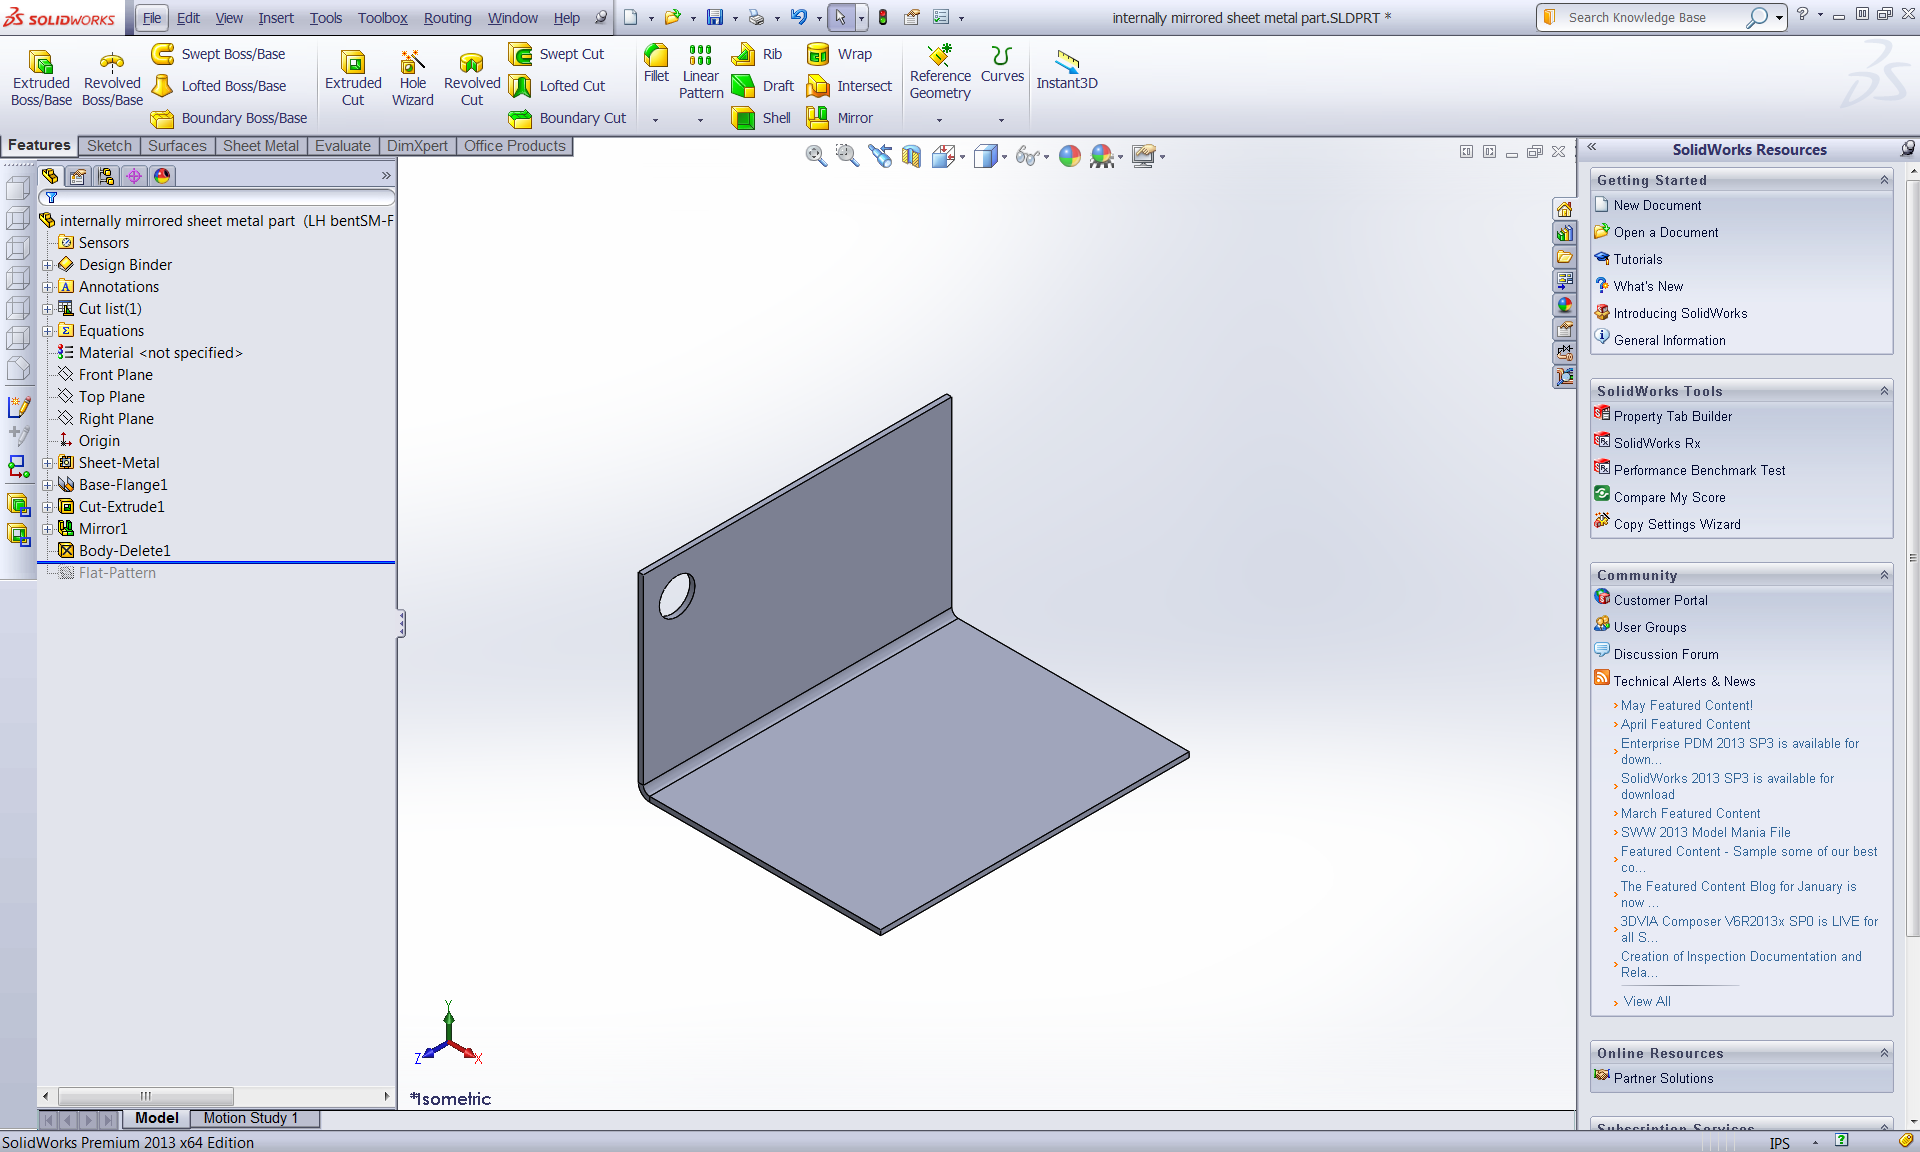
I then created a derived configuration of the initial sheet metal part, this way the mirror will update when the initial body does. In the initial confiugration the mirror and the delete body are suppress. In the mirroed configuration the mirror and delete body are unsuppress. Then I used a drawing to insert a flat pattern of each configuration so that those flat patter configurations were created. The flats are important to get the sheet metal notes.
On the drawing you can now see all of the bent and flattened states of the part.
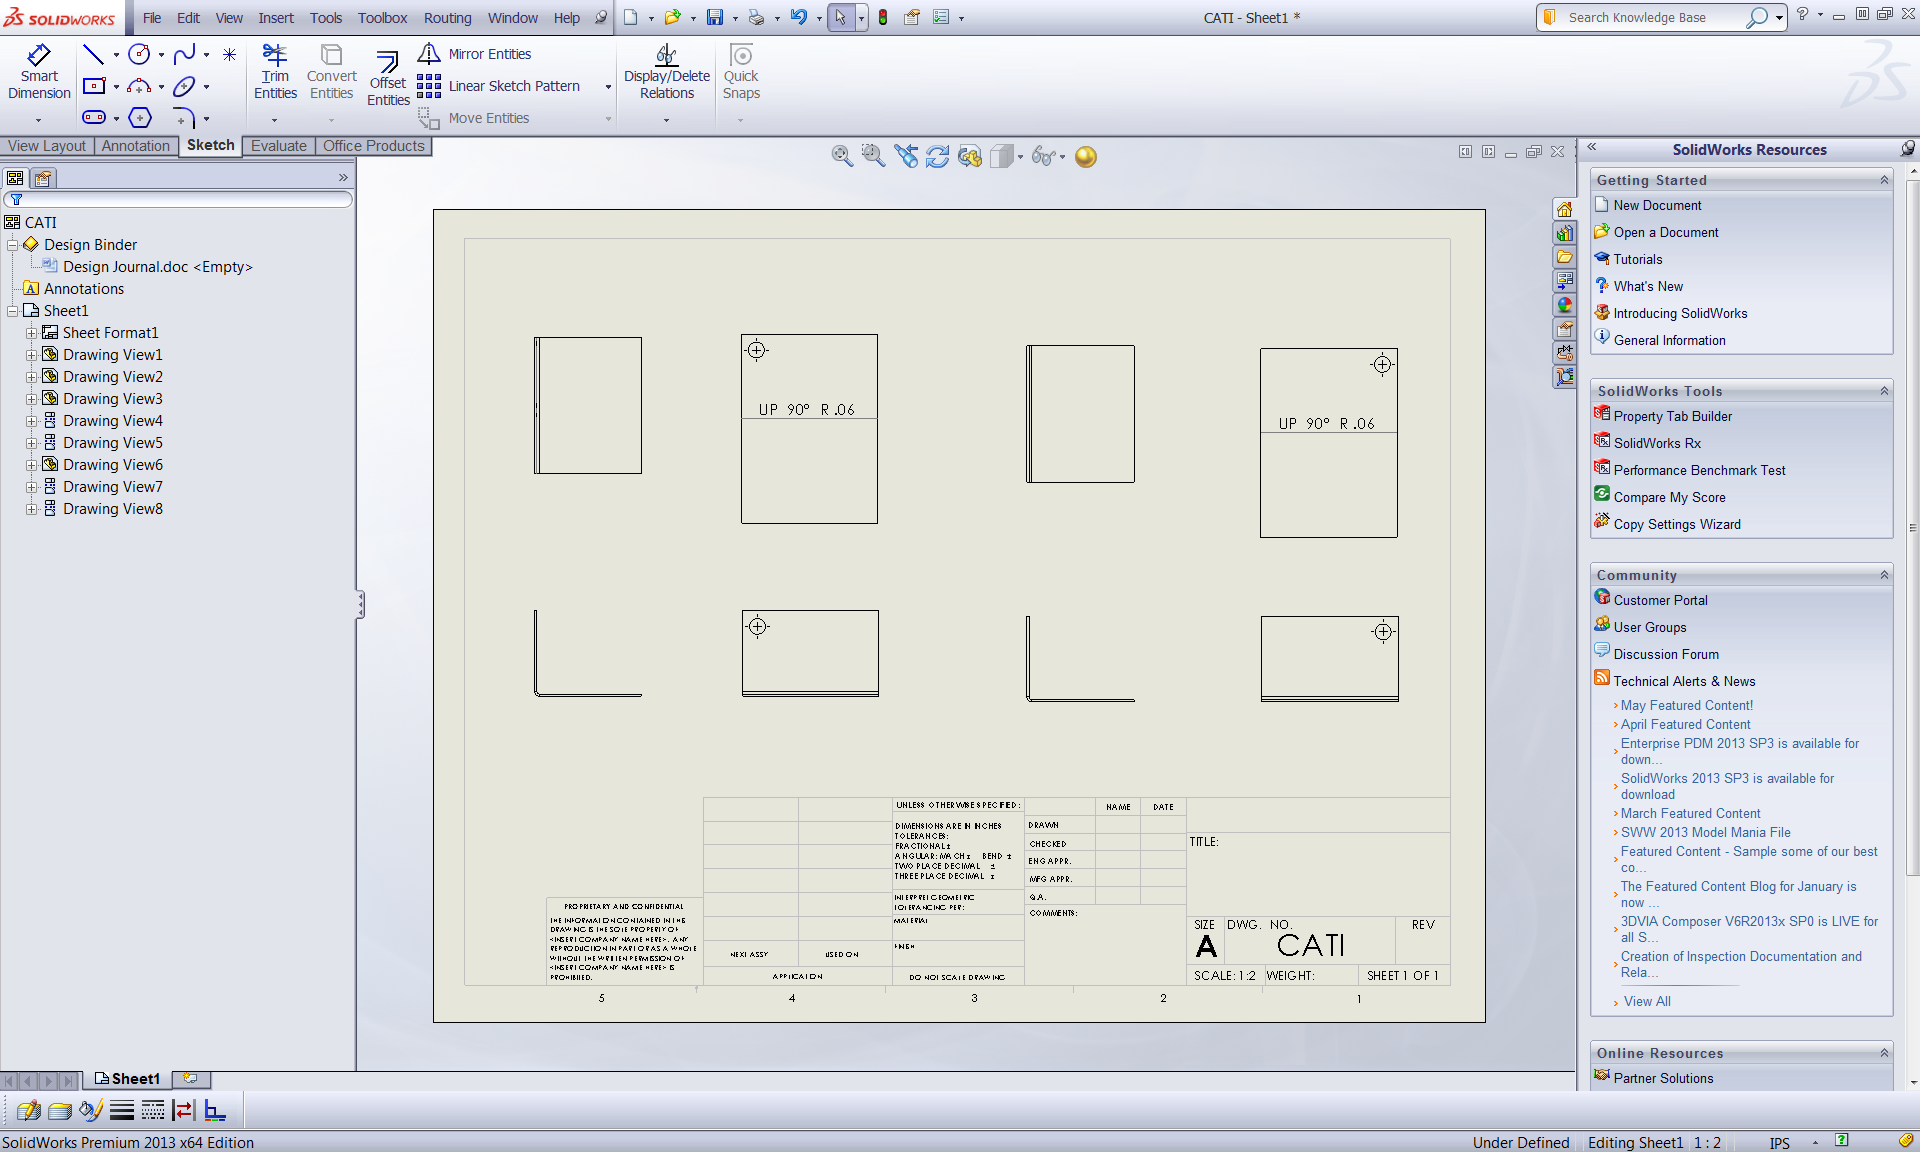
This may be a little on the long side but it works until the SPR is finished and we have the new controls to work with.
John Van Engen
CATI Tech Support

 Blog
Blog