Material Mayhem: 3 Tips For Optimizing FDM 3D Printing Materials
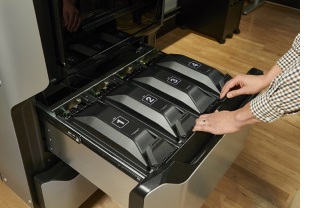 3D printing is primarily known for its ability to dramatically increase efficiency in any environment it is applied to. From decreasing prototyping and labor costs, reducing cycle times, and instilling Lean Manufacturing principles, it is a major player in today’s advanced manufacturing fields. However, there is one facet of the technology that can lead to delays and increased costs if not managed correctly – 3D printing materials.
As you can imagine, the more 3D printing is integrated into an organization, the more 3D printing materials are used. So, the more optimized your 3D printing process is in your organization, the more important it gets to follow proper material handling practices. Today I will specifically be focusing on FDM (Fused Deposition Modeling), the world’s most popular 3D printing process, and if it’s from Stratasys, the process that uses real thermoplastics.
#1. Bag it and tag it
Moisture is mayhem. It is the root of all evil, it is the bane of your existence. When using any FDM system, it is important to keep canisters or spools in dry, room temperature areas. When it comes to spools, in particular, it is extremely important to have your spools sealed in an airtight bag (anything of the right size will do).
Why is this storage and anti-moisture stance so important? Well, with this simple practice put in place, you are retaining your ability to print parts like this
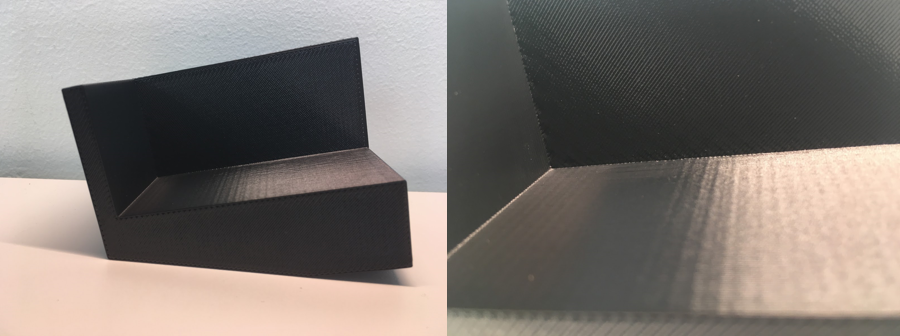
instead of parts like this:
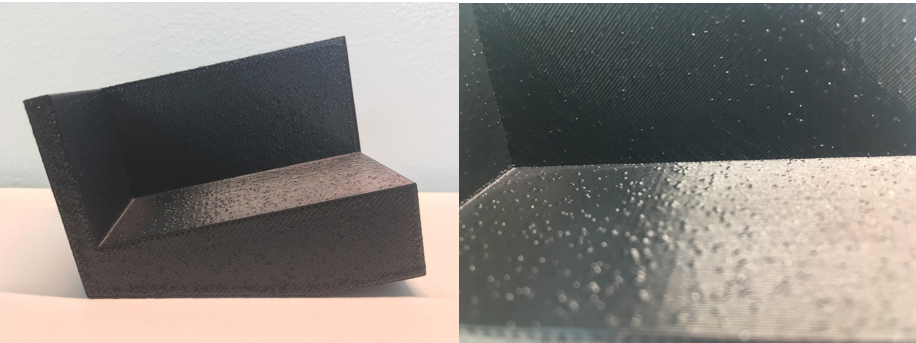
This will not just affect part resolution, but will also lead to printer jams from filament snapping within the machine, dirtier or damaged printer heads from material gumming up on them, and potentially even a withering of part strength due to inferior layer adhesion.
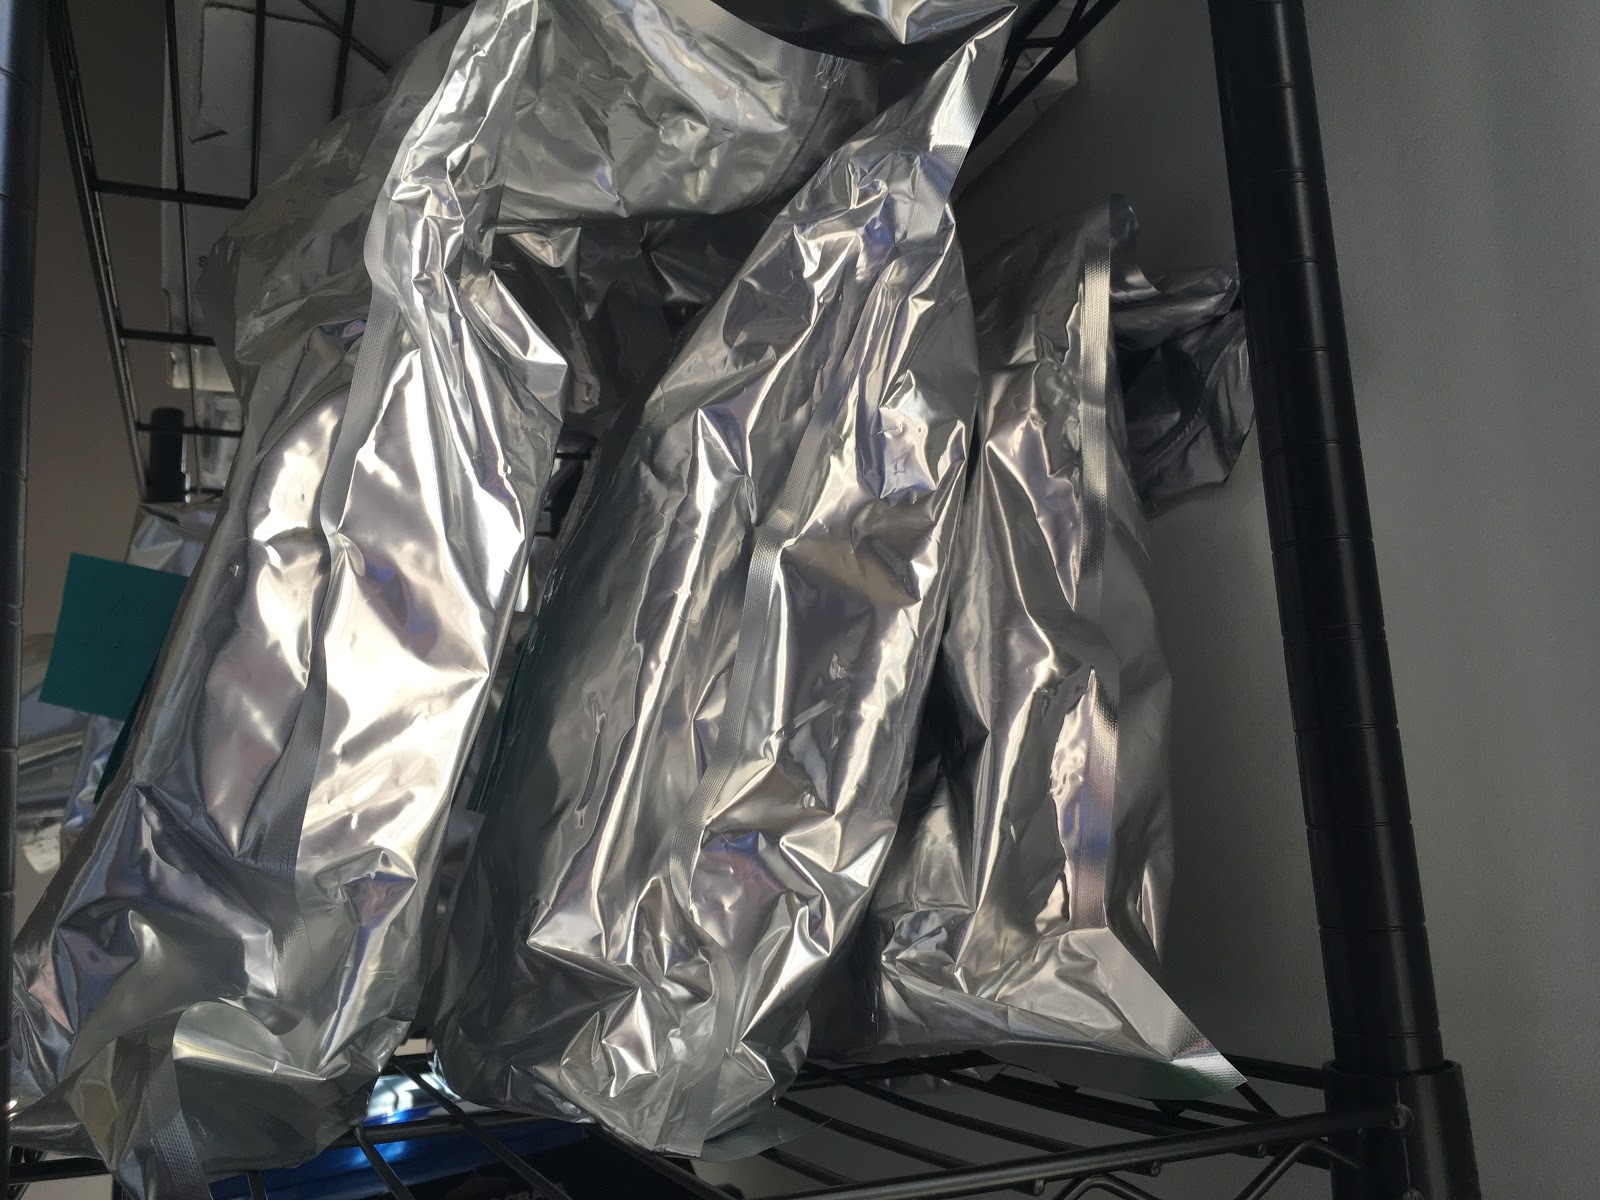
All you need to prevent these issues are those sealable bags previously discussed and shown below.
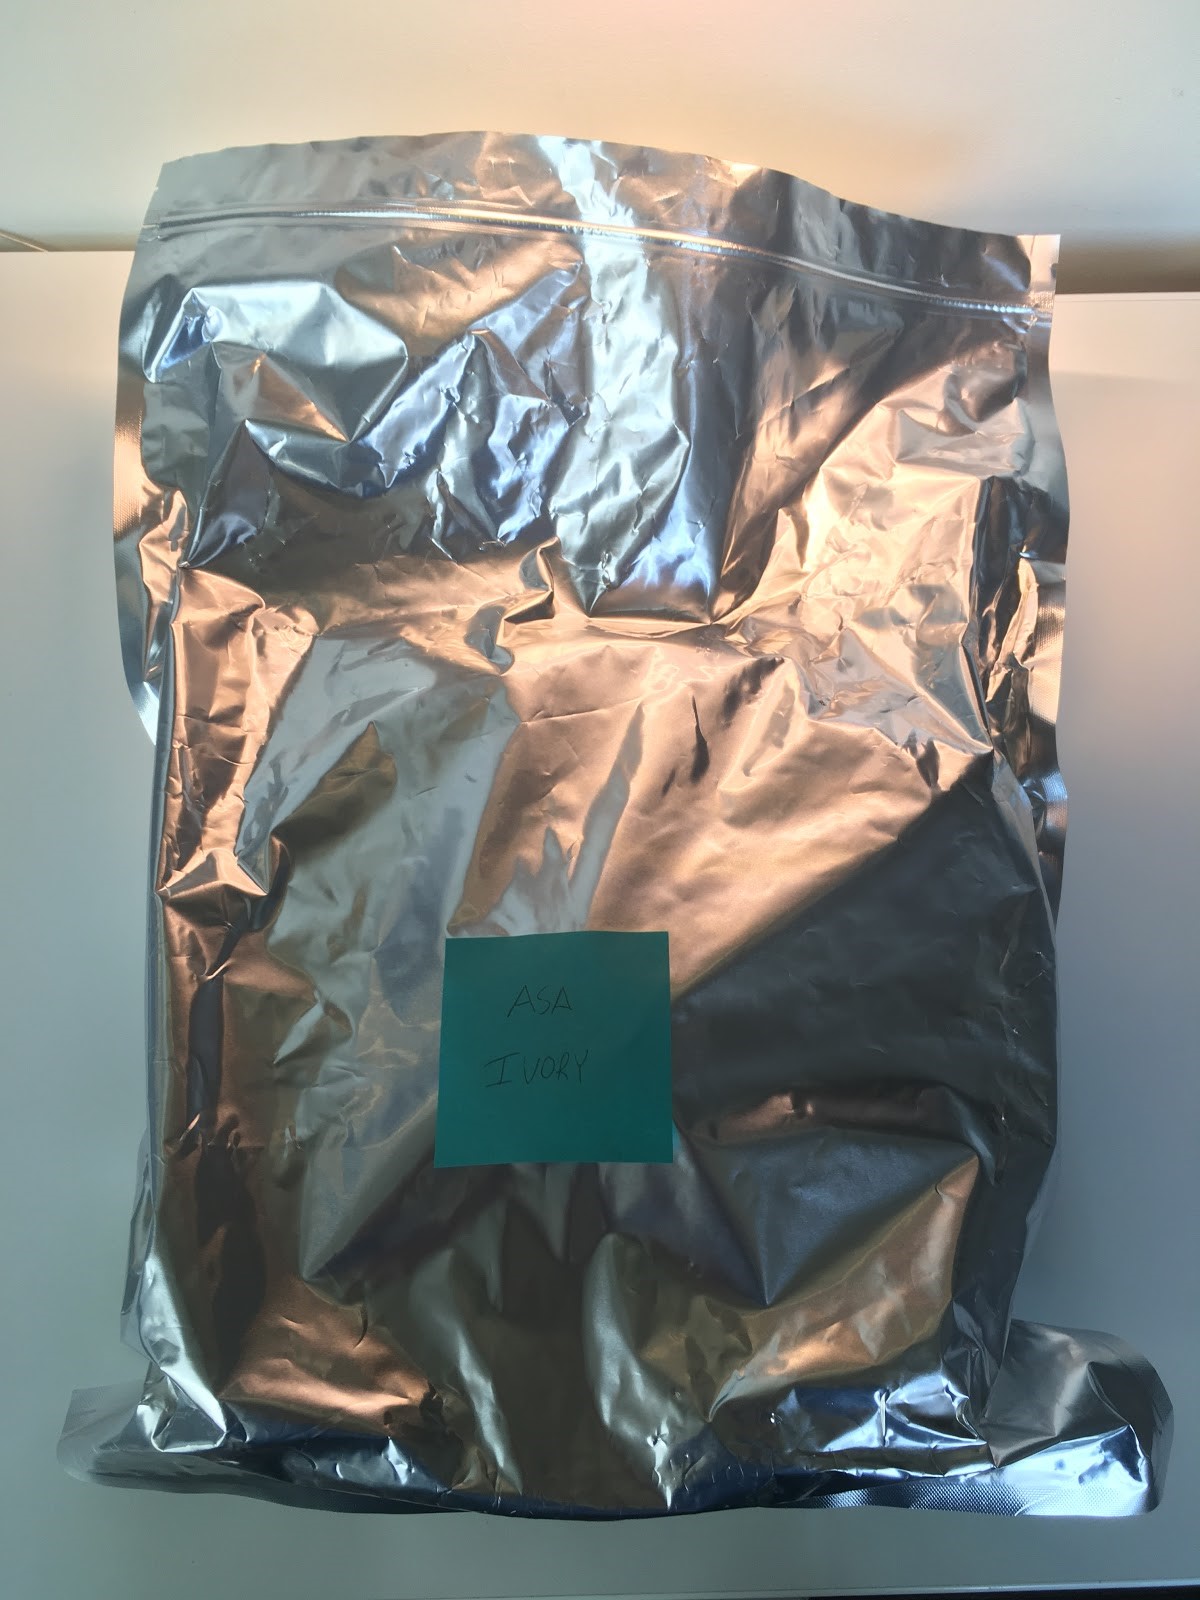
What’s nice about the spools used on our Stratasys F series is that even wrapped they are easily stackable on a wire rack
#2. Structure inventory for demand (Just-In-Time)
As I mentioned earlier, if you are using your 3D printers efficiently and effectively, material will undoubtedly be your largest expense, due to constant use of your machine(s) for years to come, quickly reaching ROI.
It is at this point that you should have a good idea of how much material you intend to go through, and what type of material you will use, and possibly color as well.
Like most consumables, this material does expire. If you are ordering too much at a time, this will lead to a surplus, and you might be stuck with too much and inevitably need to throw it away, wasting your investment. The same principle applies for ordering too much 3D printing material, or any, of a material you seldom use, if at all. This is why it’s important to completely base your inventory levels on demand, to ensure that you are operating “just-in-time” to ensure minimized inventory costs with no wasted material. This is much easier to achieve with a local material provider and a Lean Manufacturing “Kanban” approach to inventory management.
This, of course, would not matter if you are not following the bag it and tag it practice, since your materials would go bad before their expiry dates anyway.
#3. Sparse at all costs, to reduce costs
The biggest part of my job as a 3D Printing Application Engineer is asking people “why?”
Why make this in steel? Why make this in metal at all? Why make this solid? The list goes on.
You must always question your prototyping and tooling methods – more often than not we tend to do things because that’s what we were told to do at some point.
A lot of the time, actually most of the time, you don’t need to print things in solid. Going off of that, you probably don’t even need to print most things in a high-density sparse fill.
Depending on your application, you can get away with very sparse parts by means of orientation and understanding the real forces that your parts will have exerted on them; there is sure to be several in your process that may not need much strength at all, which will allow you to sparse even further without compromising external geometry. And, if you have Insight software, you can actually sparse out the majority of your part, while thickening the walls around holes or internal channels, allowing you to balance sparsity, light part weight, and required hole/channel strength for tapping, all in one.
All of this, combined with creative orientations, will allow you get even more bang for your buck when printing with FDM.
Bonus Tip: Live Parts Optimization
Are you familiar with “generative design”? If not, it is essentially a way of having your parts design themselves – additively. Desktop Metal has come out with a non-technology-specific software solution called LIVE PARTS.
With this software, a free download, and using their SOLIDWORKS plugin, all you need to do is specify the part space, constraints, and forces acting upon it. Then, plug it into the Live Parts generator, and your part will generate or “grow” right in front of you, allowing you to tweak it even further if necessary.
Live Parts gives up to 10 hours of free processing time a month, which does NOT include the parameter setting you do in the SOLIDWORKS plugin.
This will allow you to build the most optimized parts physically possible for your application, with complex geometry ONLY achievable with 3D printing, that can be printed with any 3D printing technology.
Need help optimizing your additive efforts? View my recorded webcast where I introduce tools, tips, tricks, and best practices from Lean Six Sigma that you can start implementing today.
Related Articles
Stratasys Materials: When to Use Polycarbonate, PC-ABS, and Nylon
Know Your Stratasys FDM Materials: ABS, ASA, and PLA
Antero 800NA: The High-Performance Thermoplastic
About the Author
 Gerald Matarazzo is a certified Additive Manufacturing (AM) Application Engineer, AM Designer, AM Service Engineer, Project Manager, and Lean Six Sigma Green Belt based out of Boston, Massachusetts. Gerald has a B.S. in Data Analytics and began his career in Additive Manufacturing by starting and leading a makerspace turned service bureau in college. Gerald joined the Fisher Unitech team in 2018 with over 3 years of professional AM experience and is the Lead AM expert for the Fisher Unitech New England territory. Gerald is an experienced educator and presenter providing highly customizable, pre-to-post printing turnkey solutions.

 Blog
Blog 