How Do You Change Line Thicknesses In A SOLIDWORKS Drawing?
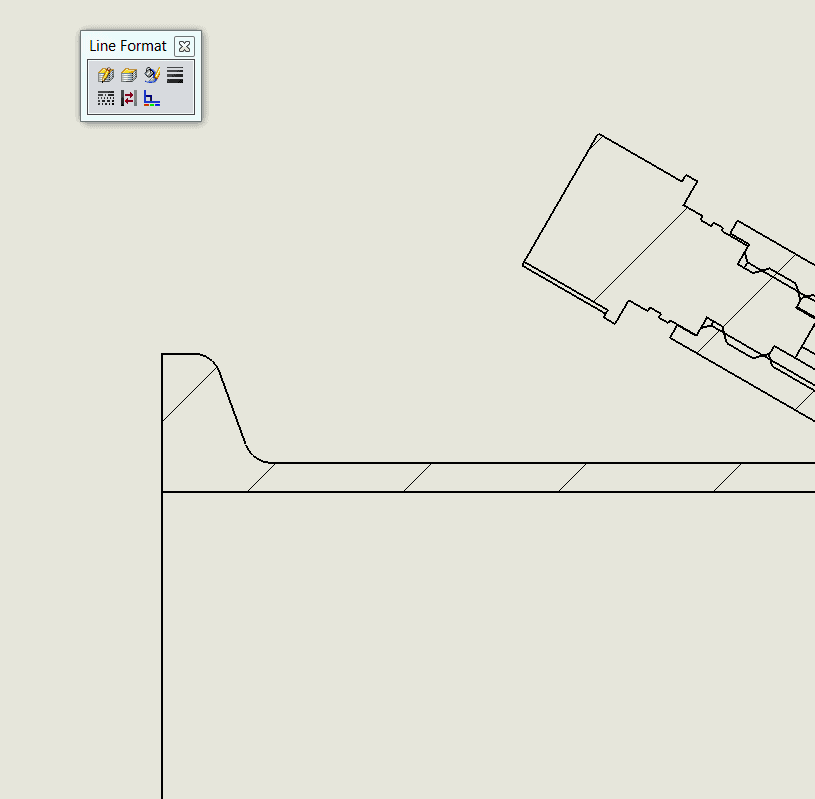
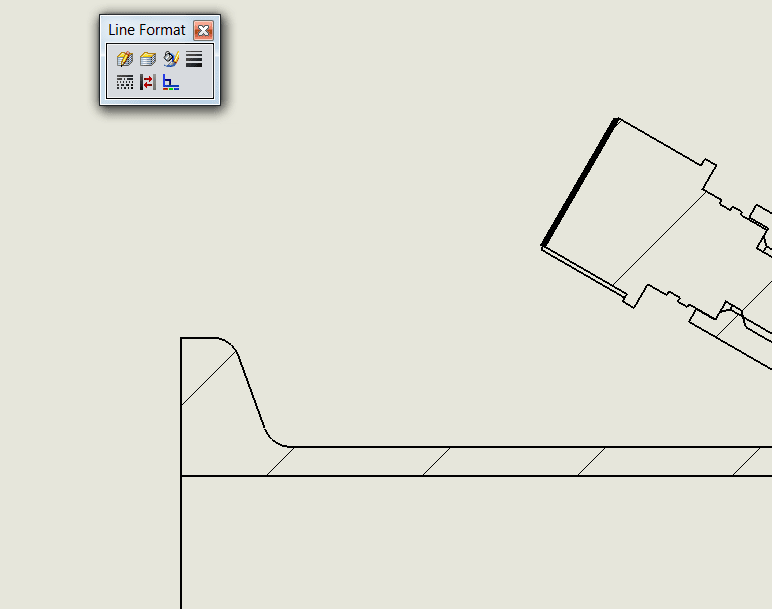
To change the line thickness in a SOLIDWORKS drawing is easy, but the question to ask yourself is do you need this temporarily or permanently. Let’s look at the temporary situation first. When you select the line, it doesn’t matter what view or type of line that you are selecting – you get a shortcut tool bar that allows you to change the style or thickness of the line.

In the picture above, the last icon in the top row is the line thickness icon and the first icon in the second row is the line style icon. You can select the line thickness icon and you will get a drop down list of the 8 thicknesses available and a 9th option for a custom thickness. Once you click off of the drawing you should notice the change in thickness. This is the quick and dirty way of changing the line thickness.

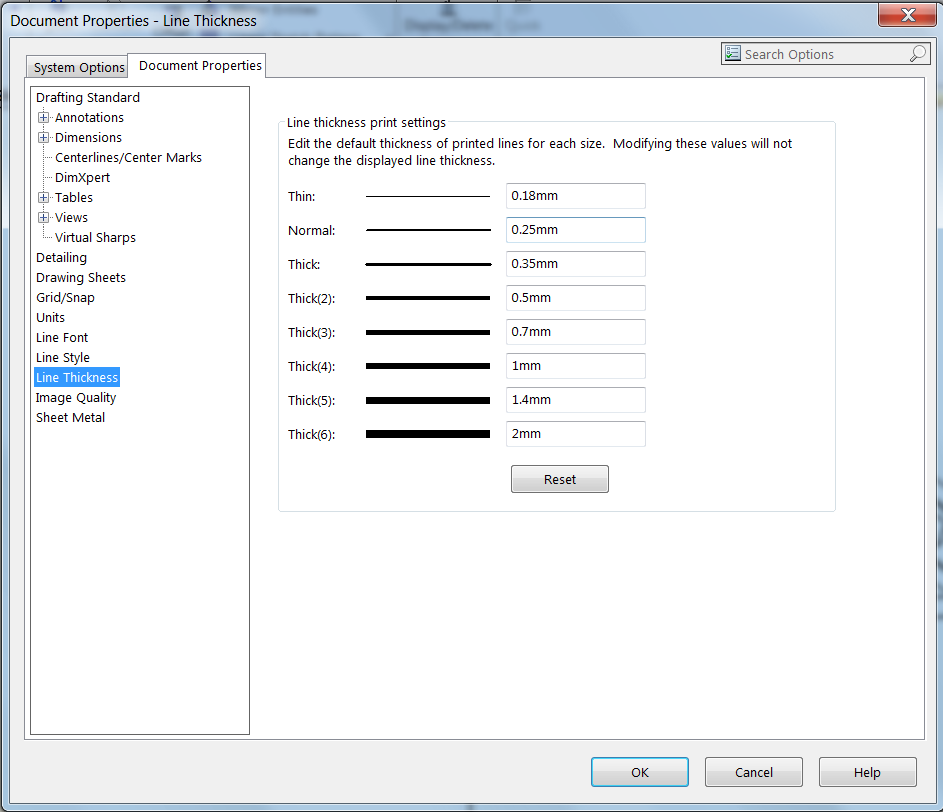
Let’s consider the permanent solution now. This involves changing the line thickness in the SOLIDWORKS drawing template. For this change to occur it has to be done not from the shortcut tool bar but from the System Options > Document Properties.

SOLIDWORKS gives you the same six line thickness options as you saw in the shortcut tool bar. I would recommend changing any of the “Thick(#)” options and then saving the drawing out as a Drawing Template.
Ketul
Computer Aided Technology, Inc.
Interested in Learning More About SOLIDWORKS?
CATI offers a variety of introductory and advanced training courses that are available both in-person and online to fit around your busy schedule. Schedule your training today!
View All SOLIDWORKS Training >>

 Blog
Blog