Does a powder spray affect your 3D scanned measurement?
In the past, 3D scanners have traditionally struggled with three main types of part surfaces, namely shiny, dark, and clear. Because these scanners are vision-based systems, if the cameras can’t detect the lasers being projected onto the part surface, we can’t collect any surface data. Each of these surface types interferes with scanning in their own way. Shiny parts reflect and scatter the lasers, dark parts absorb the lasers, and on clear parts the lasers simply pass through rendering the surface invisible to the cameras. Now, with the release of the new Handyscan Black Elite we can deal with shiny and dark parts much more easily. By using more intense blue lasers in the place of red ones, as well as improved filtering functions in the scanners themselves, it is possible to scan a much wider array of part surfaces. Unfortunately, for all its improvements, the HandyScan Black Elite still cannot scan clear parts. The fix, as it has been in the past, is to coat the surface in something more scanner friendly to mask the non-ideal surface below. We recommend using a spray powder such as Slide Zinc Stearate Mold Release Powder.
It’s easily applied, safe for use on a wide variety of materials, quick to clean, and gives a great matte white surface to scan. But the question has come up many times before, and understandably so of, “Well how much thickness am I adding to my part surface by using this spray? Are my measurements even going to be accurate anymore?” There is undeniably a non-zero thickness being added to the surface here, but the question is, how much? I set up a test to determine an answer.
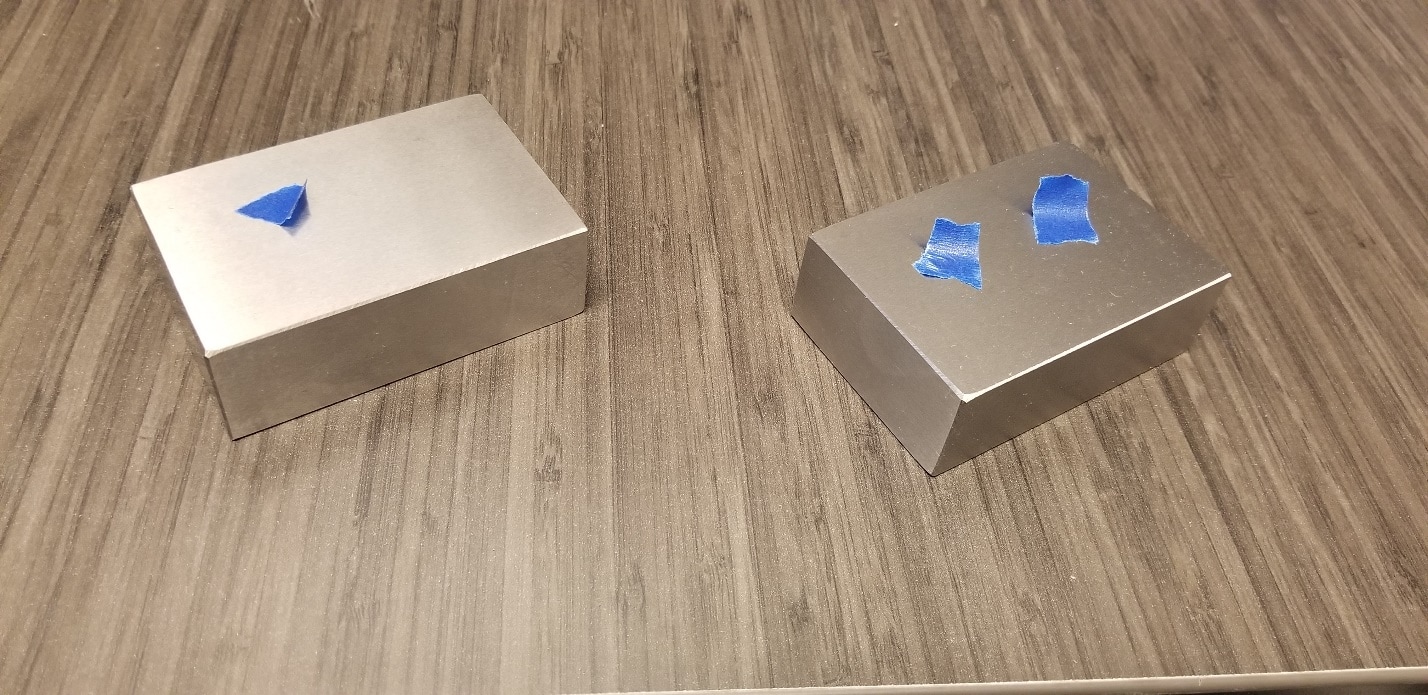
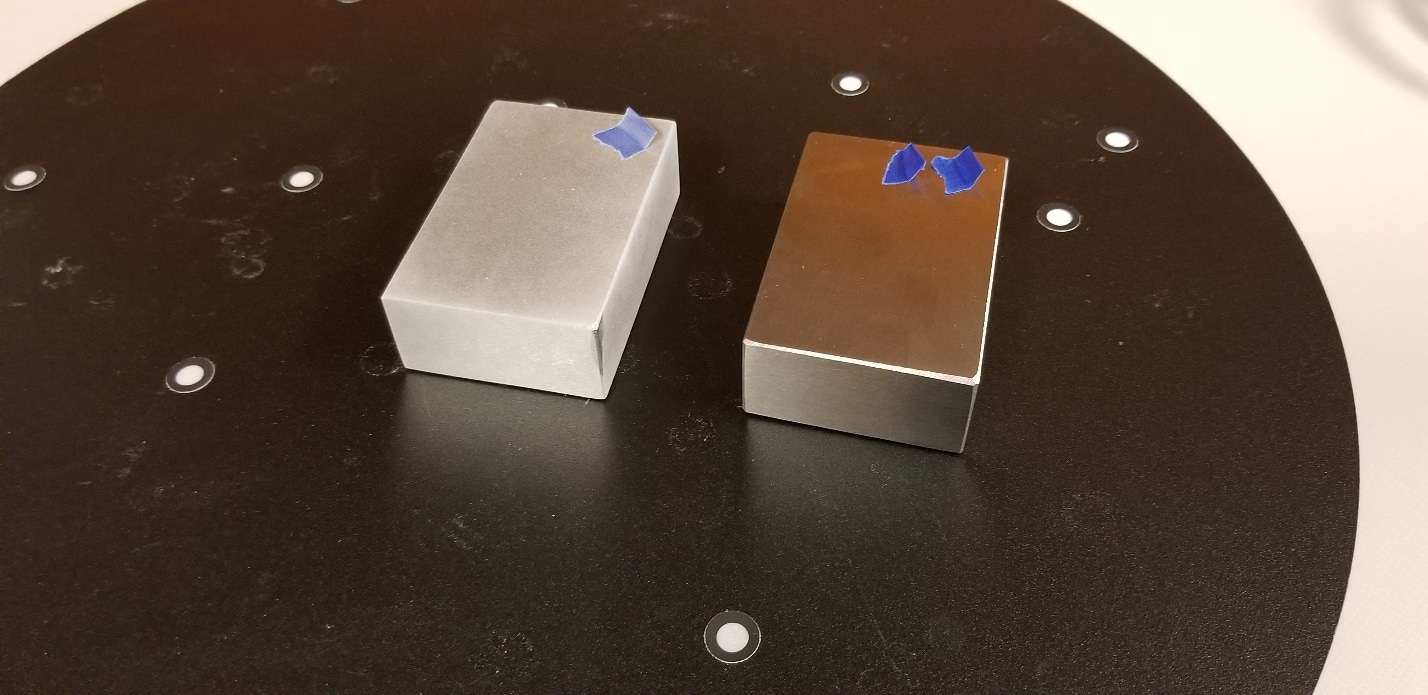
The first step was to find a good object to act as our measurement part. The goal isn’t to have a precision machined part here, we just need something dimensionally stable and relatively square to make things a bit easier. We don’t care if the part itself is made well relative to its’ own specs, we are just concerned with how much powder we’re going to be adding to the part’s surface. I found these 1-2-3 blocks from Amazon that fit the bill perfectly. These are just some cheap ~$20 blocks with no certs of accuracy, but again, that’s not really our concern here. Here they are photographed with pieces of blue tape here as identifier tags for block 1 and block 2 that can easily be seen on the parts as well as on the scan files.
The next step was to create an inspection report in VXinspect to help automate the inspection process a bit. After everything is said and done here, I would be scanning these blocks 80 times so any time saving measures would be critical.
Just some very basic plane to plane measurements were all that was needed. I threw in some surface deviation colormaps as well just out of curiosity.
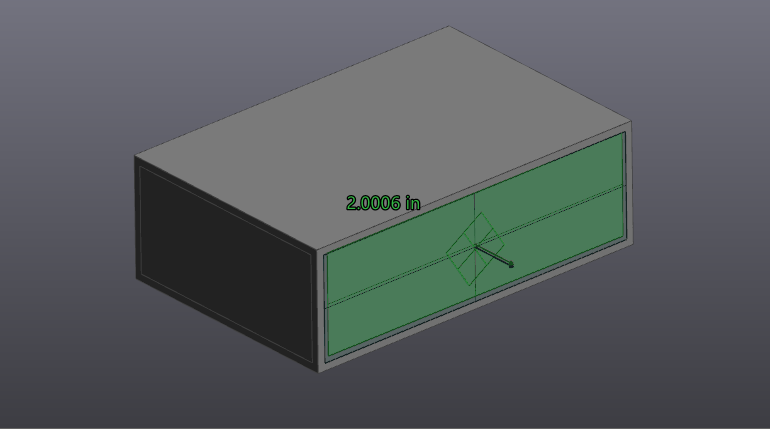
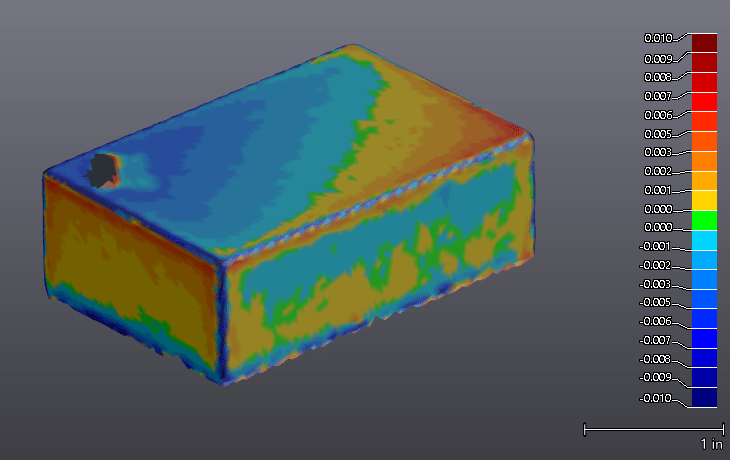
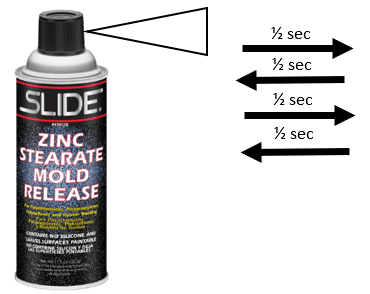
To start, I thoroughly cleaned and scanned each block 10 times to establish an un-sprayed baseline. Next, I sprayed each of the faces to be measured with zinc stearate powder. The top and bottom faces, or the 1-inch thickness sides were not sprayed or measured since one of the faces would be inaccessible with the part oriented as shown. Parts were sprayed according to the manufacturers recommended 8-12-inch standoff distance, approximately 1/2 second of spray time per pass with 4 passes per side.
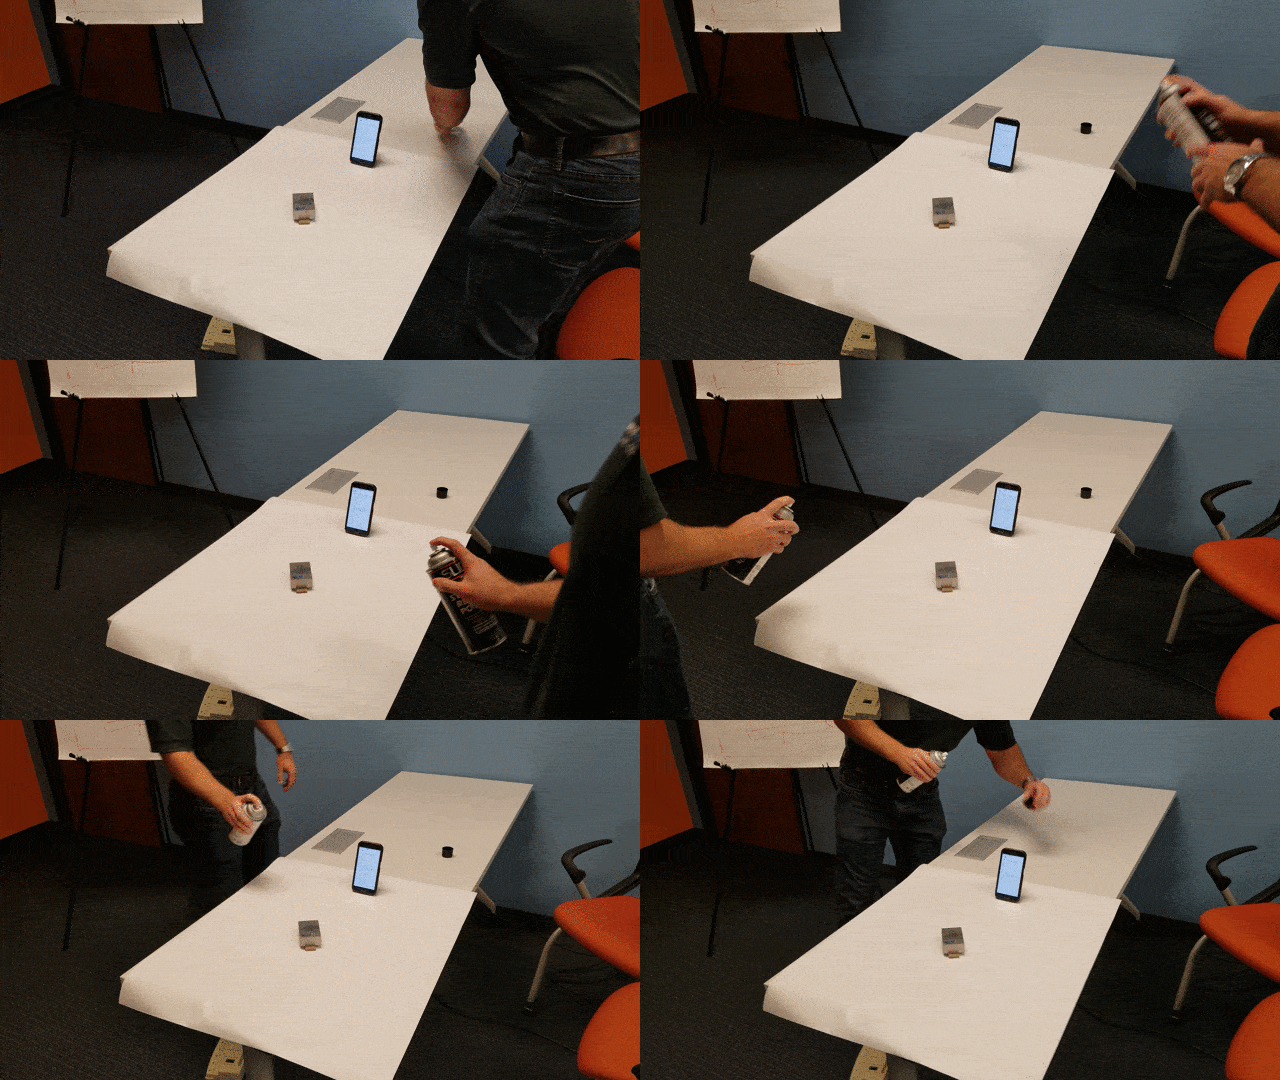
A comparison of before and after spraying.
Once sprayed, each block was then scanned ten times, cleaned, then sprayed and scanned again two more times for three trials of ten scans each.
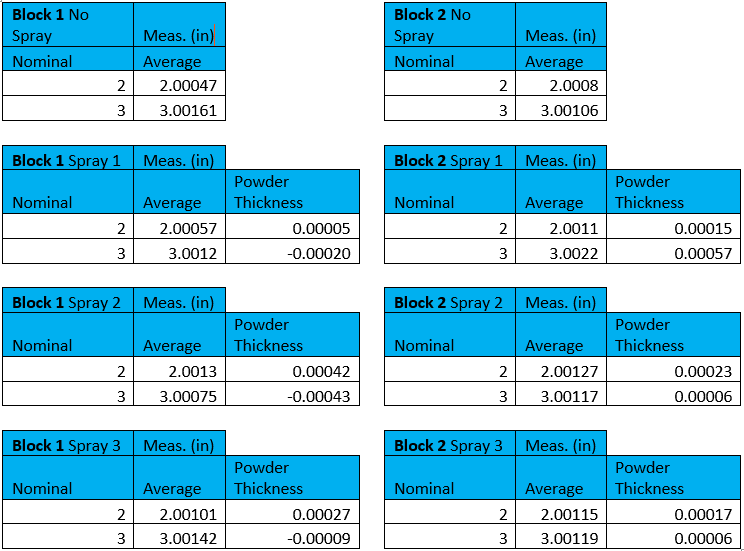
Finally, for the results, this test appears to show that in terms of the accuracy of the HandyScan Black Elite, there is not a significant enough change in surface thickness to affect scanning measurement accuracy. Creaform’s 3D scanner is certified to 0.0009” accuracy, so with the thickness deviations below being well within that range, they are essentially insignificant noise in the wind. In summary, as long as you spray a light, even coat as defined earlier, you should not be worried at all about powder affecting your accuracy.
Cullen Williams
Application Engineer
Computer Aided Technology, LLC

 Blog
Blog