Customize Your SOLIDWORKS Inspection Project Templates
In my first couple of blogs I wrote last year, I talked about a newer(ish) product to SOLIDWORKS which streamlines the creation of your Inspection Documentation: SOLIDWORKS Inspection. It really takes what normally can take minutes, and even hours, down to seconds. Since that first blog has seemed to generate a lot of interest, I thought I would continue with this subject and talk about how you can speed it up even more.
In the SOLIDWORKS Add-In version, the process begins by choosing a Project Template (there are several standard ones to choose from) and then choosing all of your settings. I will not go into these details here are they are described in the aforementioned blog. This is a relatively quick and easy process, however, if you are always choosing the same options, why not let SOLIDWORKS Inspection automatically choose them for you?
Maybe you have specific customers who require different sets of default tolerances or extraction settings, or your internal parts specifications will vary depending on their product category. You can create custom Project Templates to suit each one.
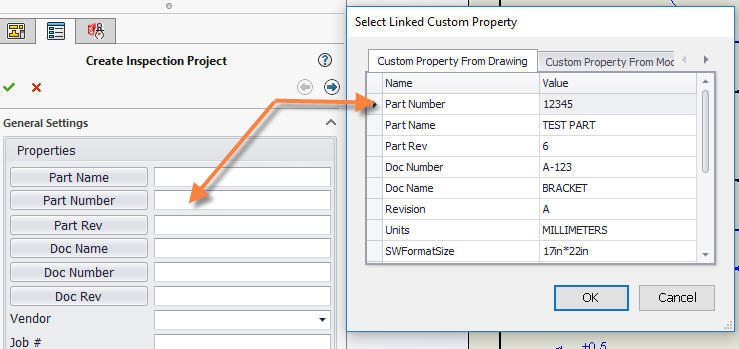
To do this, you simply start how your normally would; choose any settings and modify any tolerances that you want to be defined as a ‘Standard’. This can also include Custom Properties! The Custom Property just needs to be defined the same way in each drawing for it to work.

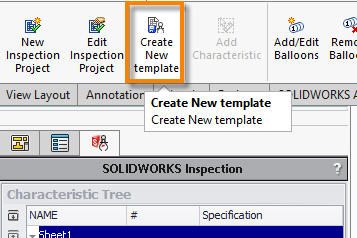
Once you are complete, simply select ‘Create New template’ from the Command Manager.

You can then give it a name to suit your needs, whether that be part or customer specific or whatever else it may be, and save it in the correct file location. It will now show up in your Project Settings list at the beginning of your new Inspection Projects.
This may only save you a handful of seconds, but if you are constantly changing the default and creating Inspection projects all day long, those seconds can really add up!
If you have any questions on SOLIDWORKS Inspection, let us know.

 Blog
Blog