Calibrating your GO!SCAN 3D Scanner
Due to the inevitable changing of environmental conditions, it is important to be able to optimize data acquisition by running a quick scanning calibration. It is not necessary to do before every scan, but calibration should be done on a regular basis and when the scanner is exposed to an obviously different environment than the last time it was calibrated.
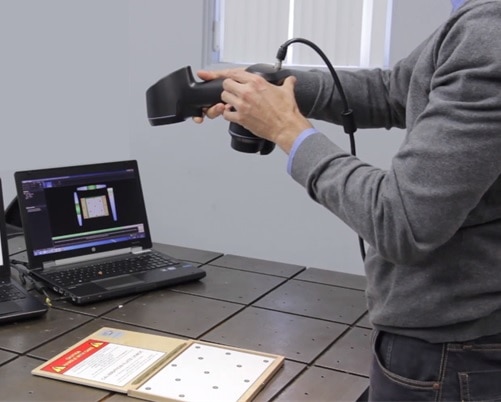
The GO!SCAN system is supplied with a calibrated and serialized reference artifact, also known as a calibration plate. This is the hinged wooden box inside the carrying case under the main foam insert. This calibration plate is specifically calibrated for your GO!SCAN and should not be used with any other scanner.
- Open and place the calibration plate on a flat surface.
- Open VXelements and connect the scanner.
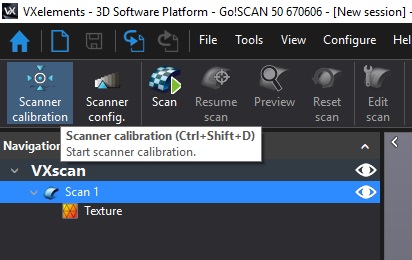
- Select Scanner calibration in the top left corner of the UI.

- Hold the scanner perpendicular to the plate and hold down the trigger.

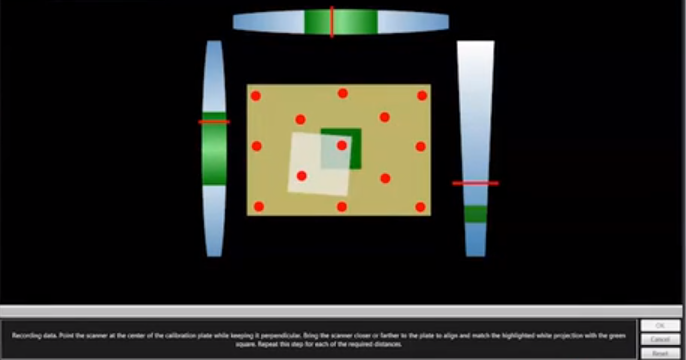
- The bars on the left and top of the screen show your angle to plate and the bar on the right shows your distance to the plate.

- While maintaining the correct angle and distance inside the green, bring the white square in line with the green square.
- This process is repeated for ten incrementally increased distances.
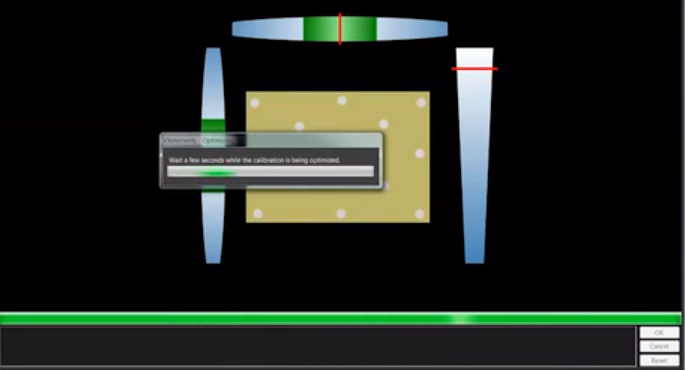
If the scanner is held at the correct angle and position, the scanner can just be slowly raised and all the calibration points will be quickly hit. Once all the points are hit, the program will spend a few seconds optimizing.

You will then get a notice saying the scanner is optimized, select accept. If the calibration fails and the scanner cannot be optimized, be sure there are no other tracking targets or reflective surfaces within the area and check that there are no damaged targets on the calibration plate.
Cody Doiron
Field Service Engineer
www.cati.com

 Blog
Blog