Importing Files with Pre-Existing Revisions into a PDM Standard Vault
Introduction
If you’ve ever tried to put a file with a pre-existing revision into a PDM Standard vault, you may be familiar with the following scenario:
1. LegacyPart.SLDPRT is at revision “C” and needs to be moved from the folder on your Desktop into your PDM vault
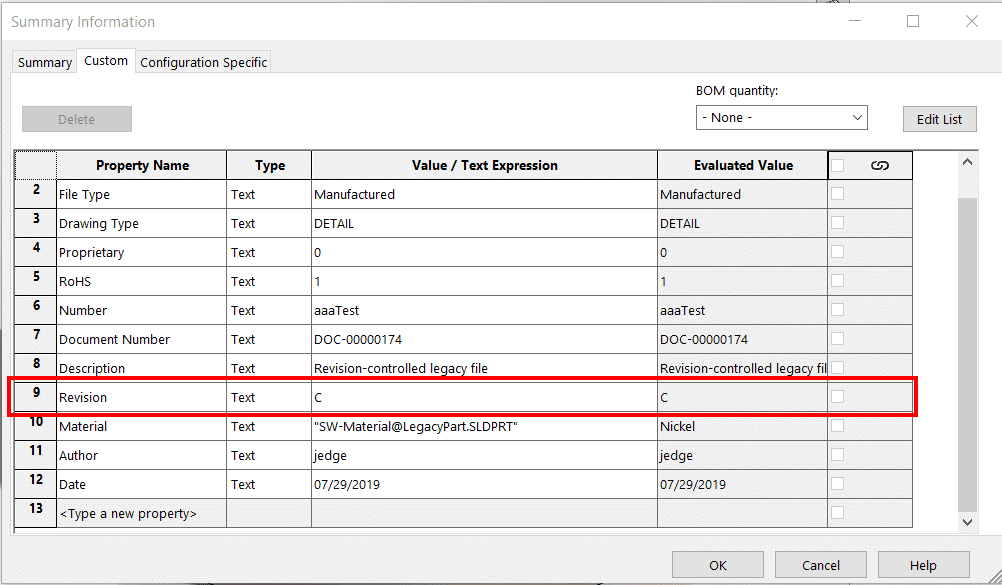
Custom Properties for LegacyPart.SLDPRT
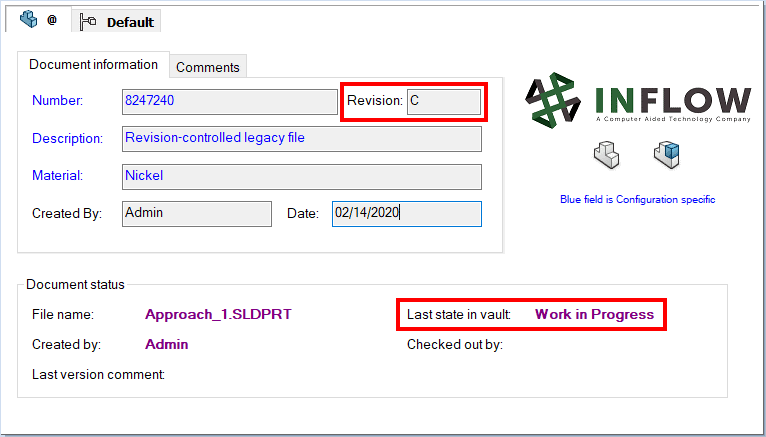
2. You save LegacyPart.SLDPRT into the vault and the revision is set to “C” on the data card (so far so good)
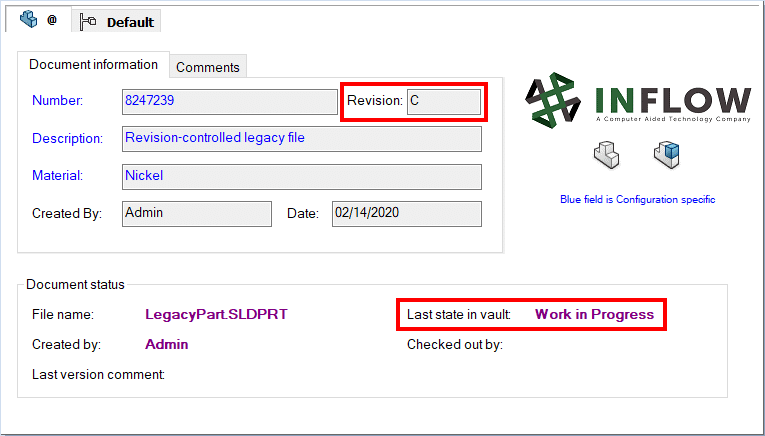
Data card for LegacyPart.SLDPRT after initial check in
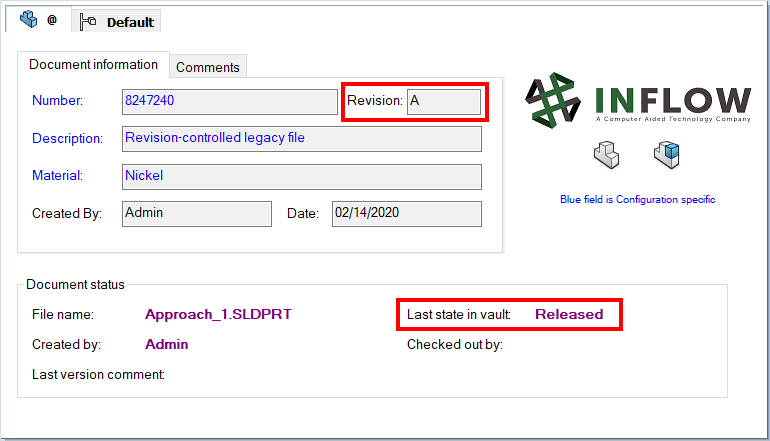
3. The revision then automatically reverts to “A” when you release the file
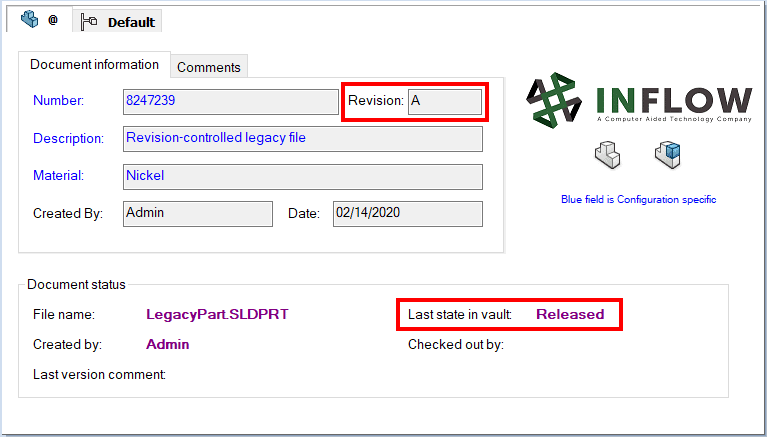
Data card for LegacyPart.SLDPRT after being released
4. You now need to contact your admin to have them manually set the revision back to “C” because you don’t have the permission to set revisions on released files
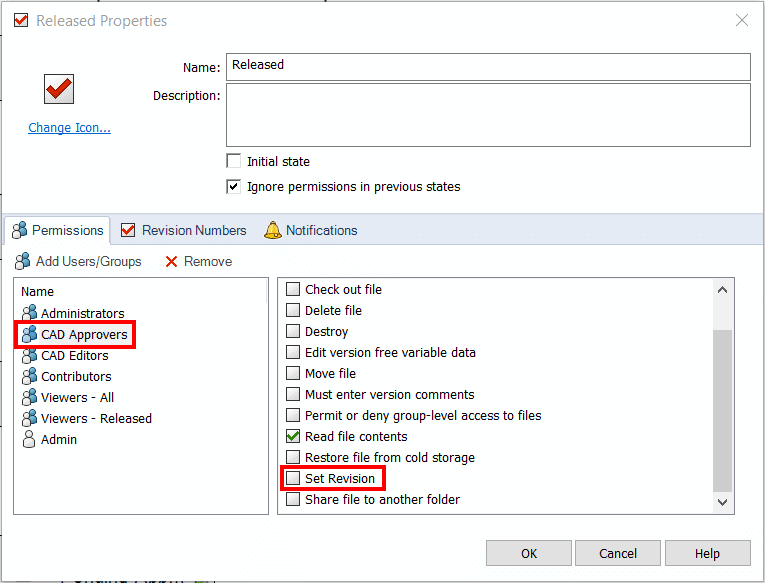
Permissions for a typical CAD Approver user in the Released state
We commonly see customers having this issue when migrating previously revision-controlled files into their PDM Standard vault for the first time. The restrictions associated with PDM Standard make things a little bit tricky, but it is still possible to work around this issue without making any dramatic changes to the vault configuration.
Why is this only an issue in PDM Standard?
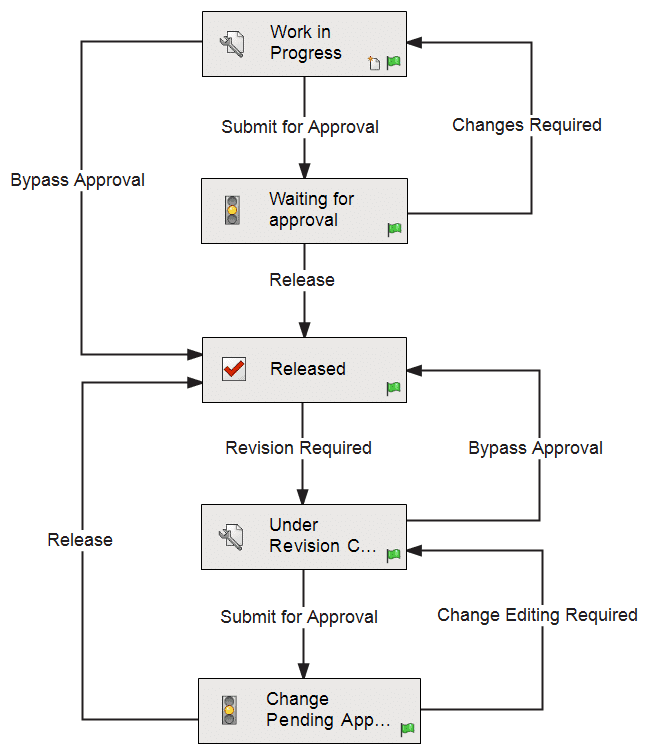
Having multiple workflows, automatic transitions, and more than one transition between two states are all possible in PDM Professional. These features can be utilized in different ways to configure solutions directly into the workflow(s) in order to make importing previously revision-controlled files into a vault easier for the end user. PDM Standard, however, has restricted workflow capabilities, which means end users will need to perform some additional actions when importing these files into the vault. Below are two possible approaches for solving this problem when using the following PDM Standard workflow.
Approach #1 – Set Revision in the Released State
1. Save your file into the vault and check it in. At this point, the revision on the data card is correct.
2. Release the file. The revision on the data card now gets set to the first revision value in your revision scheme, which is incorrect.
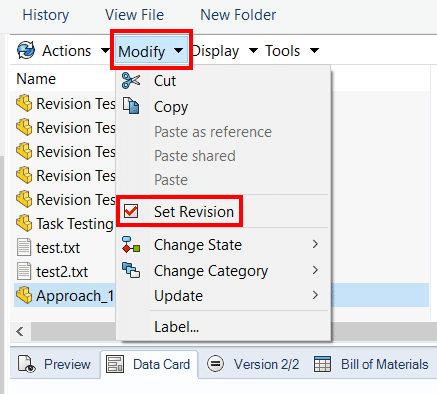
3. In Windows Explorer, go to Modify -> Set Revision
4. Set the revision back to the correct revision value in the “New Revision” column and make sure the box for “Update Variable” is checked. In this case, the correct revision value is “C”.

After pressing the “Ok” button to submit the revision change, the file is in the Released state with the correct revision value listed on the data card.
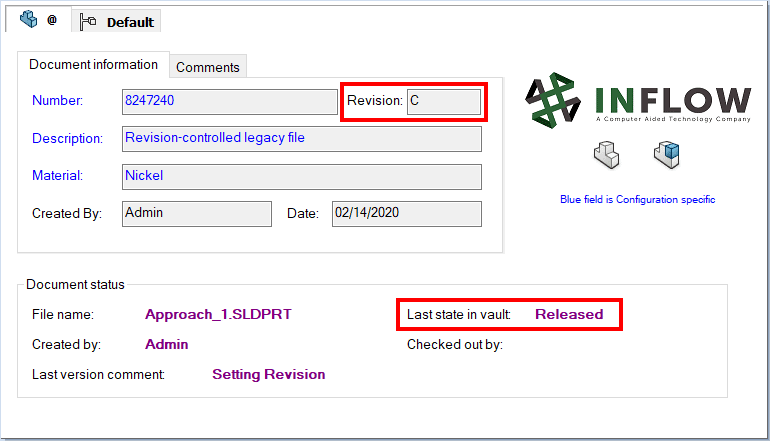
The main concern people typically have with this approach is that all users will need to have the permission to set revisions for files in the Released state. This makes it possible for end users to accidentally change the revision of a released file to an incorrect value.
Approach #2 – Set Revision in the Work in Progress State
1. Save your file into the vault and check it in. Again, the revision on the data card will be correct at this point.
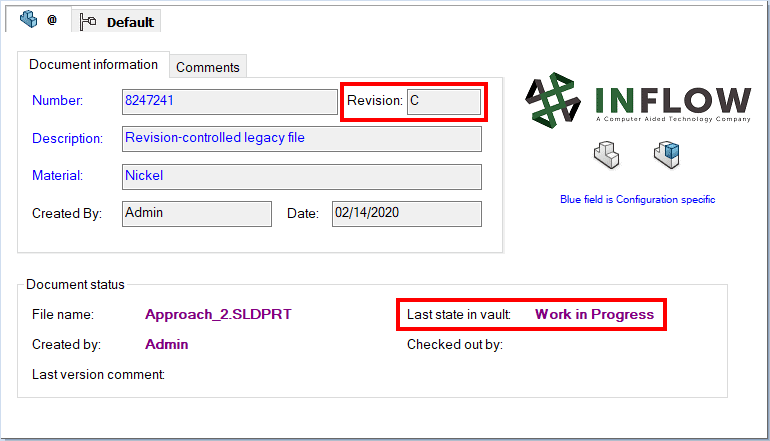
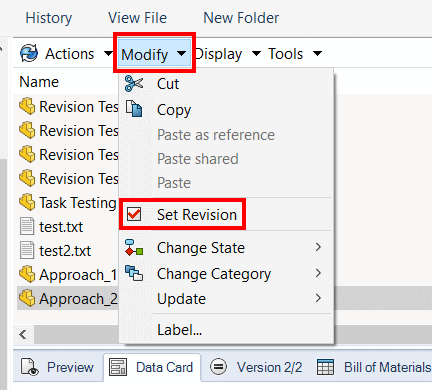
2. In Windows Explorer, go to Modify -> Set Revision
3. Enter the revision value in the “New Revision” column that precedes the correct revision listed in the “Data Card Variable” column and make sure the box for “Update Variable” is checked. In this example, Approach_2.SLDPRT came into the vault at revision “C” so the new revision needs to be set to “B”.

4. Release the file. The file is now in the Released state at the correct revision.
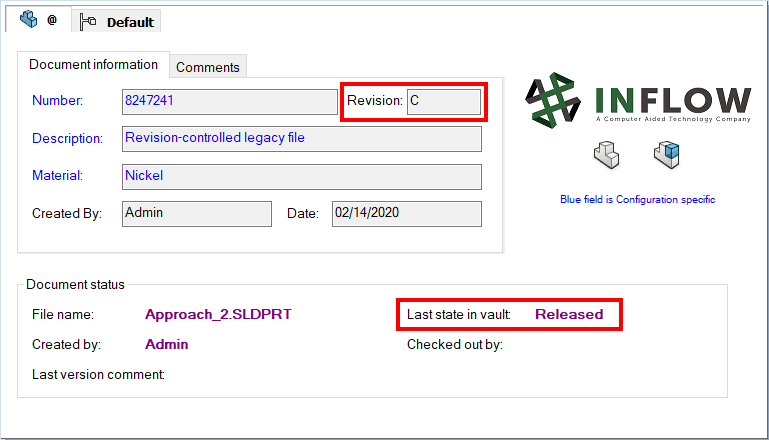
This approach can be confusing because it requires users to set the revision to the preceding value in the revision scheme before releasing the file. However, users will still be able to perform this procedure without having the permission to set revisions on files in the Released state (they only need permission to set revisions on files in Work in Progress).
Summary
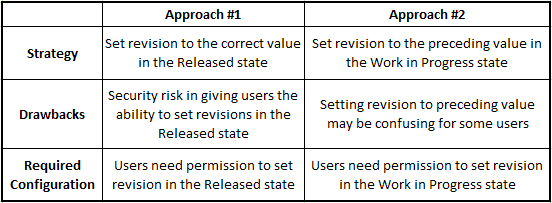
Regardless of which approach you decide to implement, users will need to manually set the revision on files that previously had a revision when bringing them into the vault for the first time – it’s just a matter of whether the revision gets set in Work in Progress or in Released. For this reason, it’s important to review the procedure for using the Set Revision tool and clearly communicate with your team which approach you have decided to implement.

 Blog
Blog