Automating Inspection Reports with CREAFORM and PolyWorks

Batch inspections in metrology
When we have to measure large batches of parts with precision and speed, it’s imperative to find every advantage to improve our repeatability and minimize cycle time. Traditional CMM (coordinated measuring machine) measuring systems and the associated software are usually too slow to meet the very short cycles required for batch inspection. Moreover, they create a bottle neck in the operation workflow with every part flowing through one QC operator. When this happens, a company has two options: either purchase another CMM and hire another operator or outsource some of their batch inspections which could lead to unreliable measurements, lost time and high costs.
Advantages of a better system
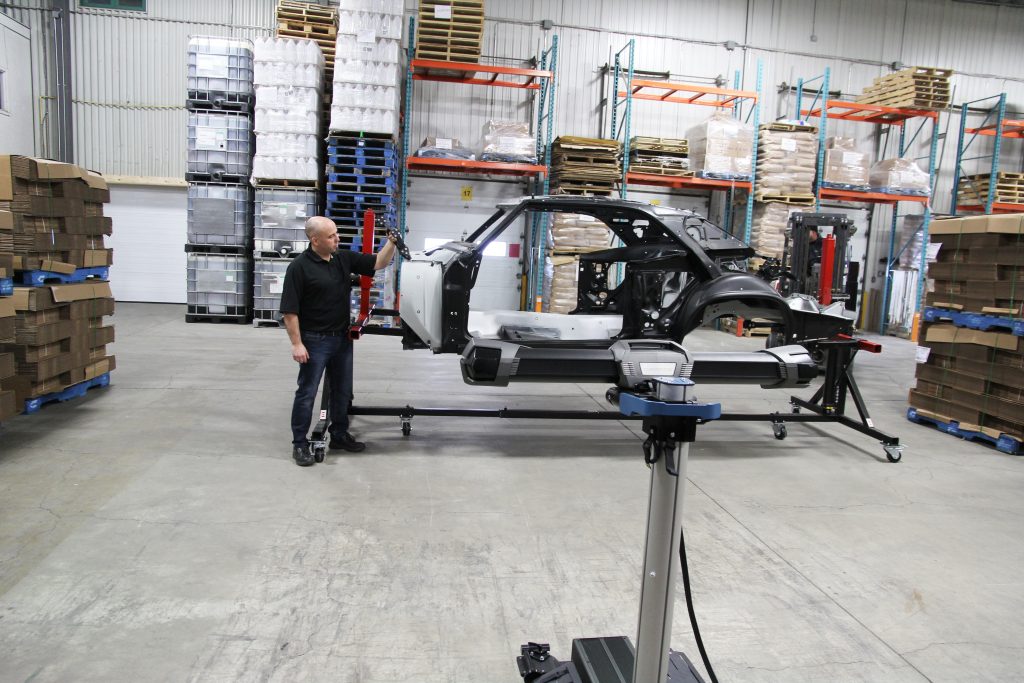
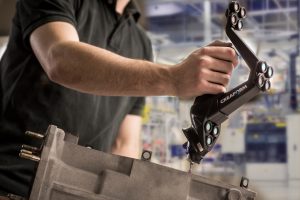
There are many benefits to upgrading inspection hardware to the latest technologies on the market, mainly all benefits point to faster more reliable results. CREAFORM’s HandyProbe system is designed to be a wireless CMM that is free of any ridged setups and measuring arm. This allows the user to move freely around their part without being tethered to an expensive granite table or limit the size of parts with a CMM arm. The HandyProbe is also designed to operate anywhere in the shop, therefore not all inspection needs to take place in the quality control lab. This can save a tremendous amount of time by eliminating the need to transport all parts from the production floor to the quality lab.

Advantages of a better software
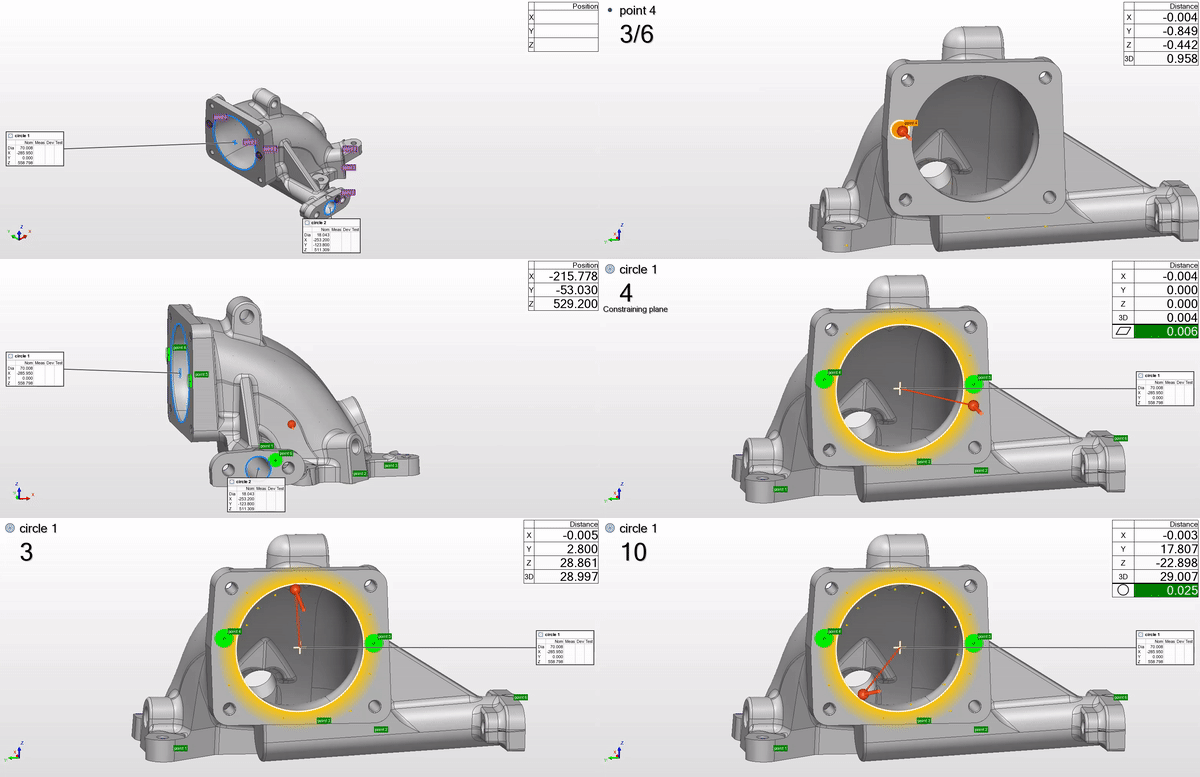
Software is the one thing that you should count on improving on a regular basis. If you are running a software that hasn’t updated or released a new version within the last 2 years then you are losing money during your inspection. Innovmetric has created PolyWorks suites for inspection applications and is the leading provider of 3D metrology software solutions. Their software offers an inspection tool that marks the end of time-consuming operations, as it dramatically simplifies the measurement of multiple pieces by automatically building, in real time, a guided step-by-step sequence to capture 3D datasets of a new piece, using 3D scan digitizers and single-point probing devices. PolyWorks also provides an outstanding updateable reporting technology that guarantees the exactness of a report and dramatically accelerates multipiece inspection.

Implementation
As we push ever closer to achieving a 4.0 industry, controlling part inspection processes becomes more of a critical business aspect. Putting more strain on the quality control department to perform quicker inspections and produce more reliable and accurate results. However, if the implementation of effective tools could enable them to not only identify problems, but also to find viable solutions, it would help production to progress more quickly, and first articles could be delivered without delays and complications. Combining both the HandyProbe from CREAFORM and PolyWorks Inspector from Innovmetric is a recipe for success when performing multi-piece inspection. Both solutions allow the operator freedom of a handheld, wireless probe that can perform anywhere in the shop with reliable results and an inspection software that can keep up with today’s high demands for QC.
The engineer’s first problem in any design situation is to discover what the problem really is.
Bob Renella
Product Manager
Computer Aided Technology, Inc

 Blog
Blog