Advance FDM Mode Lesson 2: General Tour (Part 1 of 4)
Welcome to Advance FDM Mode: General Tour Part 1, this is a continuation of the Getting Started with GrabCAD – Advance FDM Mode. This part will go through the general menus, then dive into add models menus. To start off this step by step deep dive is a look at the menus of Advance FDM mode.
Note: If your home screen has 3 icons, go back to Getting Started with GrabCAD – Advance FDM Mode
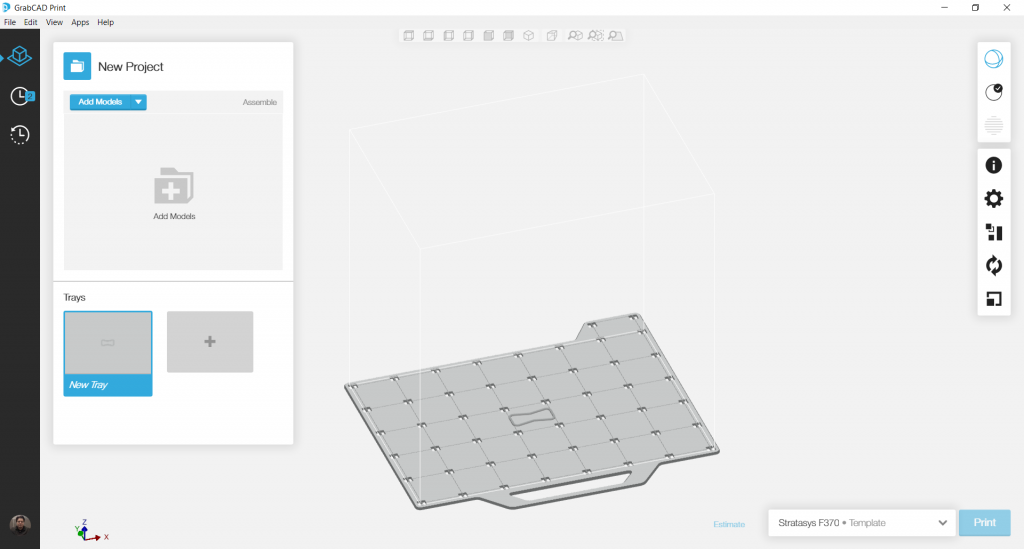
Click the Advance FDM Mode Tab on the upper left side.
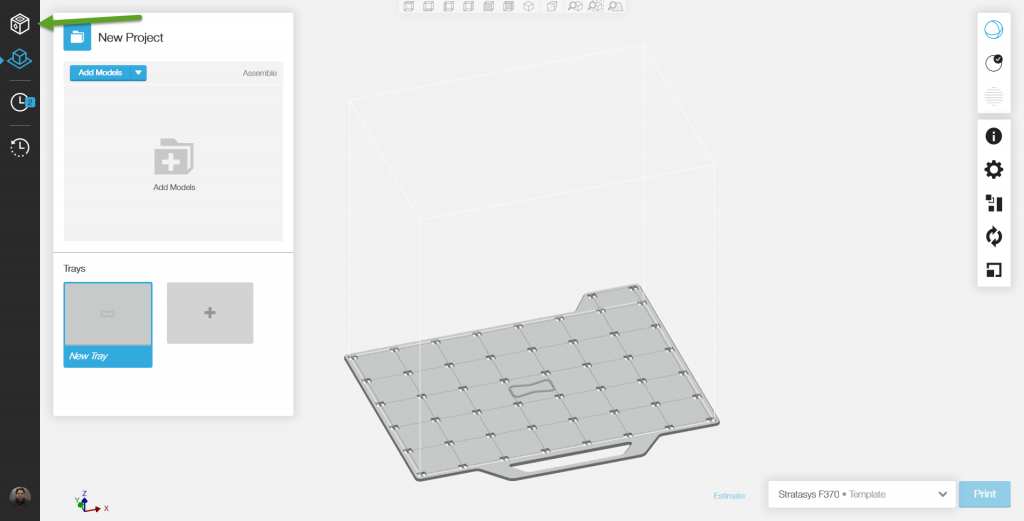
Welcome to the Advance FDM mode landing page.
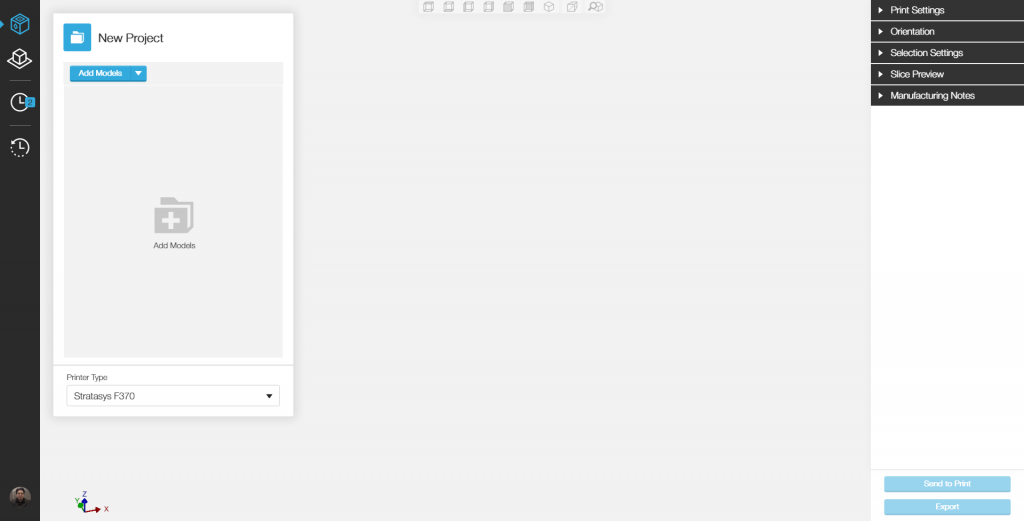
Note: The new menus in the upper right-hand corner.
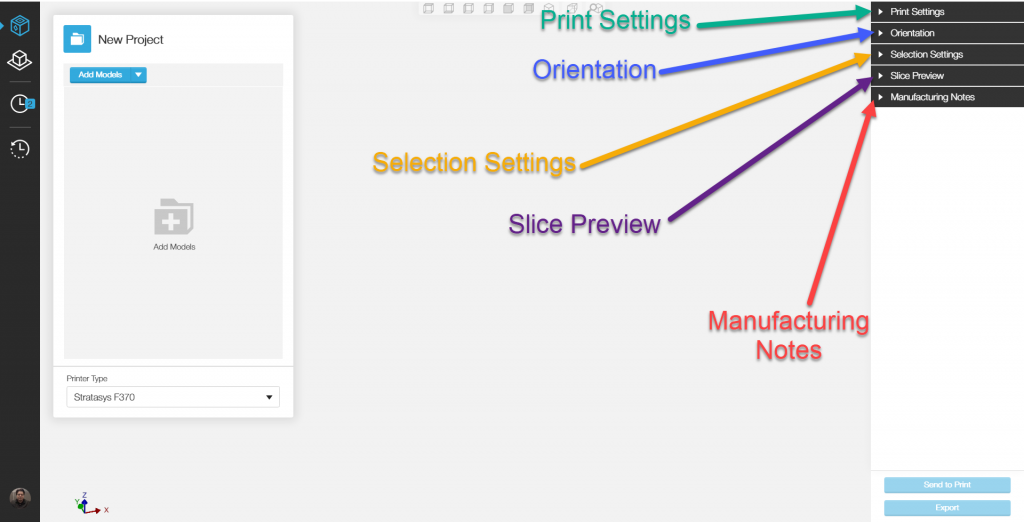
The newest additions are that of Selection settings and Manufacturing notes. If familiar with the print settings, the orientation of parts and slice preview features of GrabCAD then skip to Part 3 of 4 and continue on from there.
Onward to “add Model Menu”
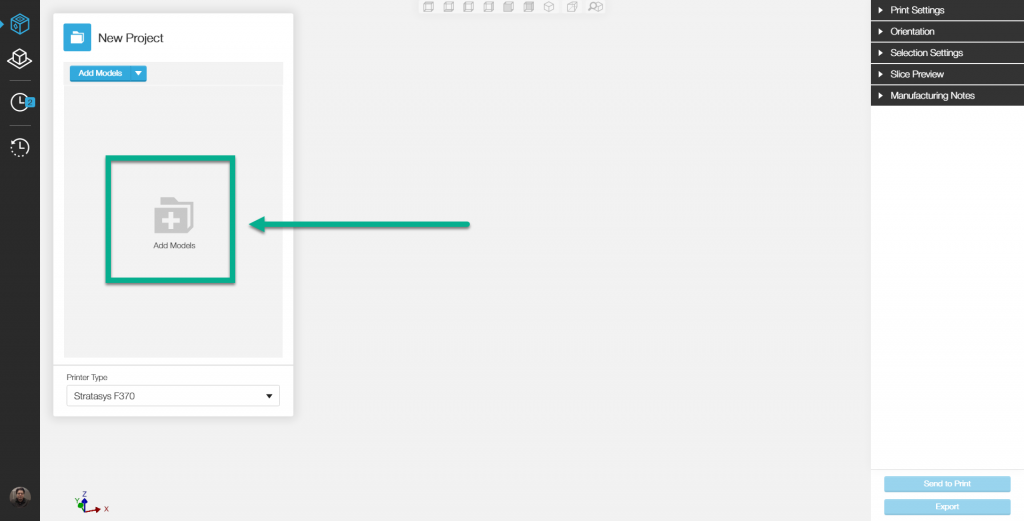
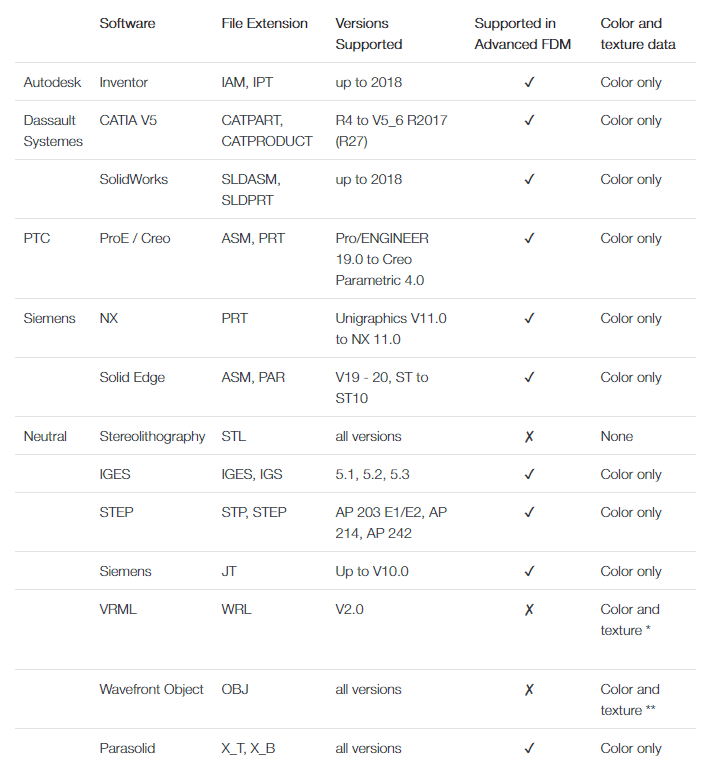
Note: Advance FDM mode only accepts Native CAD files and No STLs
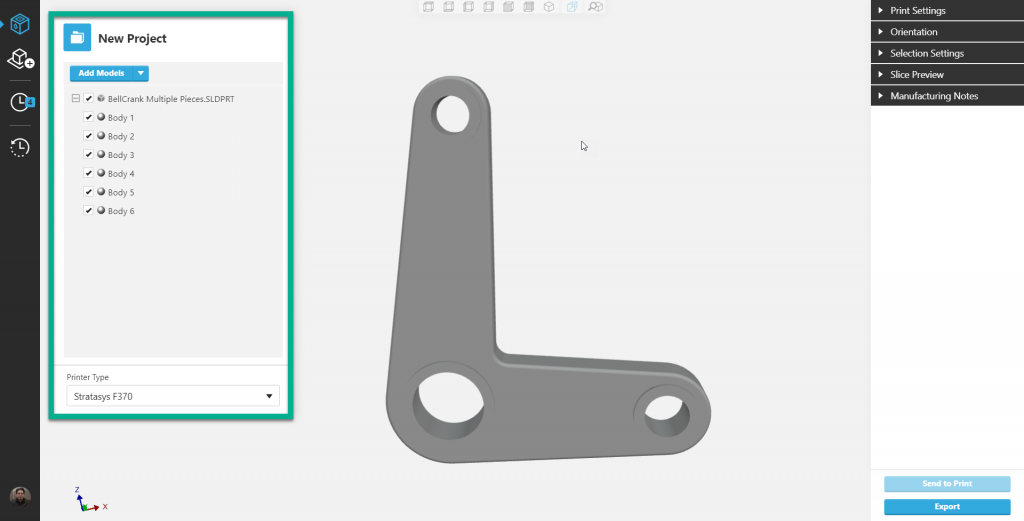
Once a Model is added, the Part is displayed as a parent with bodies under it.
Selecting the Parent selects all bodies under it.
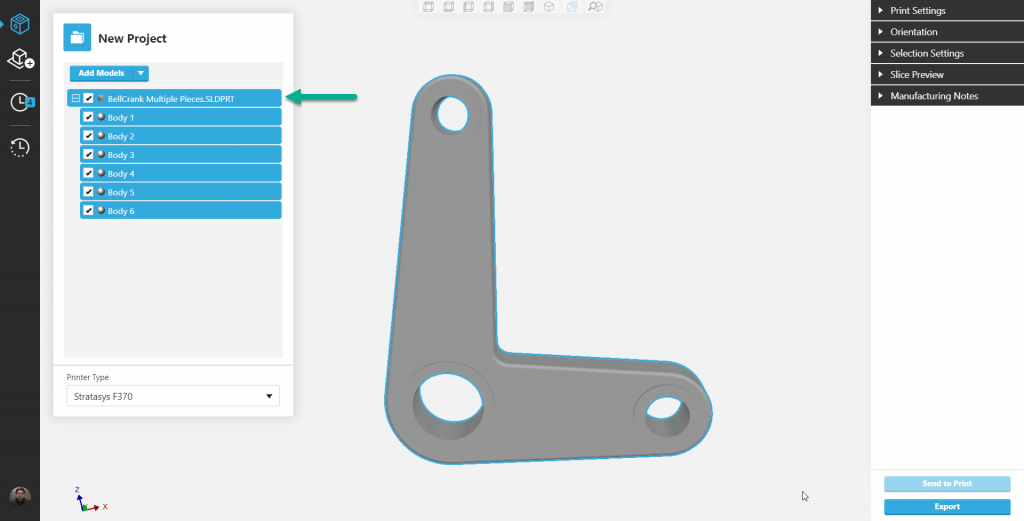
Selecting one or more of the bodies under parent enables parameter changes to that body or bodies without affecting the rest of the bodies. But selecting the parent will overwrite those changes.
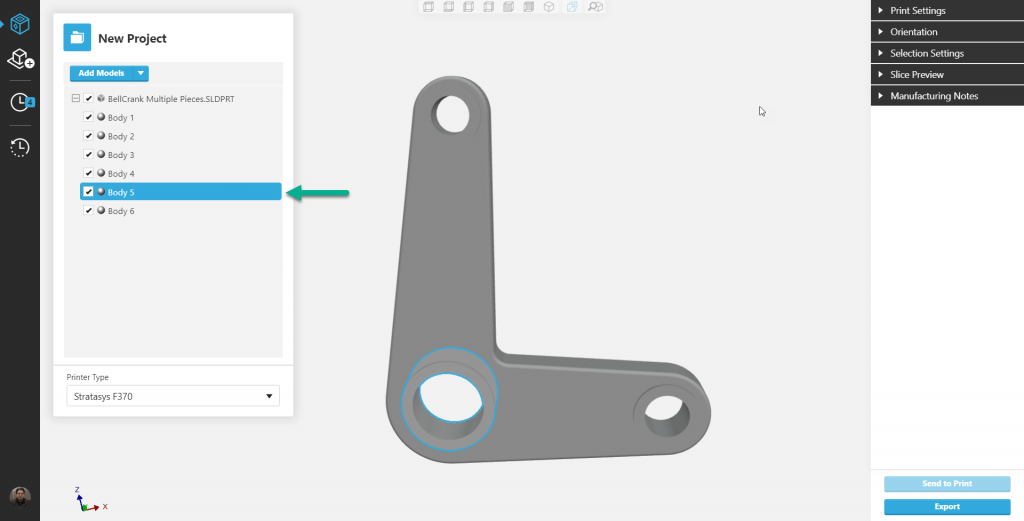
Note, in order for editing of a body or bodies, they need to be activated. To accomplish this simply double-clicking on the body or bodies, and/or right click then selecting activate.
Advance FDM Mode: General Tour
1 of 4: General Menus & Add Models
2 of 4: Print Settings & Orientation Menus
3 of 4: Selection Settings Menu & Face and Body tabs
4 of 4: Slice Preview Menu and Manufacturing Notes
Getting Started with GrabCAD – Advance FDM Mode

 Blog
Blog