Detail a Multi-Body Part in SOLIDWORKS
I have been working my way down the design path of using different design methods in SOLIDWORKS. So far weldments are the most advantageous as we could get a cut list. I explored this in my last blog “Bottom up Assembly vs Multi-Body vs Weldments” and I really like the idea of setting up saw stops for quickly cutting my pieces. Now, the issue is that we only have one part. So, how do I get a view of just one body to dimension? With multi-body, weldments, and sheet metal parts I cannot select an individual file to place into my drawing view. However, I need to define these pieces that need extra work. Let’s look at how we would detail a multi-body part in SOLIDWORKS.
Detailing Multiple Bodies
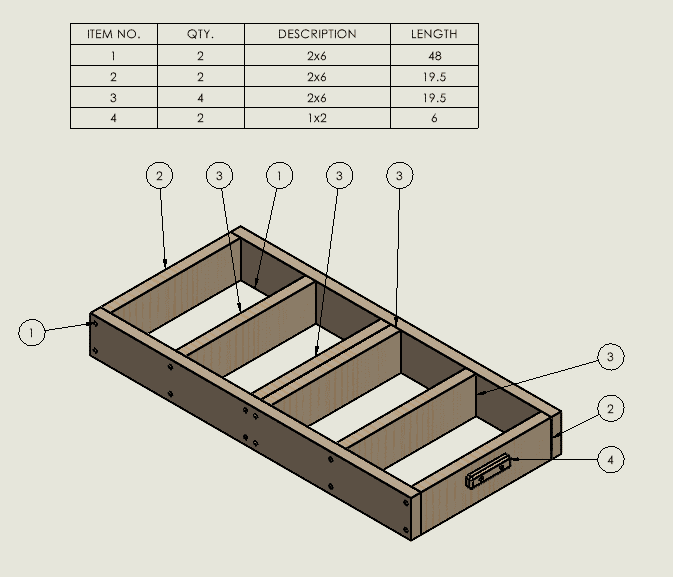
With the cut-list I can still balloon to the bodies to point at their location just like a bill of material.

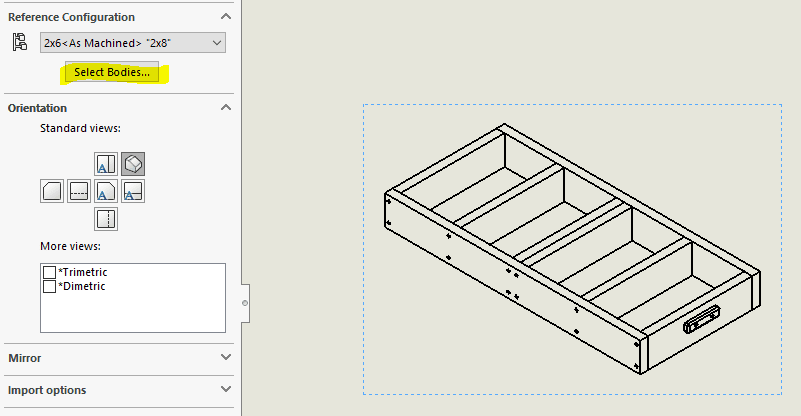
The next step is breaking out each body into its own view. To do this, copy the view and reselect it to get the option to “Select Bodies”.

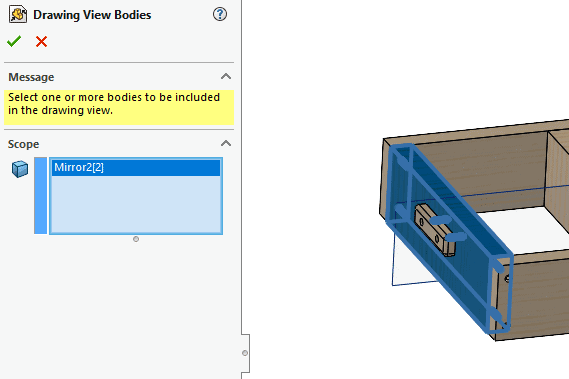
Select one body, and say ok.

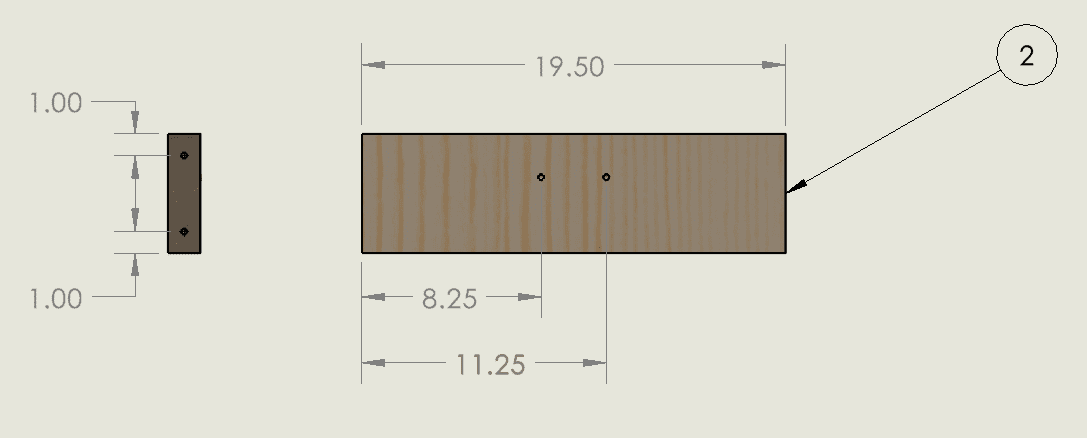
From here we can re-orientate our view to face forward and project the other sides as necessary. Of course, we should add some dimensions and put on a balloon. The balloon for the view is still linked to the original cut list, so the item number will work correctly. If you would like to reorder the cut list, the balloon will update.

Repeat the procedure for the bodies that need extra detailing work. This should simplify the workflow as I don’t have to break out each body to their own part file and reassemble it into an assembly for a bill of material. I have now accomplished that from my cut list using “Select Bodies”. There are of course reasons to do that, but in this case, once each section is secured together, it becomes “One Part”. I can pick it up any body and move it around as one solid unit and each stack will be a different part with varying heights. It is up to the design team how they would like to define “A Part”, and I leave that choice up to you.
Craig Maurer
Elite Applications Engineer
Computer Aided Technology

 Blog
Blog