Create Compelling Detail Views in SOLIDWORKS Composer with the Digger
SOLIDWORKS Composer is a great tool to help illustrate your technical documentation. One of the features that helps do this, which we will cover in this blog, is the ‘Digger’.
The Digger is similar to the Magnifying Glass in SOLIDWORKS but has many more options. Here, we will look at what those options are.
To get started, it can be found on the Home tab, or simply by hitting the space bar.

The Digger will pop up on the screen, with several tools along the outside (if you do not see all the tool icons, click on the ‘Wrench’ to show them). The icon that looks like a ‘plus sign’, in the bottom right grouping of tools, allows you to position the center of interest for the Digger, simply by dragging it to where you want. The radius tool, here pictured in the bottom left, allows you to size the Digger.
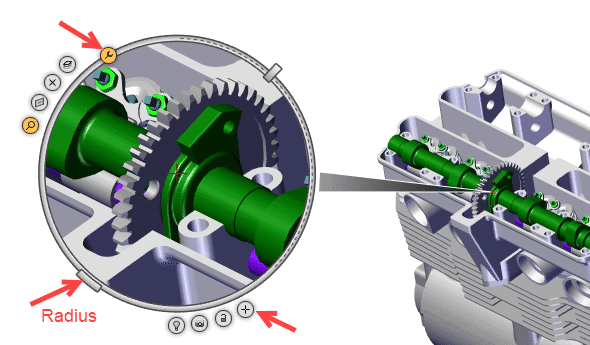
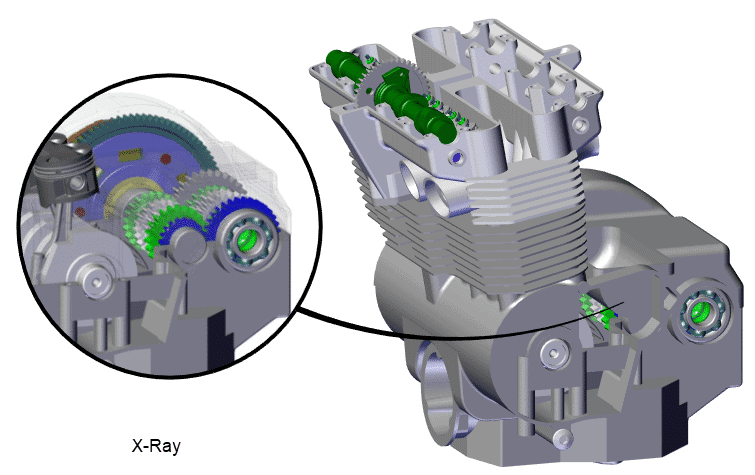
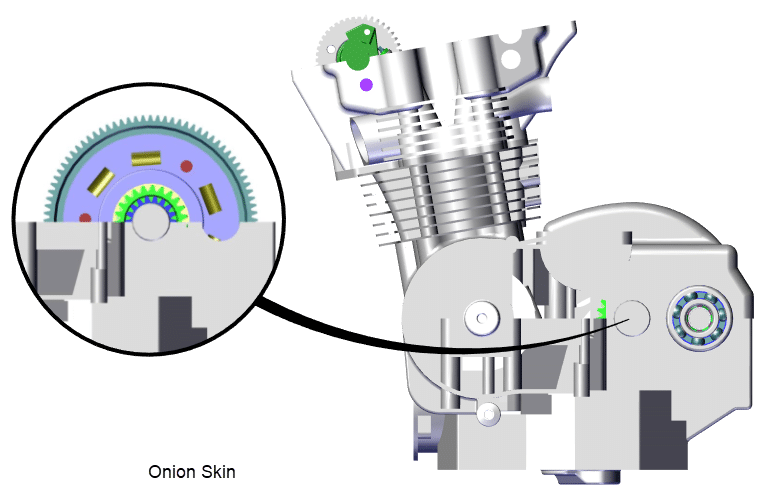
The tools in the upper left grouping give you different options to create some great images to help provide clarity on what you are trying to show. They are Zoom, Cutting Plane, X-Ray, and Onion Skin.
![]()
All four of these are controlled by the Percentage tool.
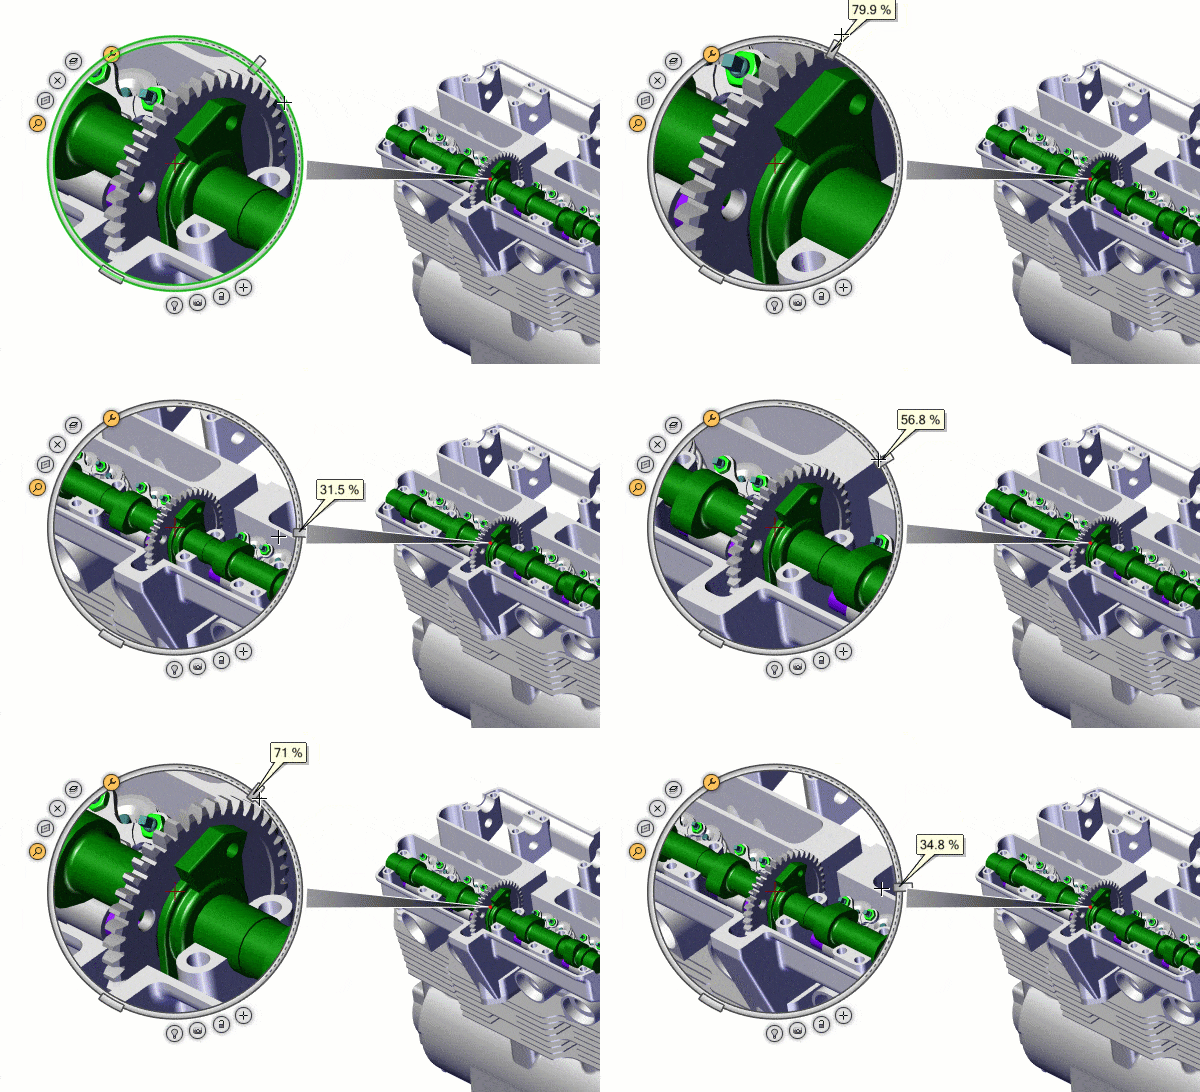
The first two options are pretty self-explanatory. Zoom allows you to zoom in and out on the actors and Cutting Plane allows you to cut the actors with a cutting plane.
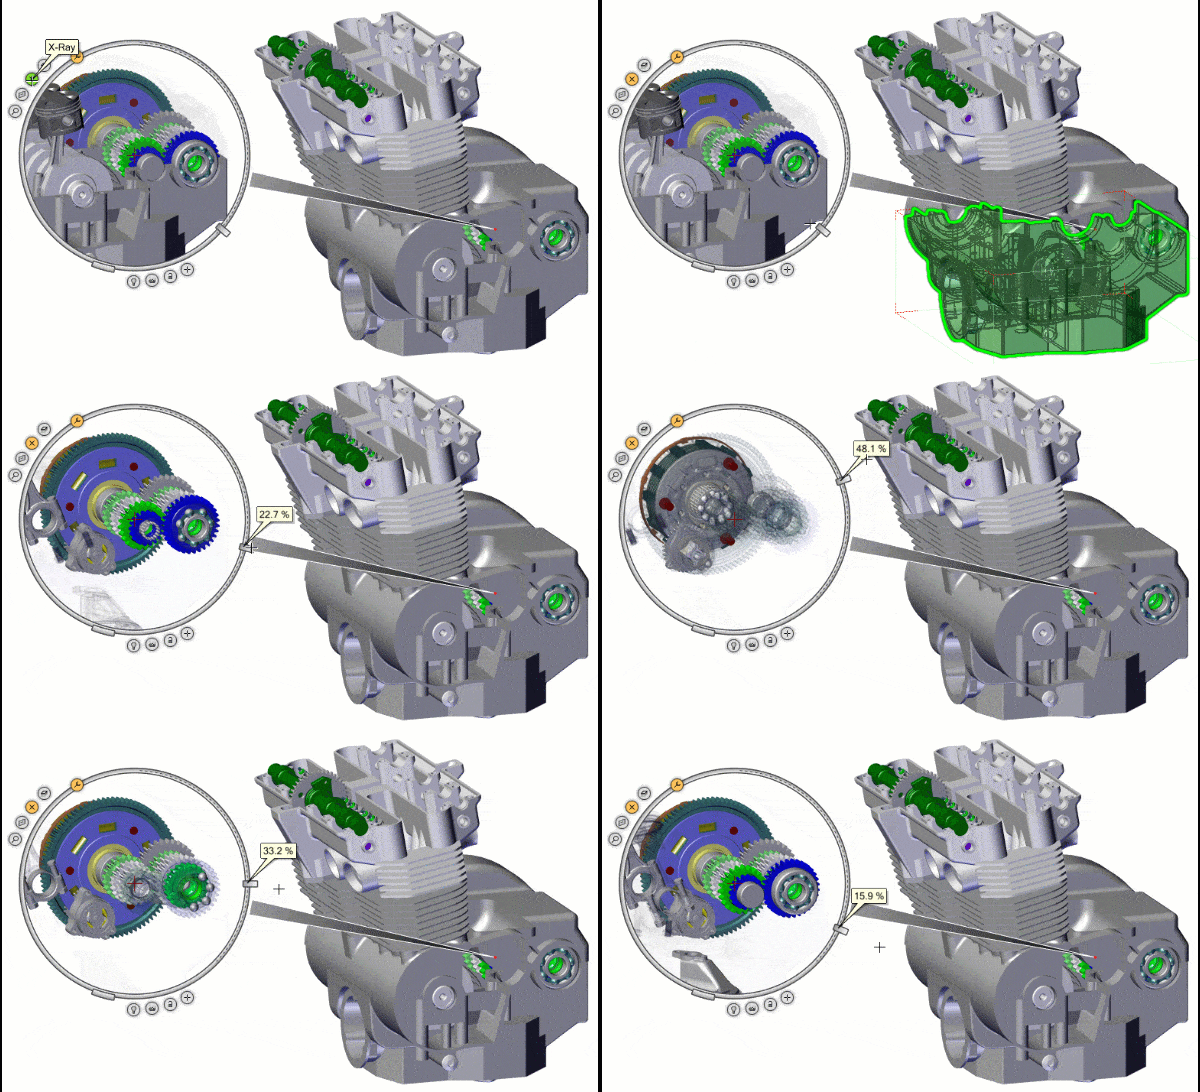
With X-Ray, as you increase the percentage, actors begin to fade out, then disappear.
Onion Skin hides the actors as you increase the percentage.
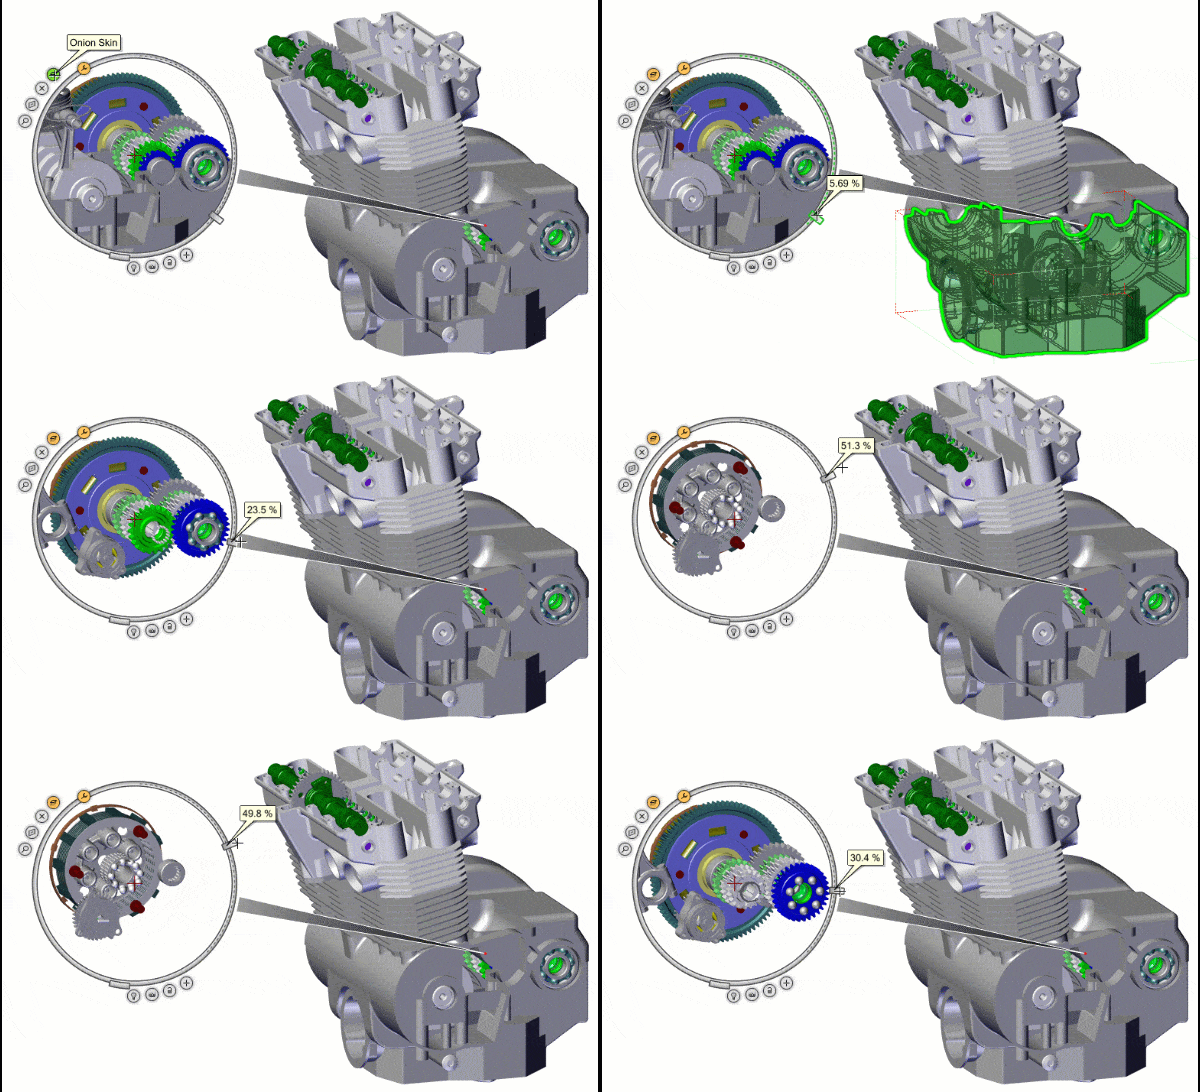
With these, you don’t have full control over which parts fade out or disappear, but you can get some cool images.
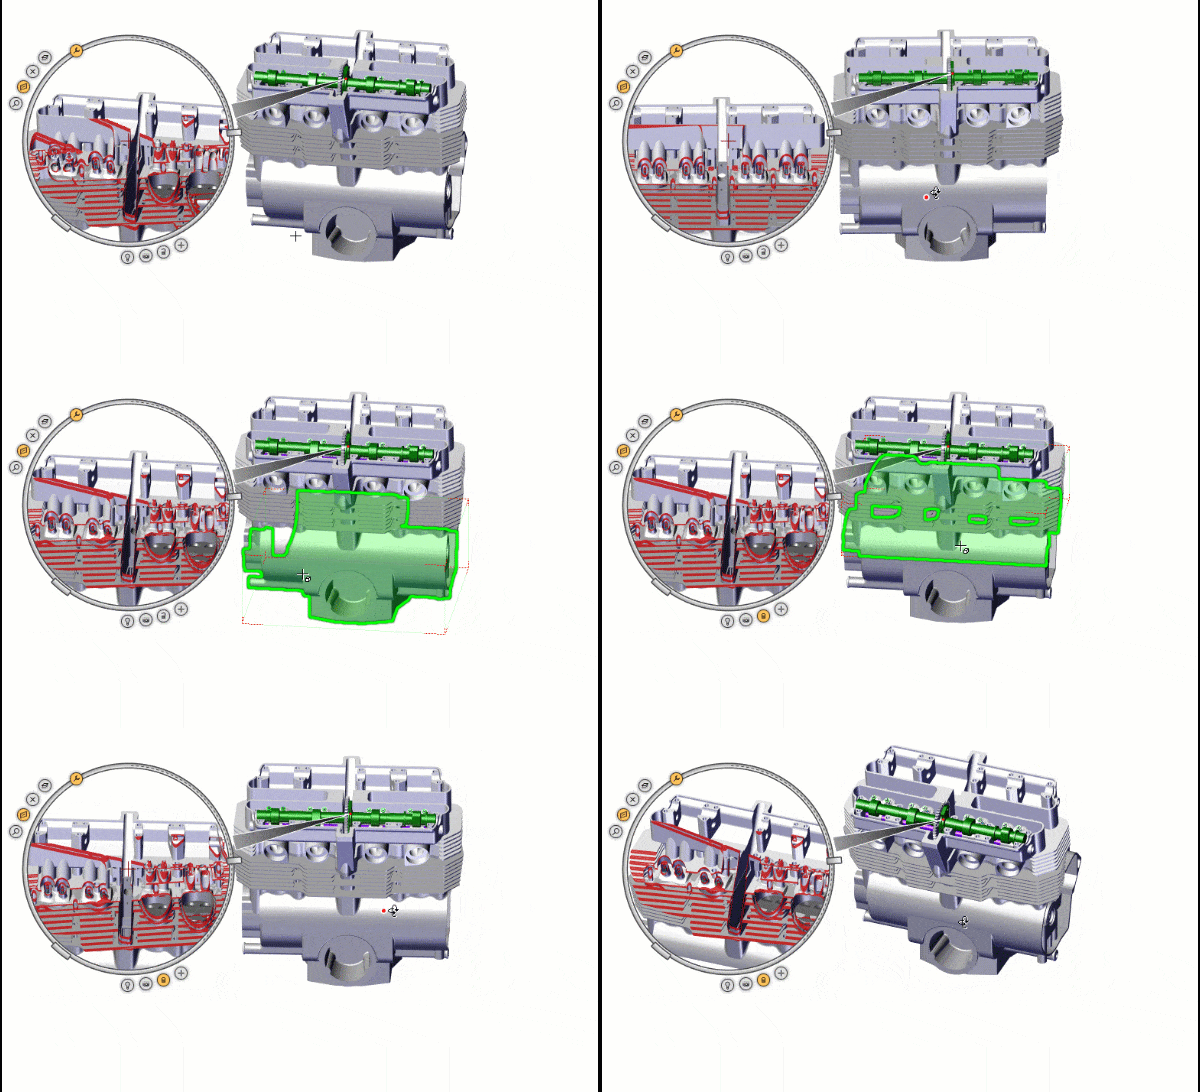
If you reposition your model while using the Cutting Plane, X-Ray, or Onion Skin, the Digger will update based off of the position. By using Lock/Unlock Depth Direction, you can choose to have the depth and orientation ‘locked’ as you do so.
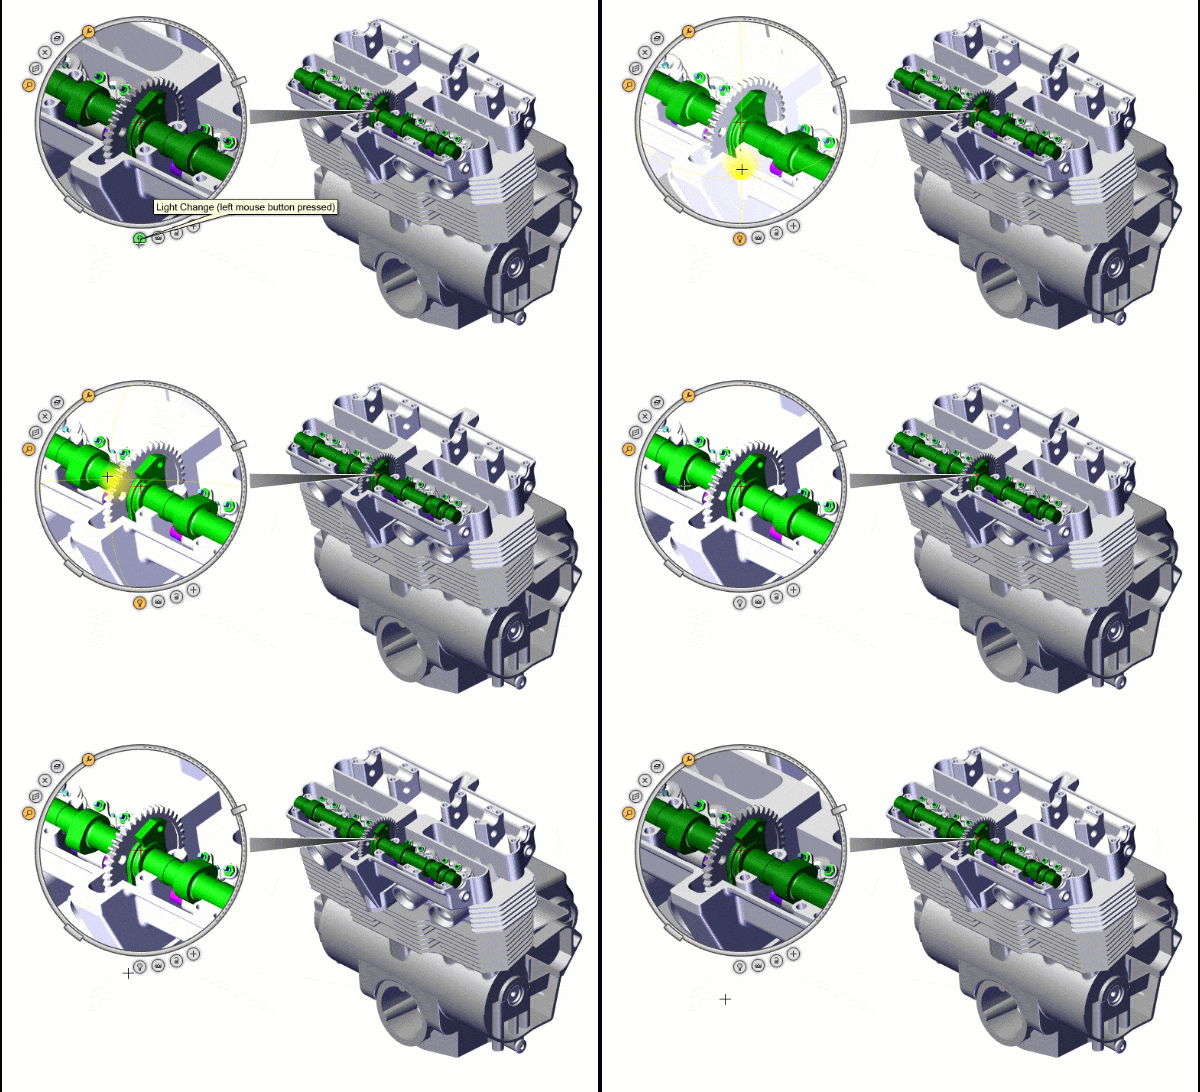
The Light Change tool allows you to add light to the actors.
Finally, once you have the view in the Digger as you wish, you can create a 2D Image panel by clicking the camera icon (Capture Picture in 2D Image).

This 2D Image is a collaborative actor and can be found on the Collaboration Tab. The resolution of this image is controlled by the settings in the High Resolution Image Workshop. You can adjust these settings to your liking, before capturing the image. Also, just like the other actors, there are numerous properties in the Properties Pane to adjust the look of the new 2D Image, such as the shape and the attach type.
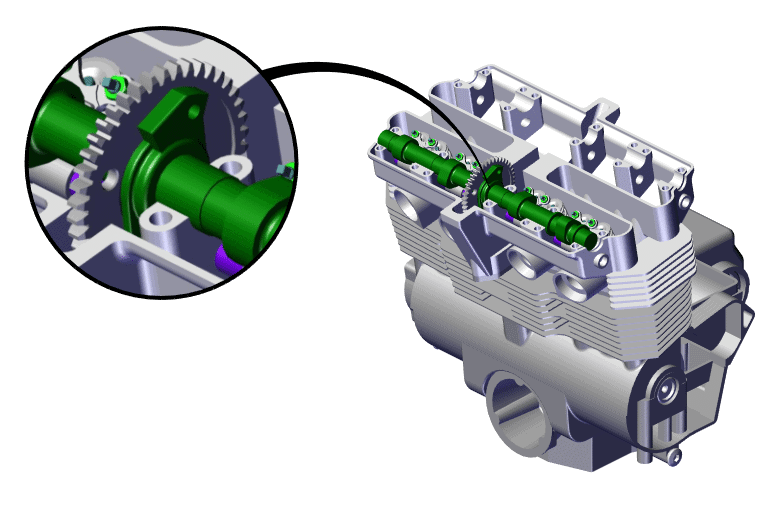
The 2D Image does not update. To make any edits to what was captured in the view after you have created the 2D image, you can double-click on it to re-activate the Digger tool.
The Digger is just one of the tools in Composer to help create the detail you need for your technical documentation. To learn more about the Digger, as well as Composer in general, please reach out to us at Computer Aided Technology.
Ryan Field
Sr. Application Engineer
Computer Aided Technology, Inc.

 Blog
Blog