SOLIDWORKS Premium: Surface Flatten
One of my favorite features in SOLIDWORKS is the Surface Flatten command, introduced in 2015. When it came out it was limited to faces without holes, and primary edges that could be used to set edge length when flattened. The following year, the feature was updated with a bunch of new abilities to include holes, project other geometry like sketches or curves, and the ability to split the surface to provide relief for stretch or compression. Since 2016 its not been given much attention, yet it’s a very powerful feature that can help in many different scenarios from soft shelled products like shoes and luggage, vinyl or paper decals, and even some sheet metal applications. Let’s take a closer look at a couple applications where surface flatten could be useful.
The example that SOLIDWORKS uses in the help file is of a shoe. I don’t have the specific model used in help, but this should suffice. Flexible materials like leather, or vinyl, as well as any other fabric are perfect use cases for the Surface Flatten feature.
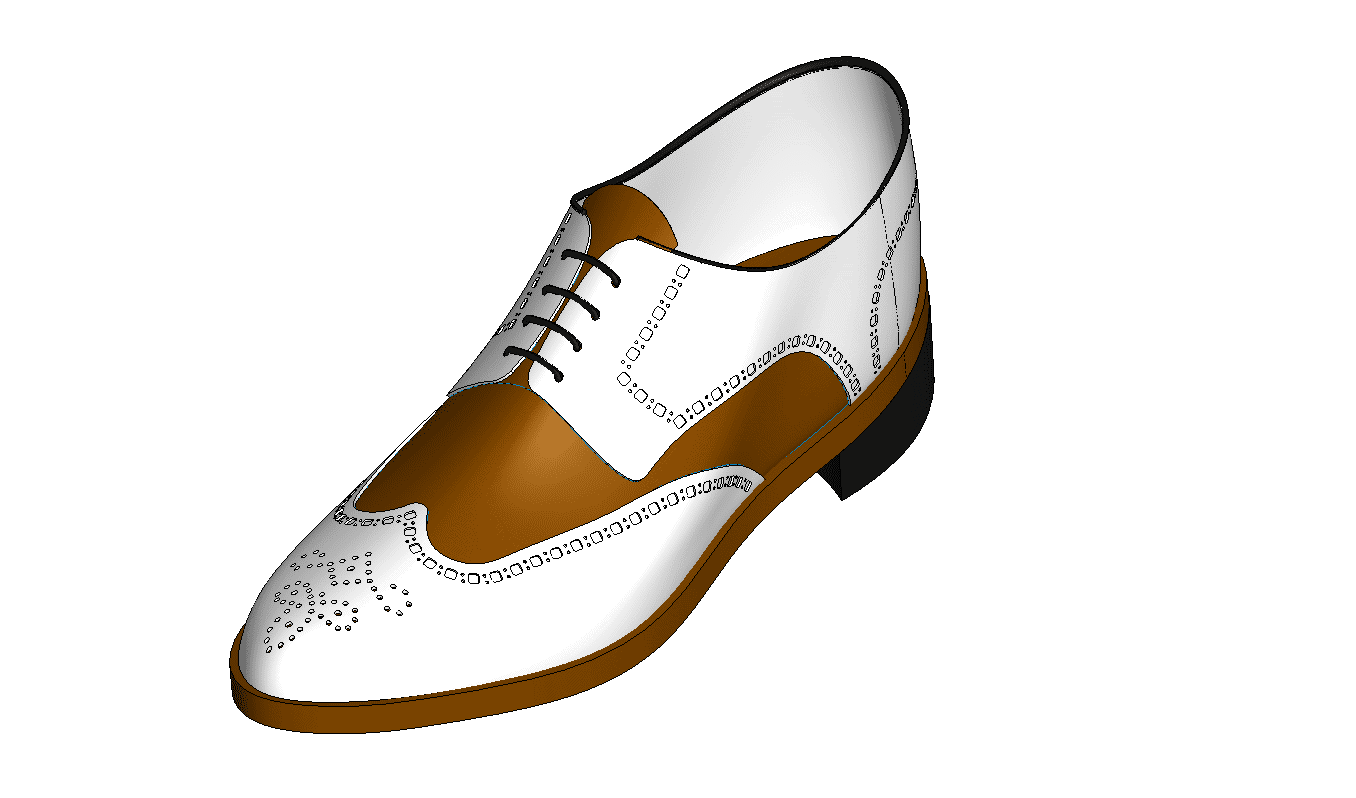
SOLIDWORKS can easily flatten any complex surface. I need only select the faces I would like to flatten, and a point on the surface to flatten around.
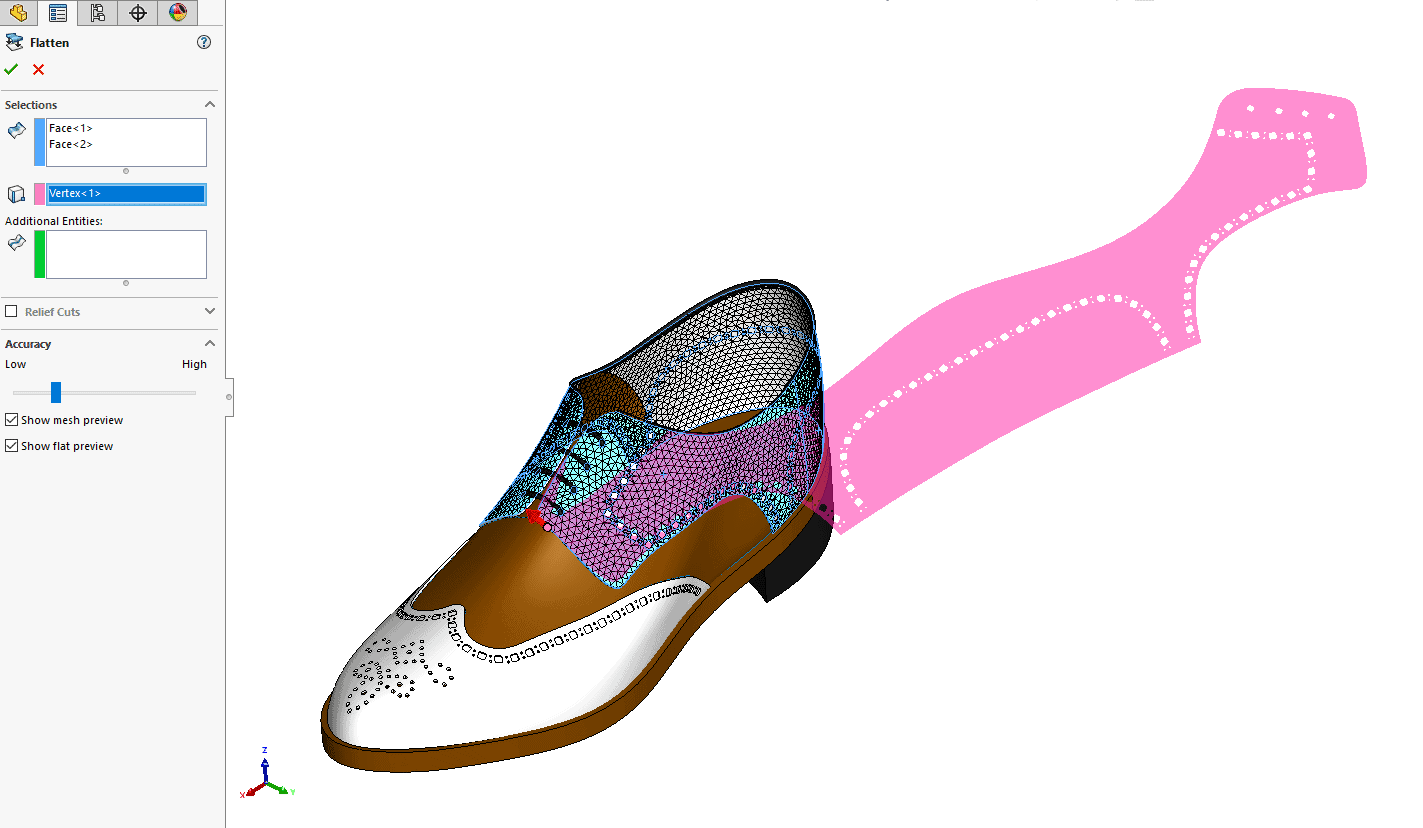
There is a slider for accuracy that will further sub-divide the surface into more and more triangles. Keep in mind the more accurate you make the mesh, the longer it will take to generate a flat pattern.
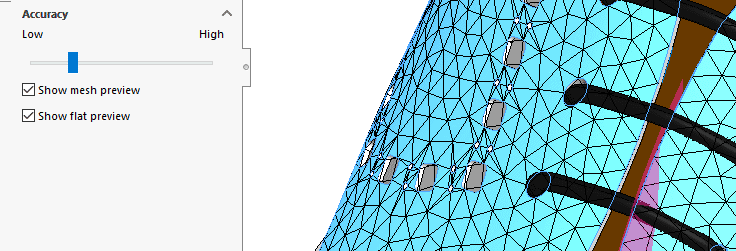
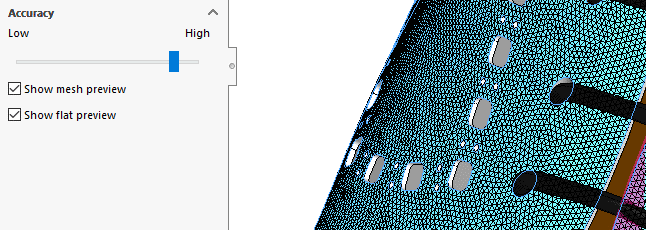
Once you accept the parameters of the surface flatten feature, a new surface is generated. Use Isolate to show just the new flatten surface body.
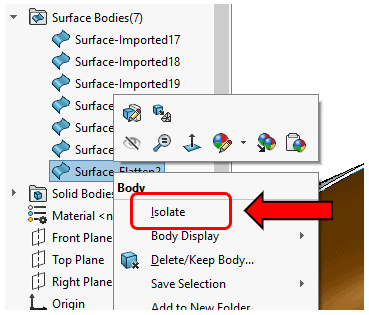
Look at all the details! SOLIDWORKS captures all the holes onto the correct position across the pattern. This isolated surface body can also be saved to a display state for later use on a drawing. Its also a good idea to set up a named view that is looking flat or normal-to this new flat surface.

Surface Flatten also has an analysis view to show you how stretched or compressed the shape is from the original. Right-Click on the surface and choose Deformation Plot.
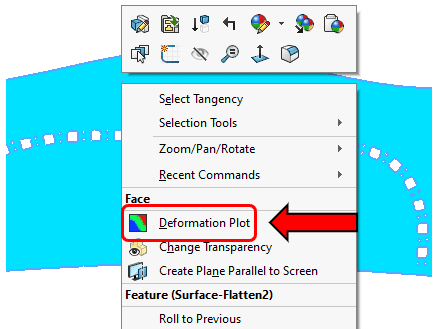
Below you can see there is about 1-2% stretch and compression at the back of the heal. This means some forming will be required for this example. Later I will show how you can relieve this stress by splitting the shape.

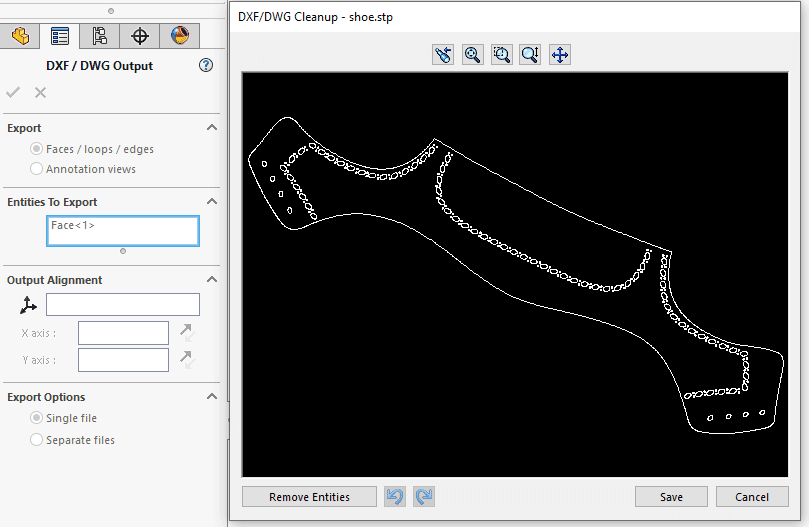
The Surface can also be directly exported to DXF/DWG from the same Right-Click context menu of the surface.
To relieve the stress at the back of the heal, I’ve added an additional projected curve. Any sketch or curve on the surface to be flattened could be used. To modify, I can simply edit the existing surface-flatten feature.
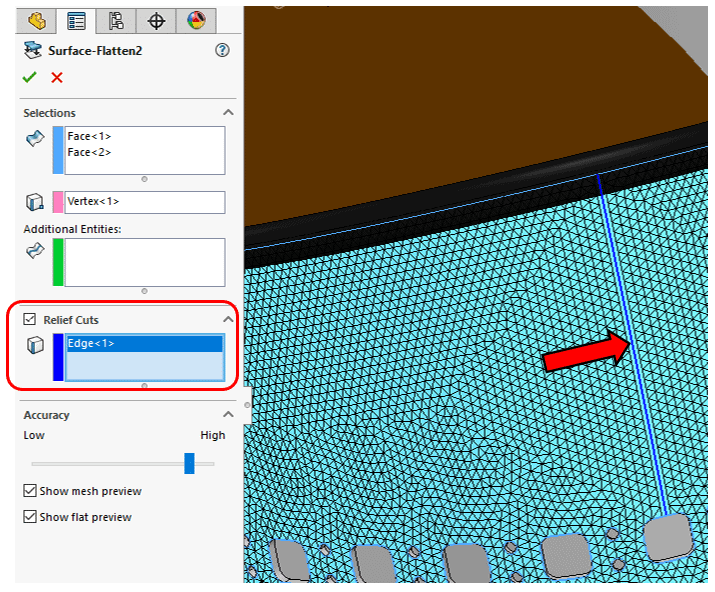
Here is the result of the relief cut:

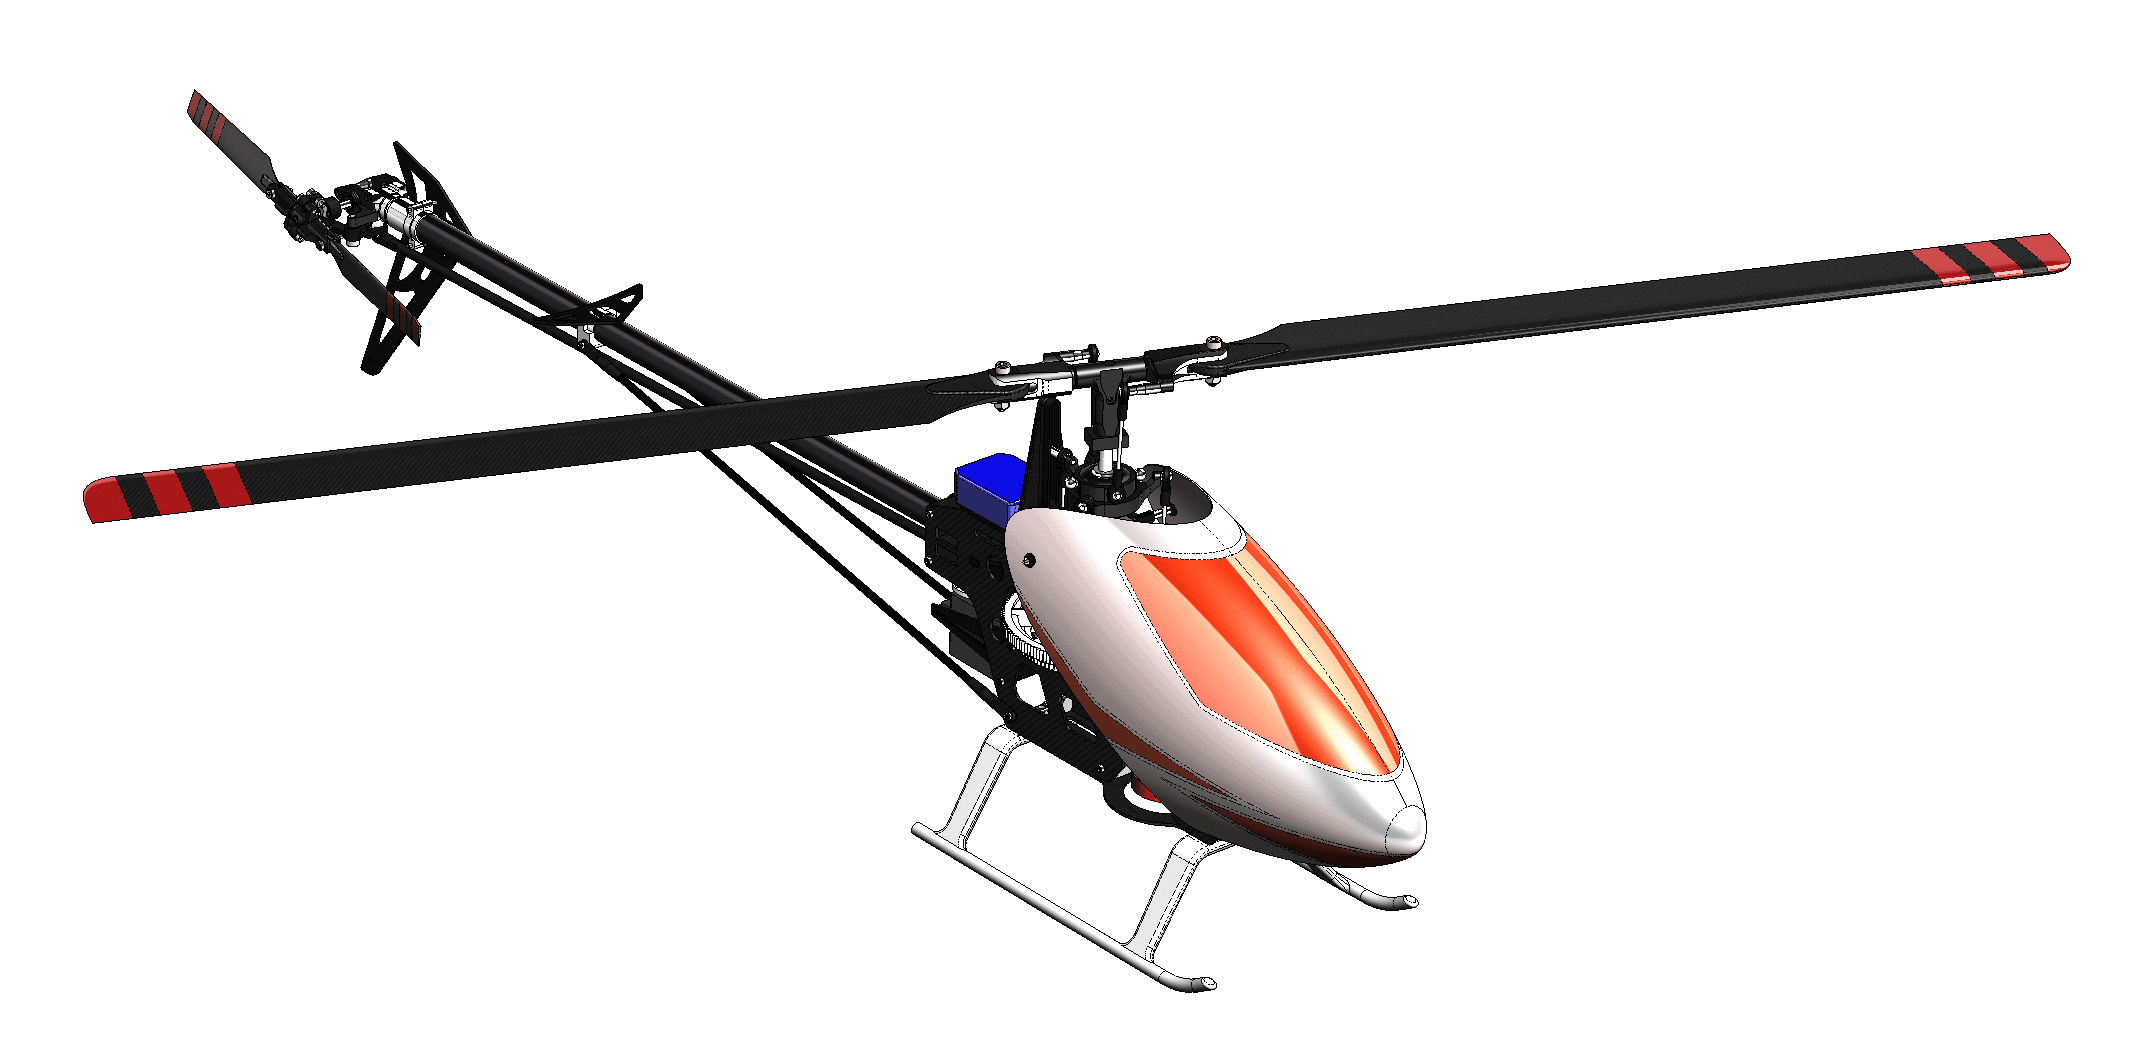
Another application might be to find the size of a decal for vinyl applications. In this case, the Canopy for this RC helicopter need some decals, and getting the flat pattern info to a graphic designer makes things much easier for them.
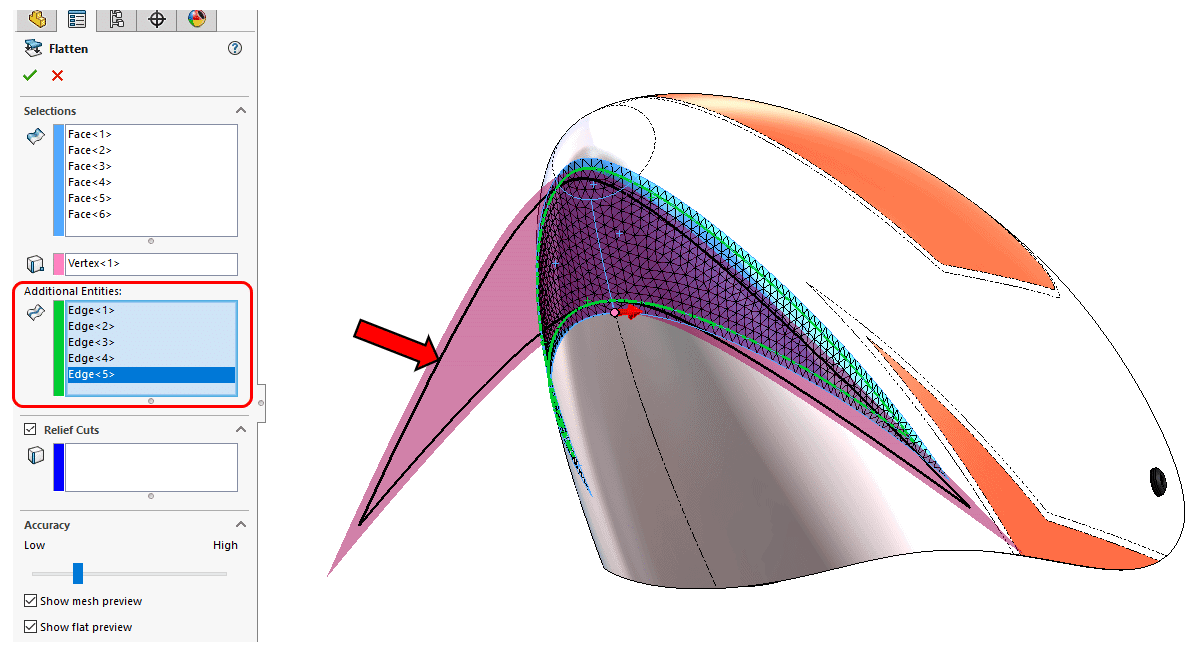
Not only can I flatten the surface, but I can also transfer the edges for the thickness of the stripe using the “Additional Entities” box.
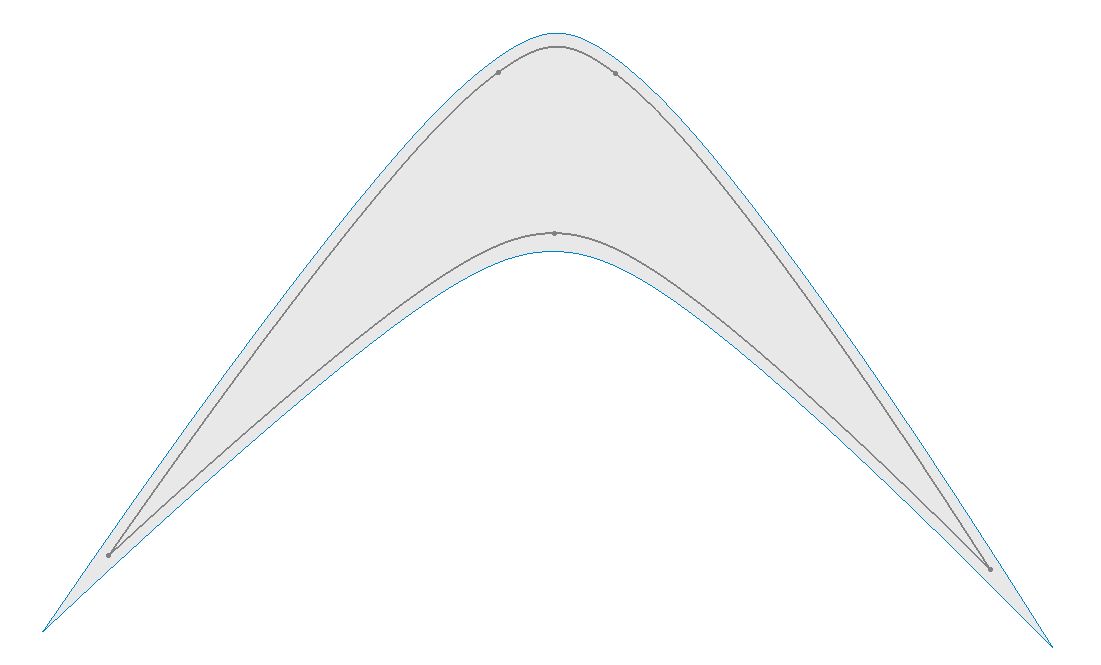
The result is a flatten surface and a new sketch for the border of the stripe.
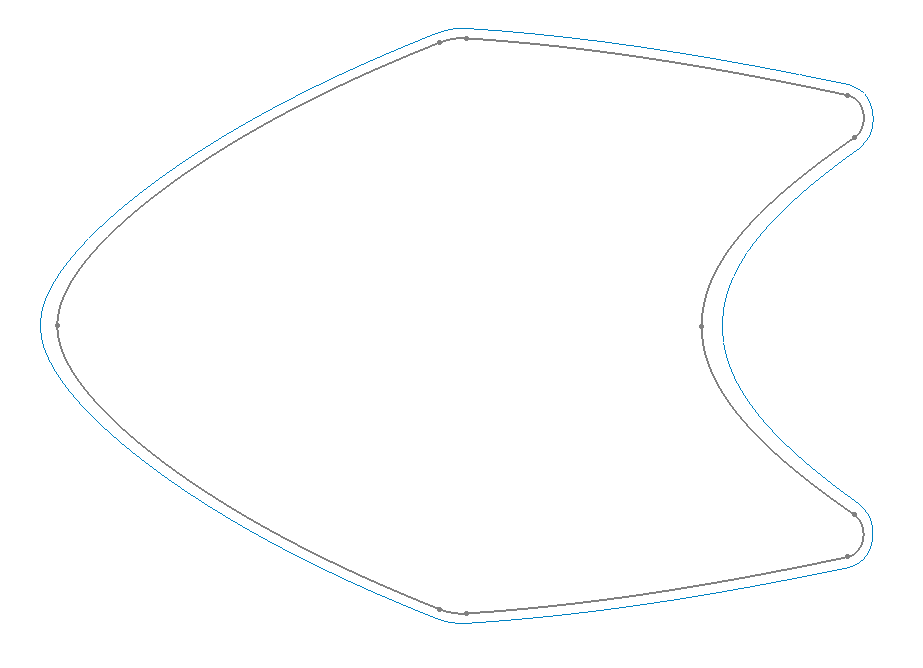
The window on the canopy could also be flattened with its border.
Surface Flatten is a powerful, easy to use, tool that’s included with SOLIDWORKS Premium. There are many different applications where it could be used to same time, and money. Use it for your next project!
Alex Worsfold – CSWE
Sr. Application Engineer
Computer Aided Technology, Inc.

 Blog
Blog