Creating a SOLIDWORKS Customer Portal Account the Correct Way
Follow along to learn how to create a customer portal account the CORRECT way:
Step 1: Go to solidworks.com and click on the person icon in the top right corner of the screen.

Step 2: Click on SW Customer Portal from the drop down that expands.
Step 3: Click “Create a SOLIDWORKS ID”
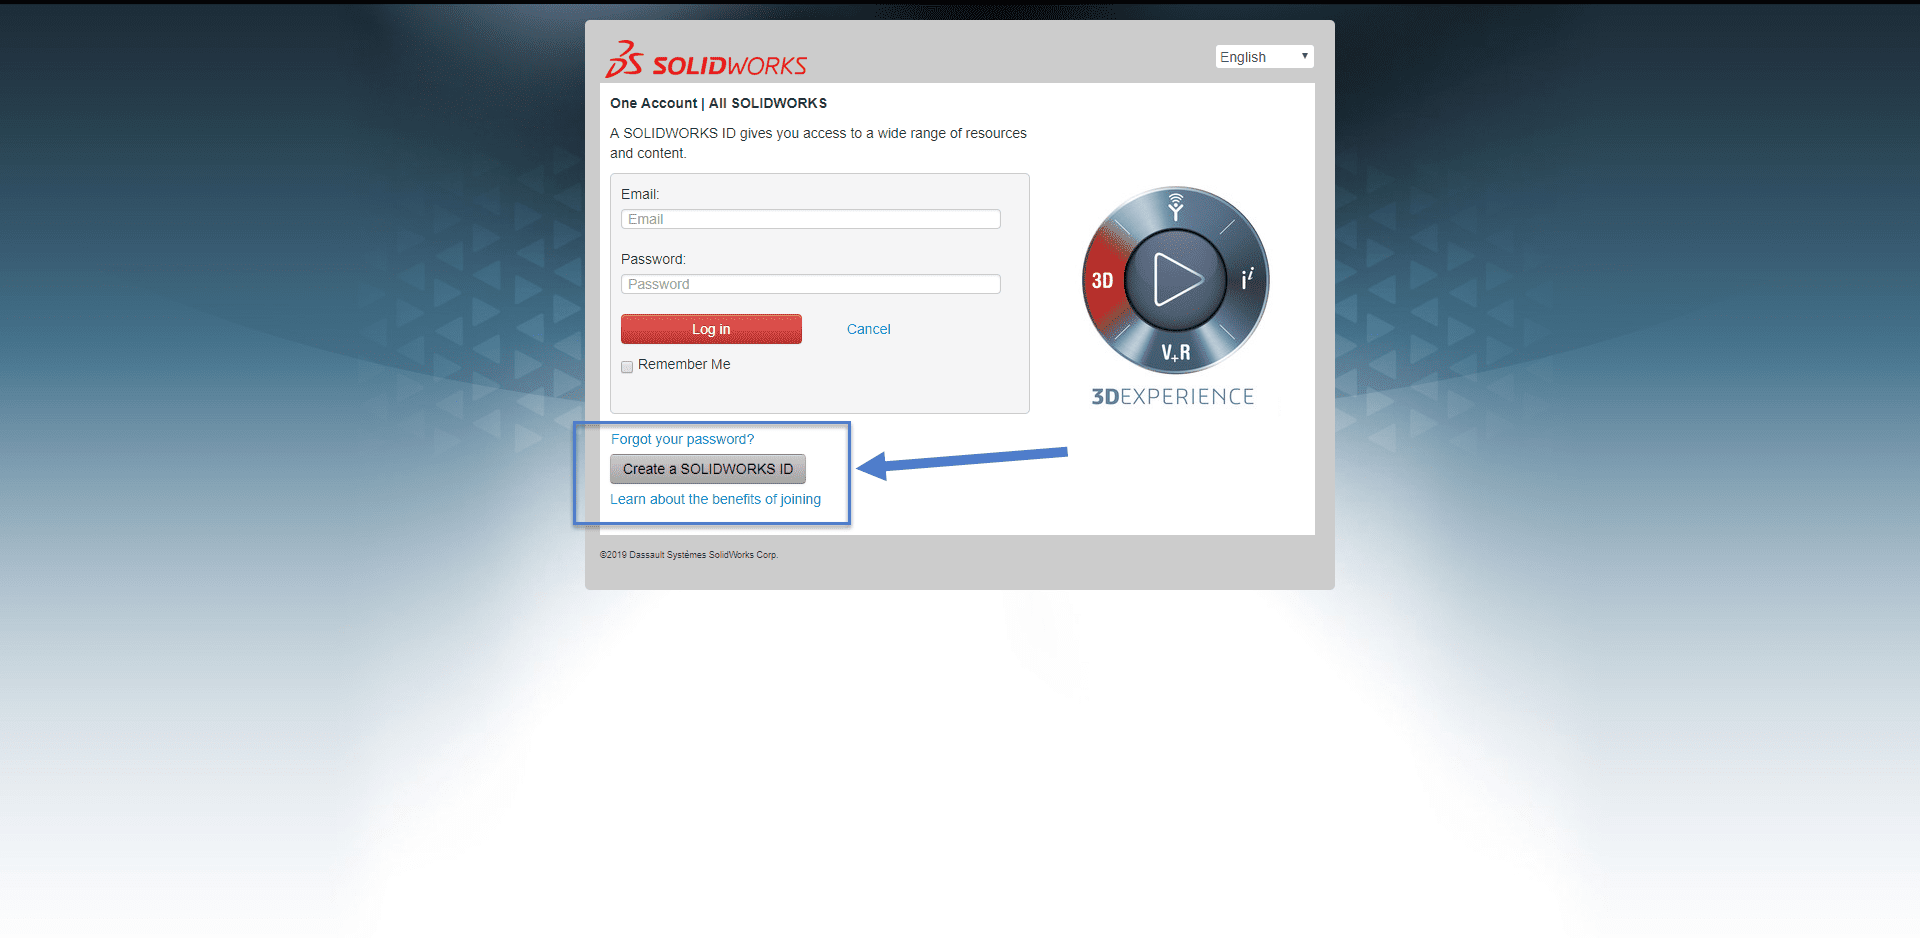
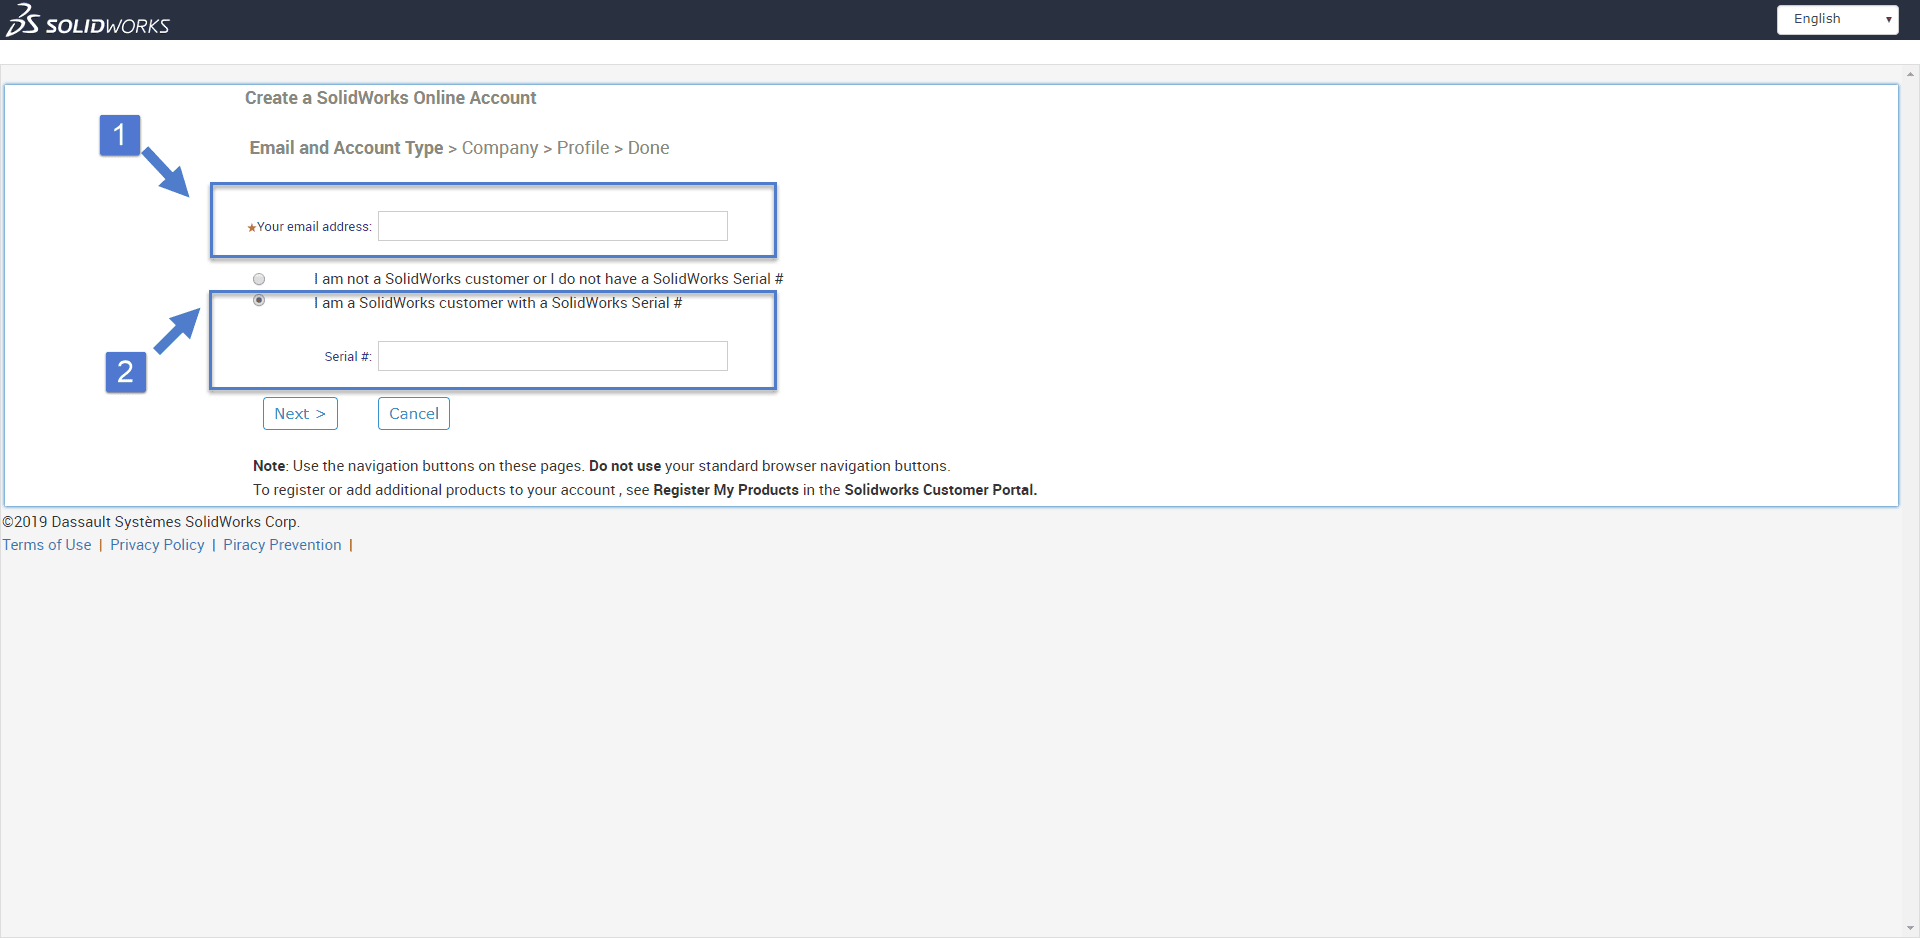
Step 4: Input your email address, and then your serial number.
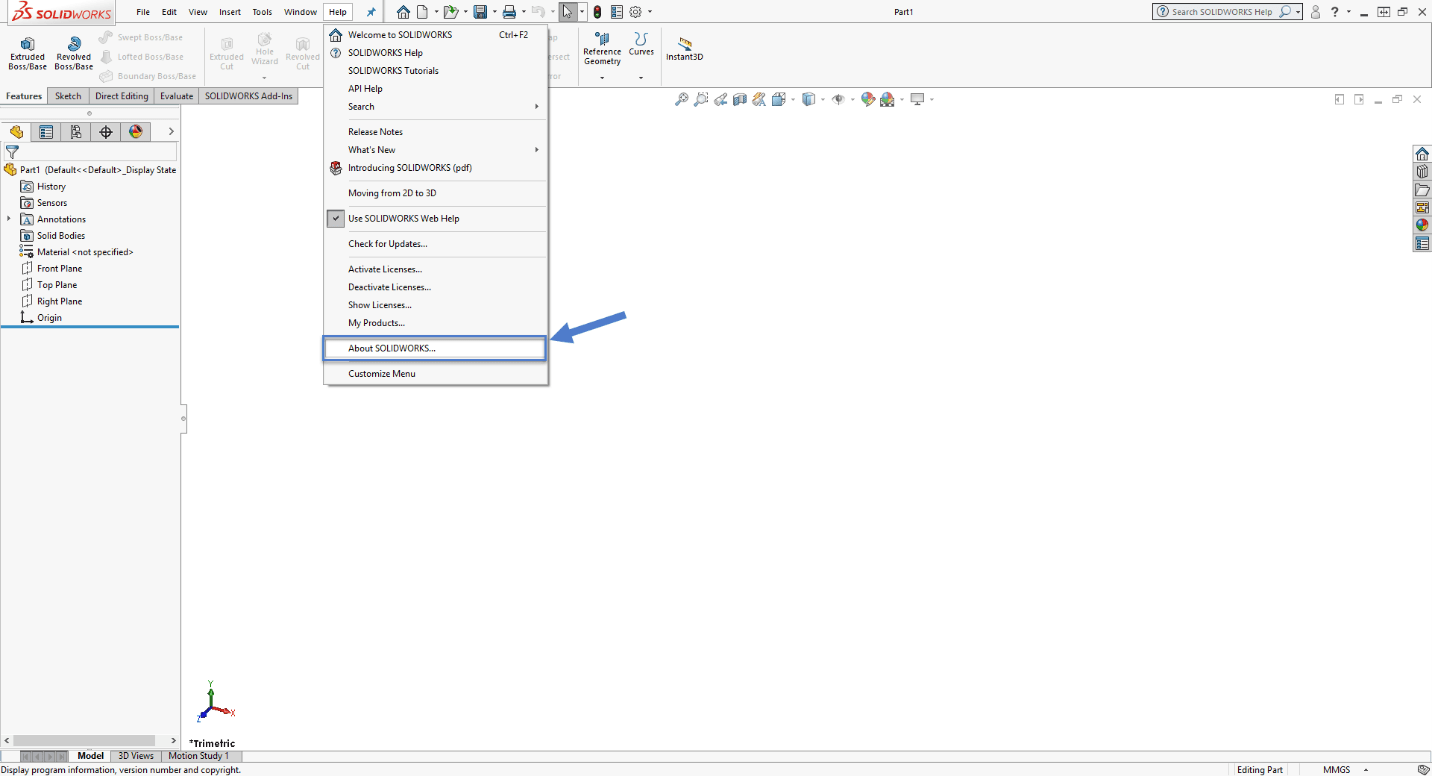
If you do not know your serial number, it can be found inside of SOLIDWORKS if it is installed on your machine. You would open up SOLIDWORKS, go to the help menu, and select “About SOLIDWORKS” from the drop down.
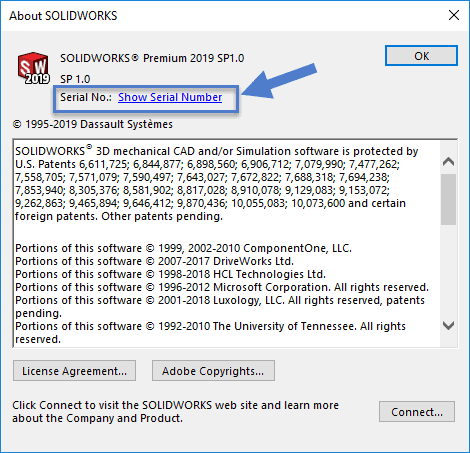
The pop up will have a button “Show Serial Number” that should show the serial number you are using.
If you do not have SOLIDWORKS installed, you can contact your local reseller to help figure out your serial number.
Okay, back to creating the account.
Step 5: SOLIDWORKS will verify your company. Click yes.
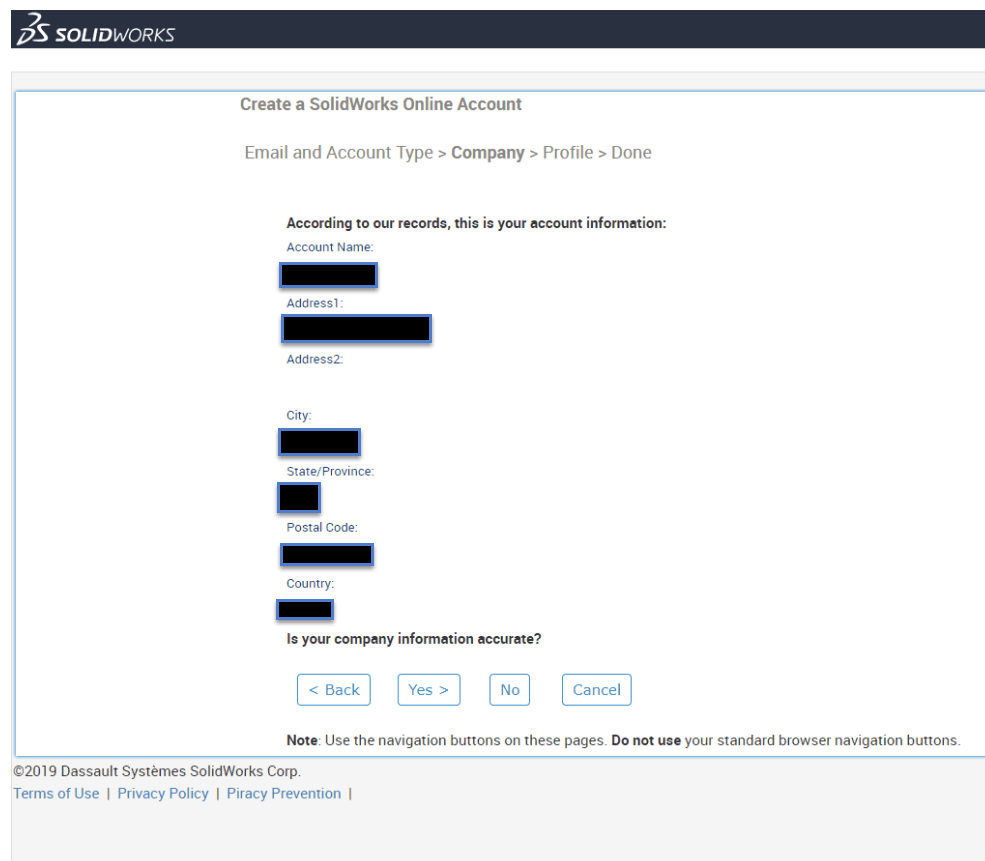
Step 6: You will be asked to set up your profile. Fill out your name, your password, and verify you have read the privacy policy. Click next when you are finished.
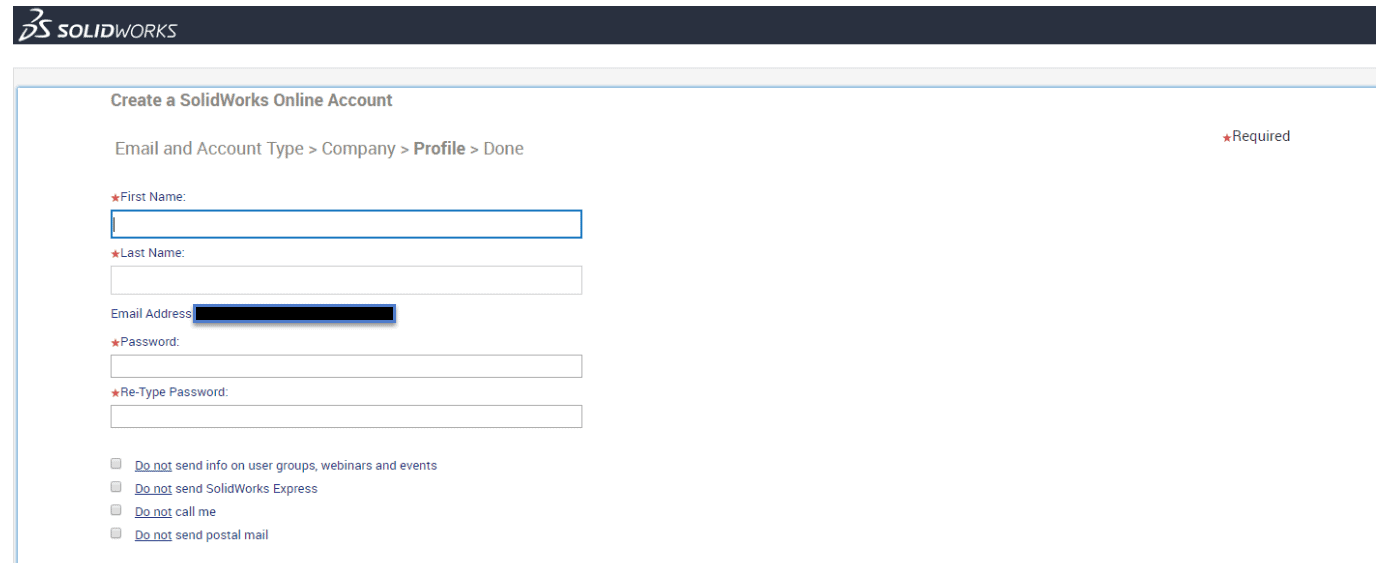
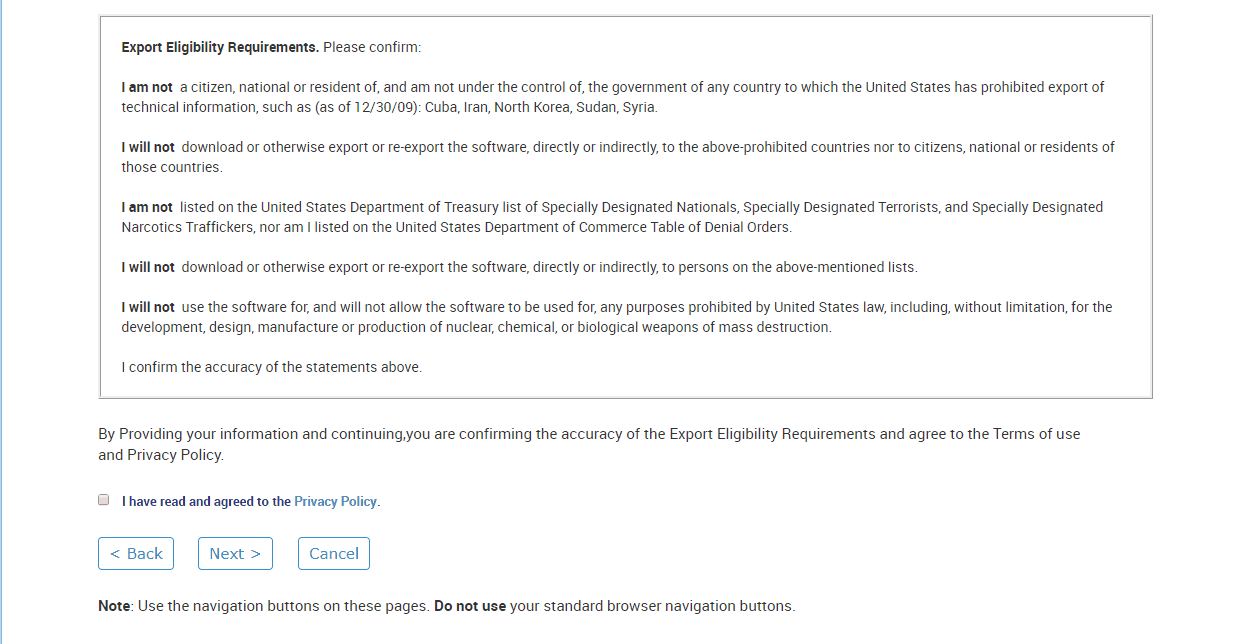
Step 7: You will see the screen below. You will have to close the window and log back in.
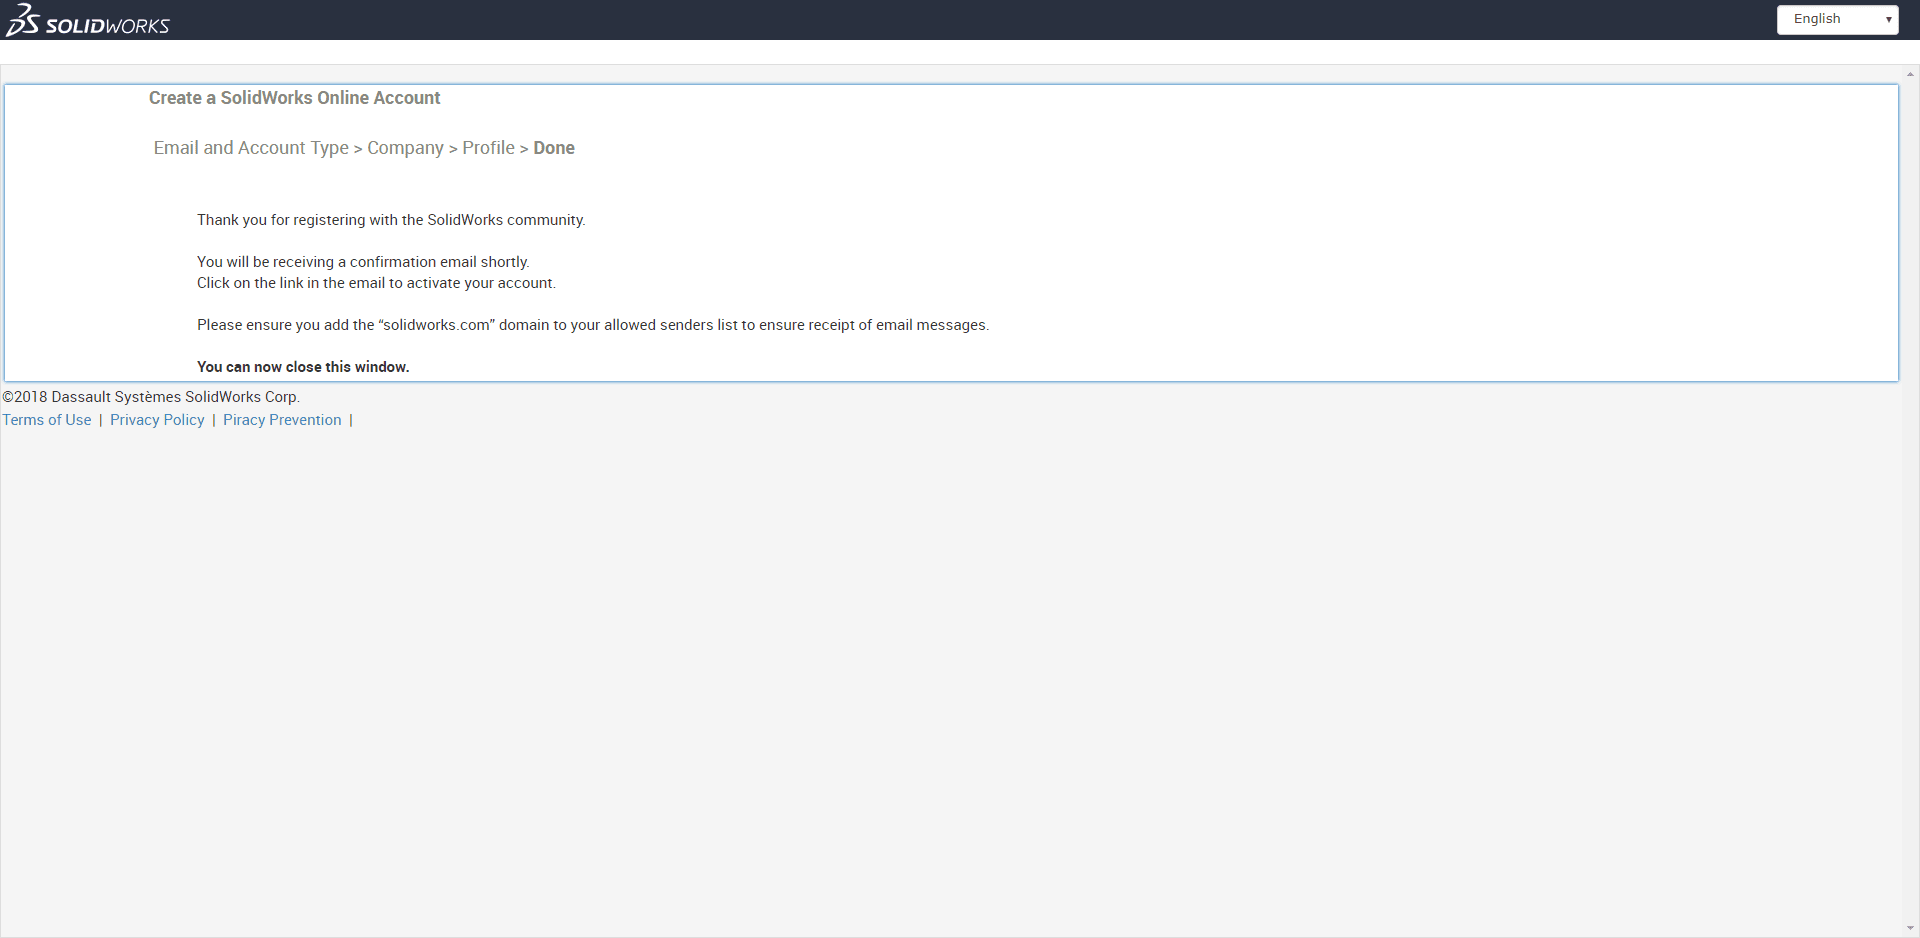
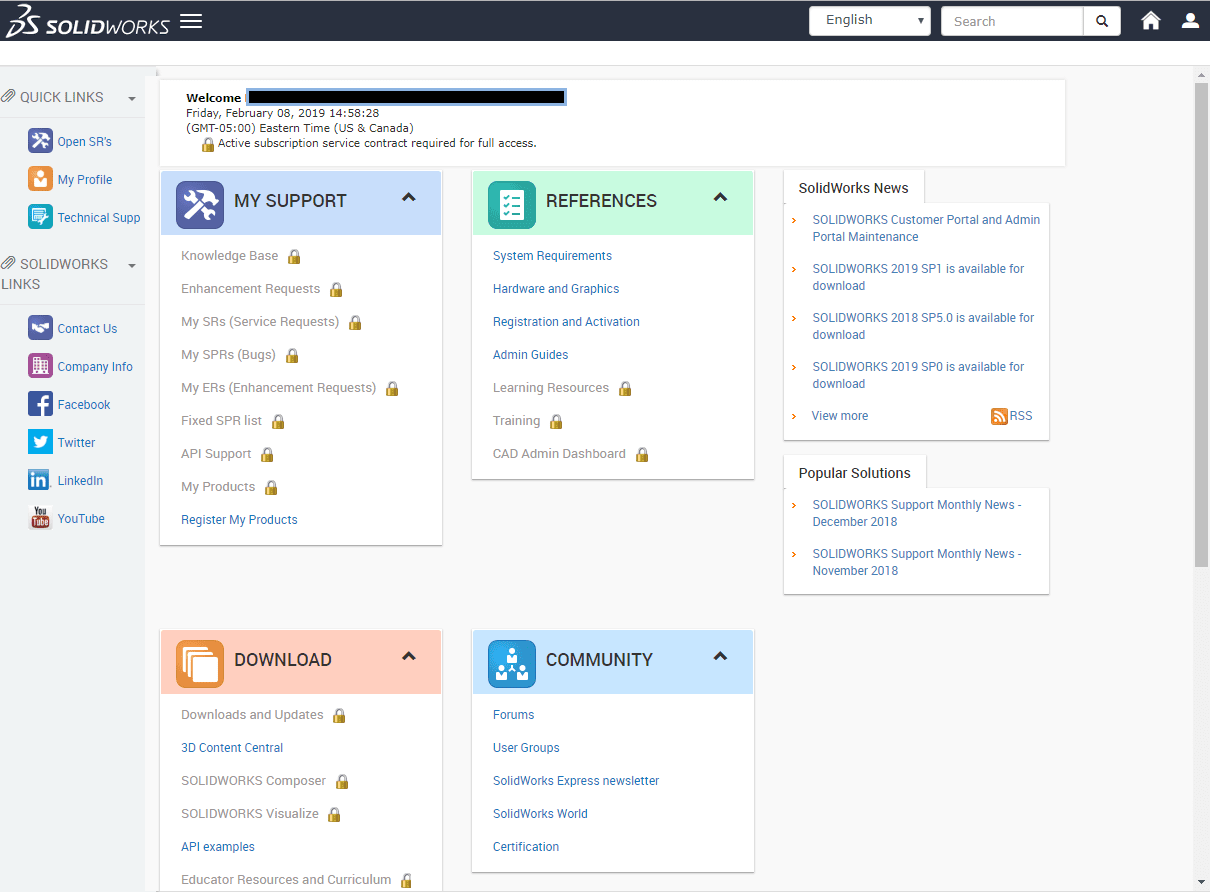
Step 8: Once you log back in, you will see locks everywhere.  You need to register your products to get full access.
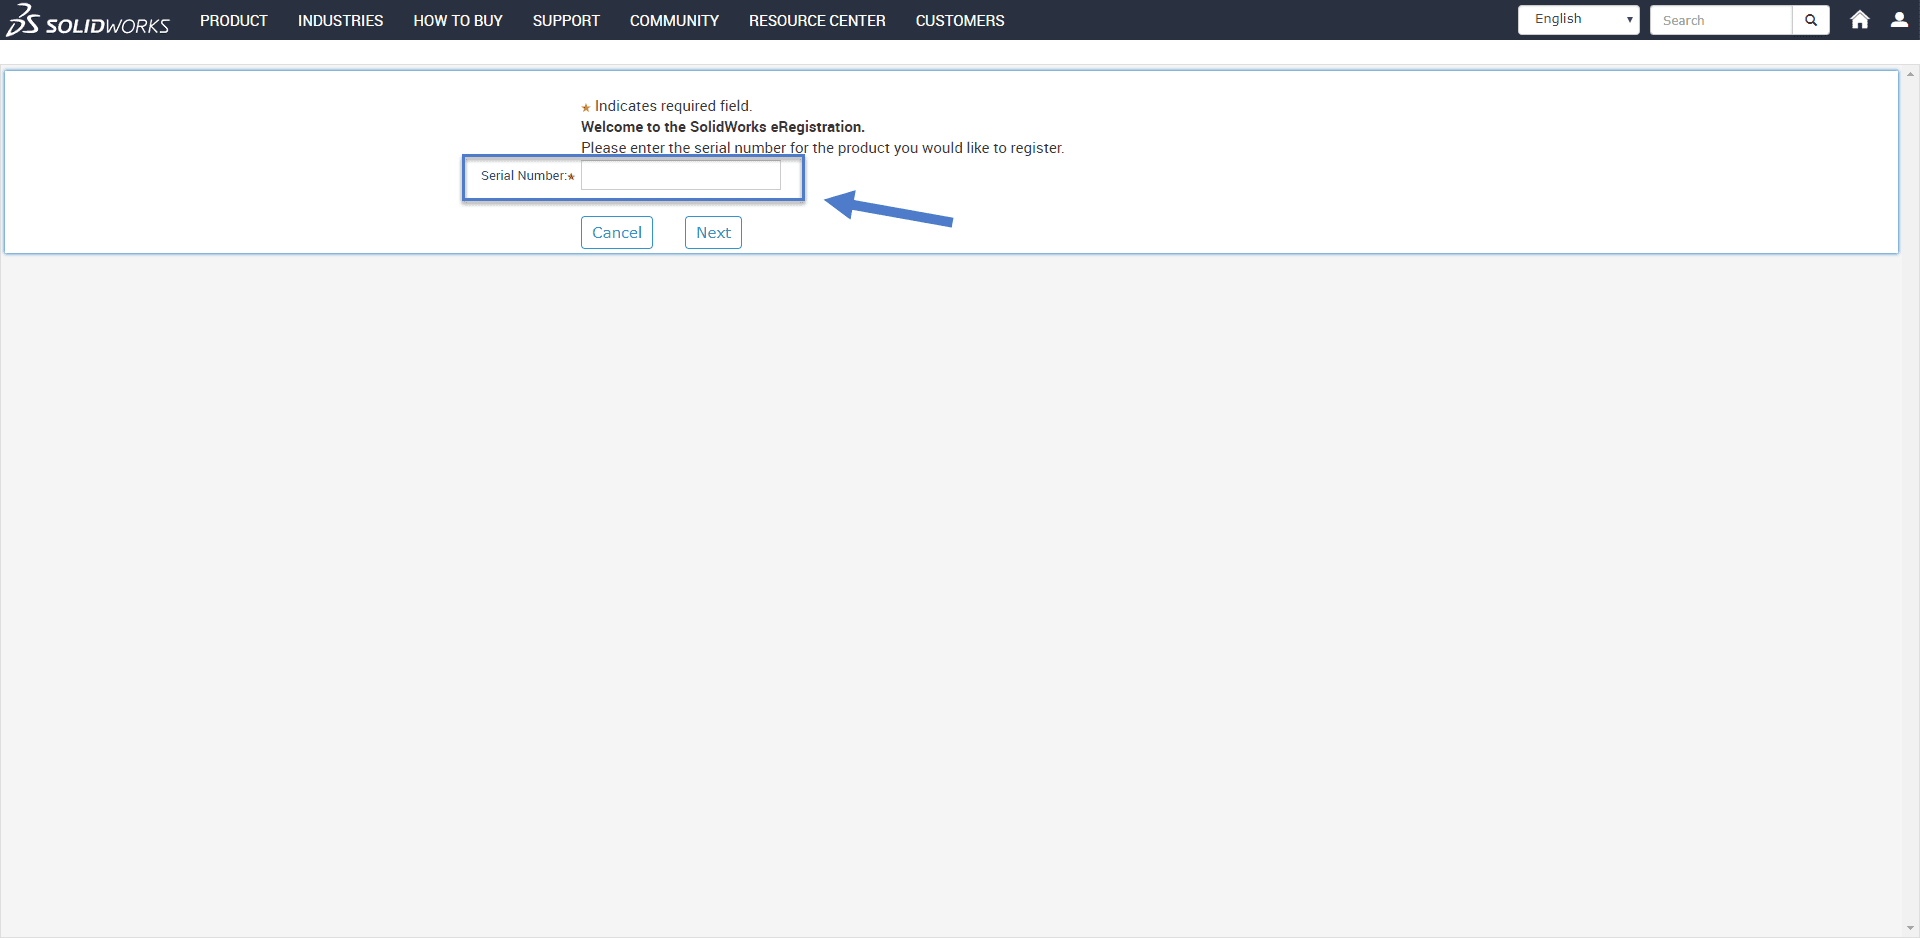
Step 9: You will need to input your serial number again. Then hit next.
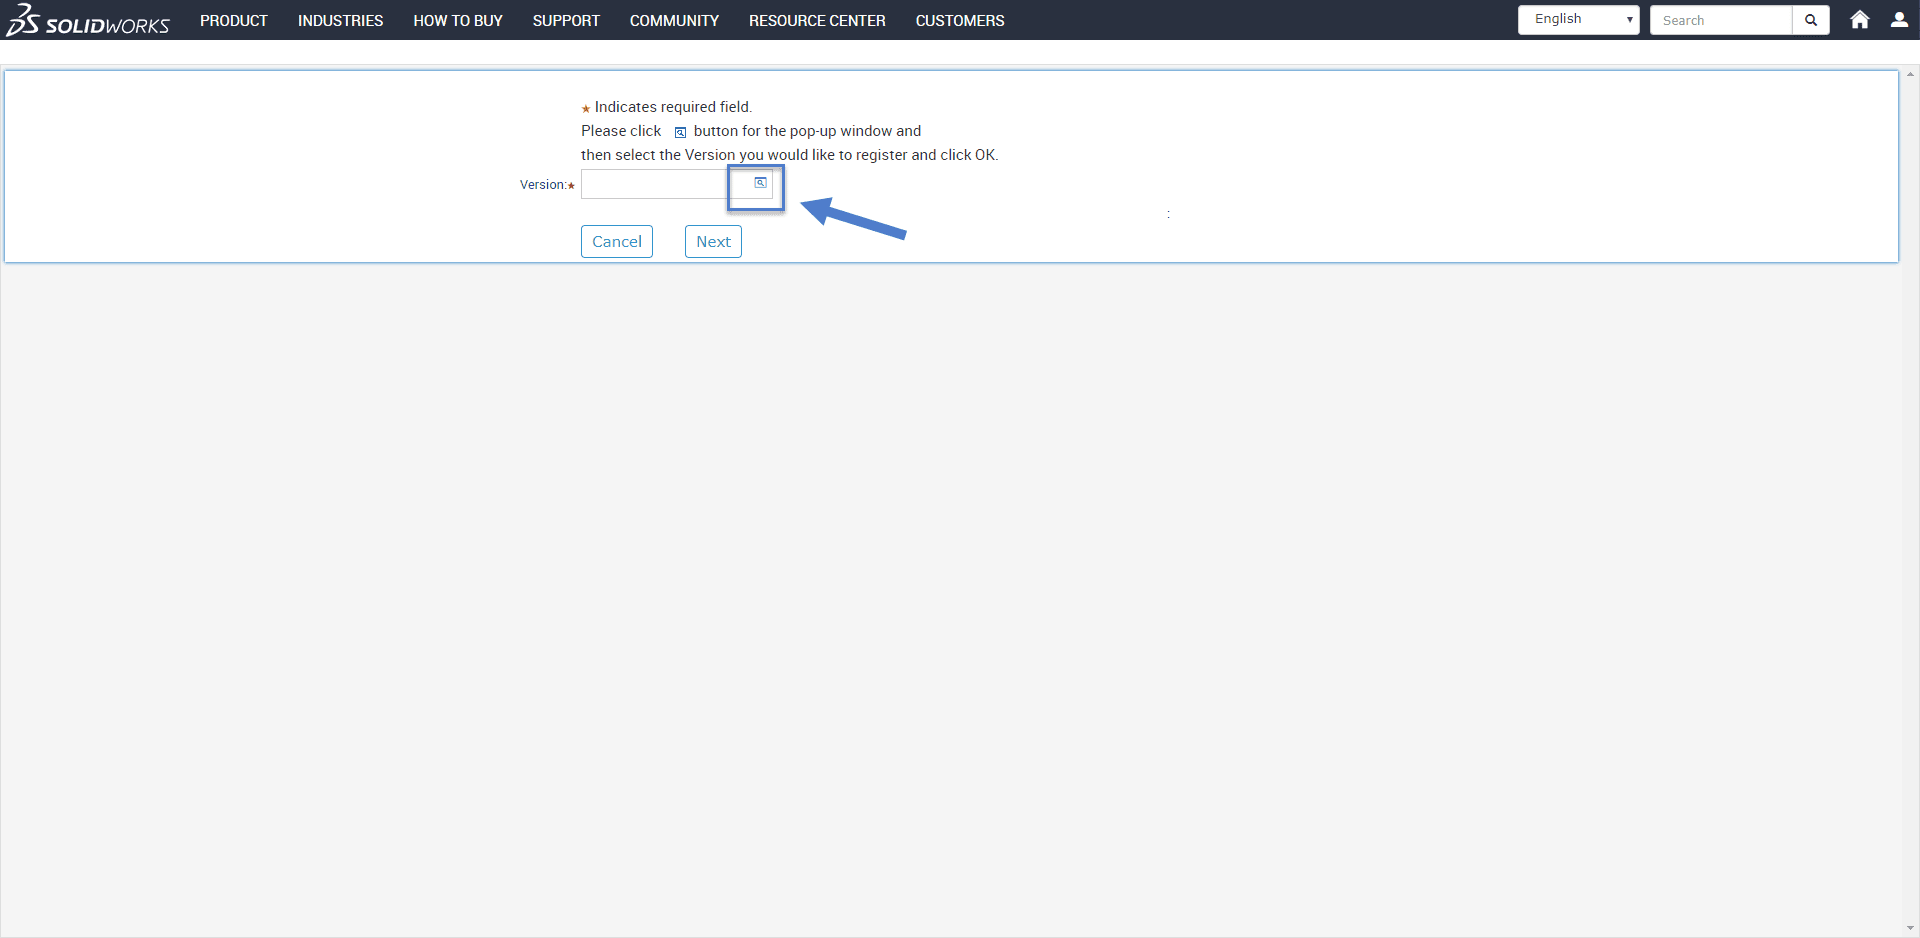
Step 10: You will need to select the button in order to choose the version of SOLIDWORKS you are using.
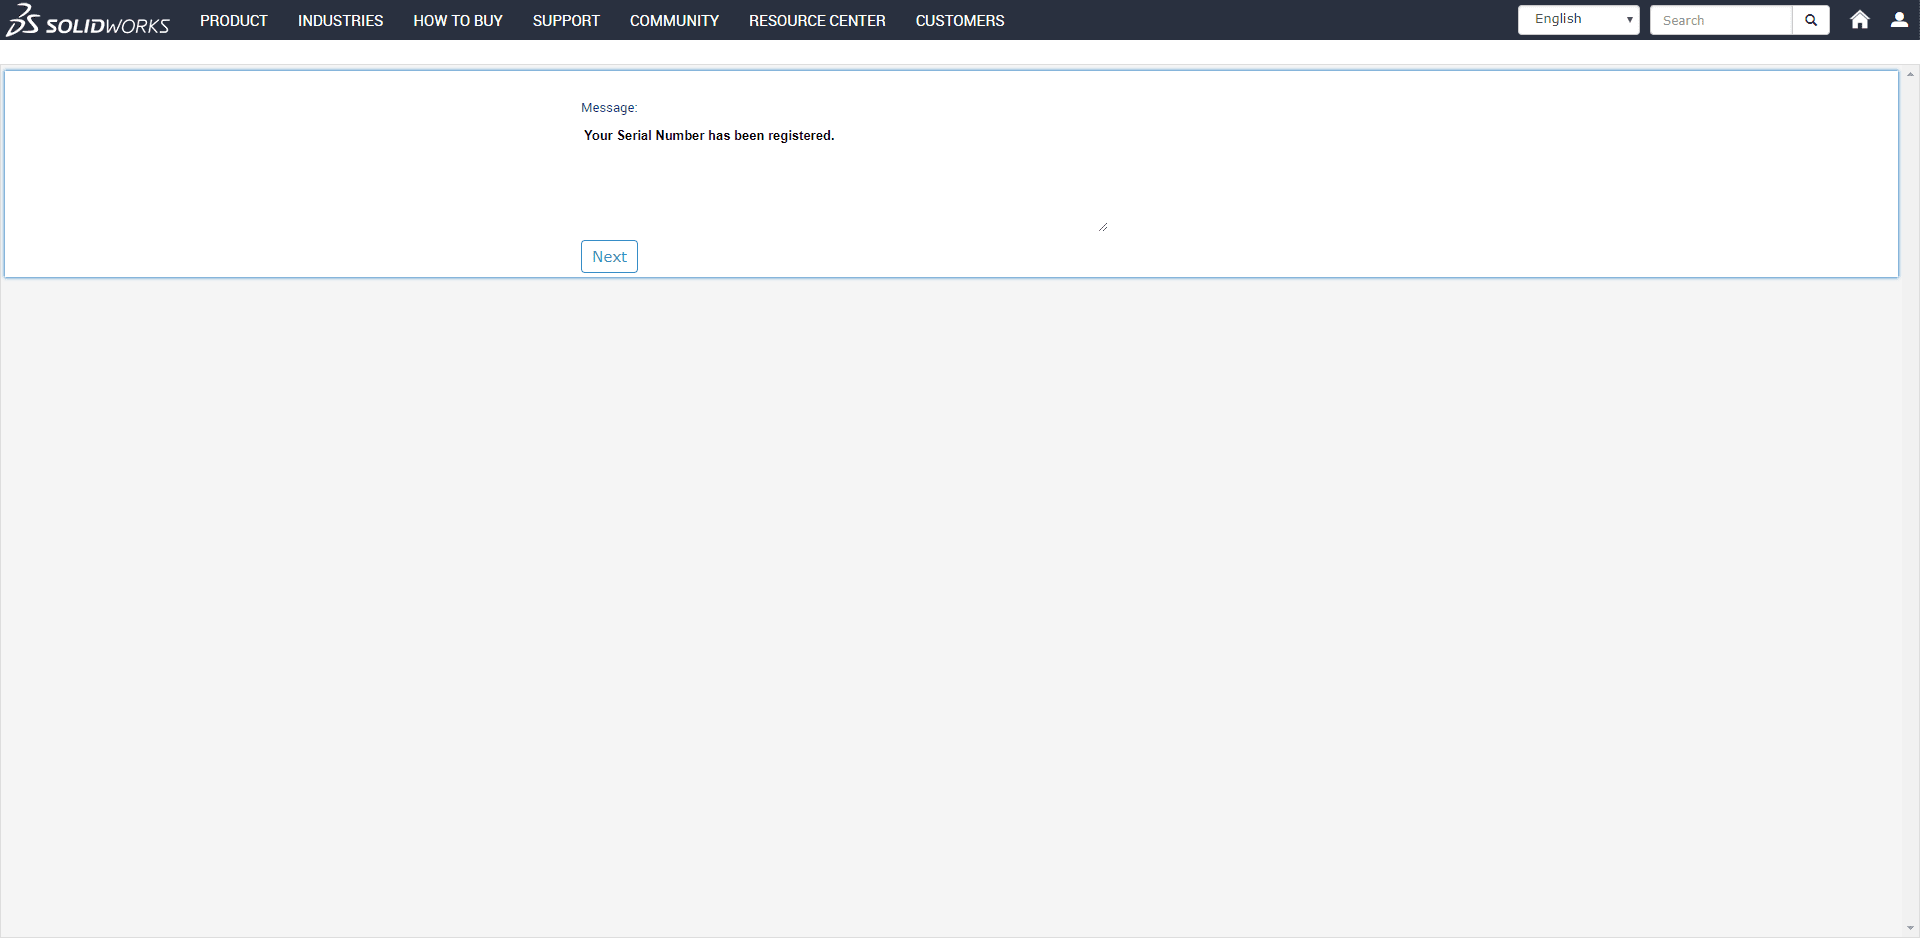
Step 11: You will see this screen.
And when you go back to the main page, the locks should be gone.
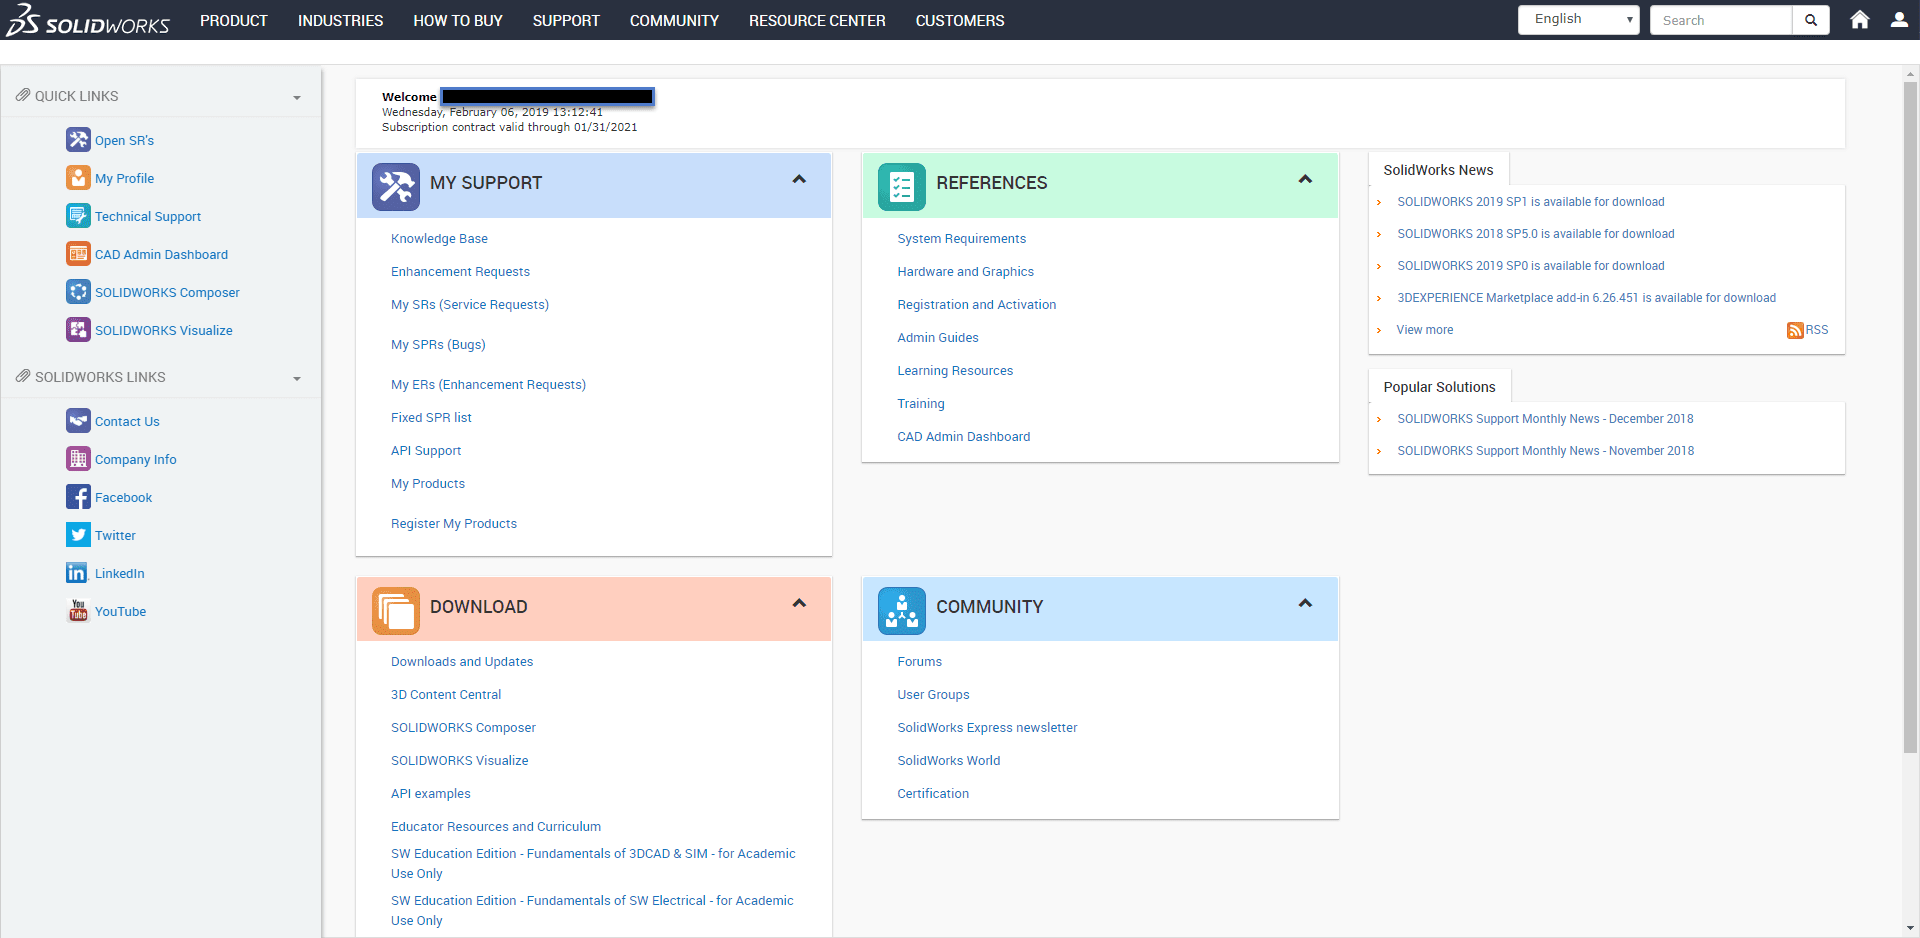
Now you have access to the customer portal’s full potential, including the downloads/installation files for newer service packs you are entitled to.
Madeline Speer
Applications Engineer
Computer Aided Technology, LLC

 Blog
Blog