Sketch upside down? SOLIDWORKS has a tool for that.
I think this one of those great forgotten gems. With so many features in SOLIDWORKS, I find it impossible to keep track of them all. Usually it’s a command that you don’t use frequently, and you’ve found another way of getting your design finished. This week, I needed one of these forgotten gems: Modify Sketch. Another user had a sketch where the origin was upside down in relation to the part origin, and Modify Sketch was the answer.
It’s located at Tools » Sketch Tools » Modify.
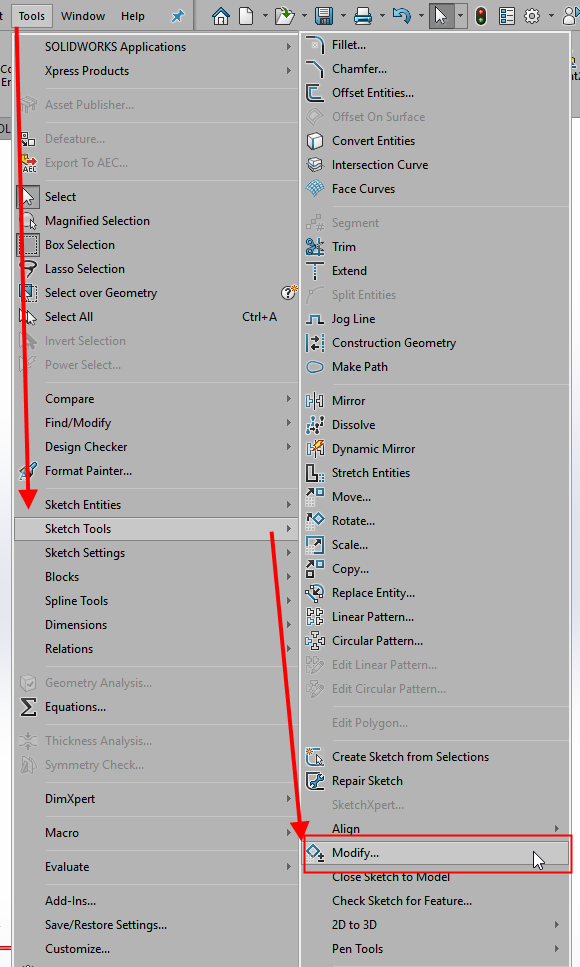
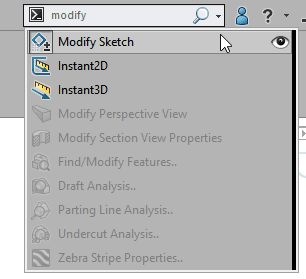
As you can see this command is somewhat buried so if you don’t remember where it is, just use Command Search.
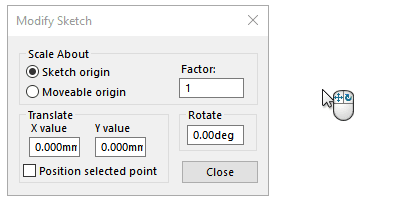
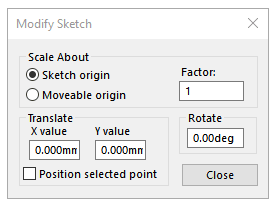
When you look at the Modify Sketch window, you’ll see options to Translate, Rotate and Scale your sketch.
You may be asking yourself, why would I use this command when I already know about and use Mirror, Move, Copy and Rotate Entities?
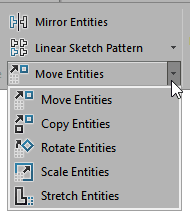
As we all know, it usually comes down to the details, and in this example a single word difference: Entities vs. Sketch. When we use the various “Entities” tools, they manipulate the entities within the sketch. So, the lines, arcs, and circles move or rotate within the sketch and the origin stays constant. Horizontal points in the same direction and all Sketch Relations are maintained and must solve correctly.
On the other hand, Modify Sketch manipulates the entire sketch in relation to the model. We can move the Sketch Origin or redefine the direction that is Horizontal.
Let’s look at how Modify Sketch is different. In this sketch you can see the direction that I need to be “up” in my model is the positive Z direction. The problem is the new sketch origin is 180 degrees out of where I need it to be and everything is upside down.
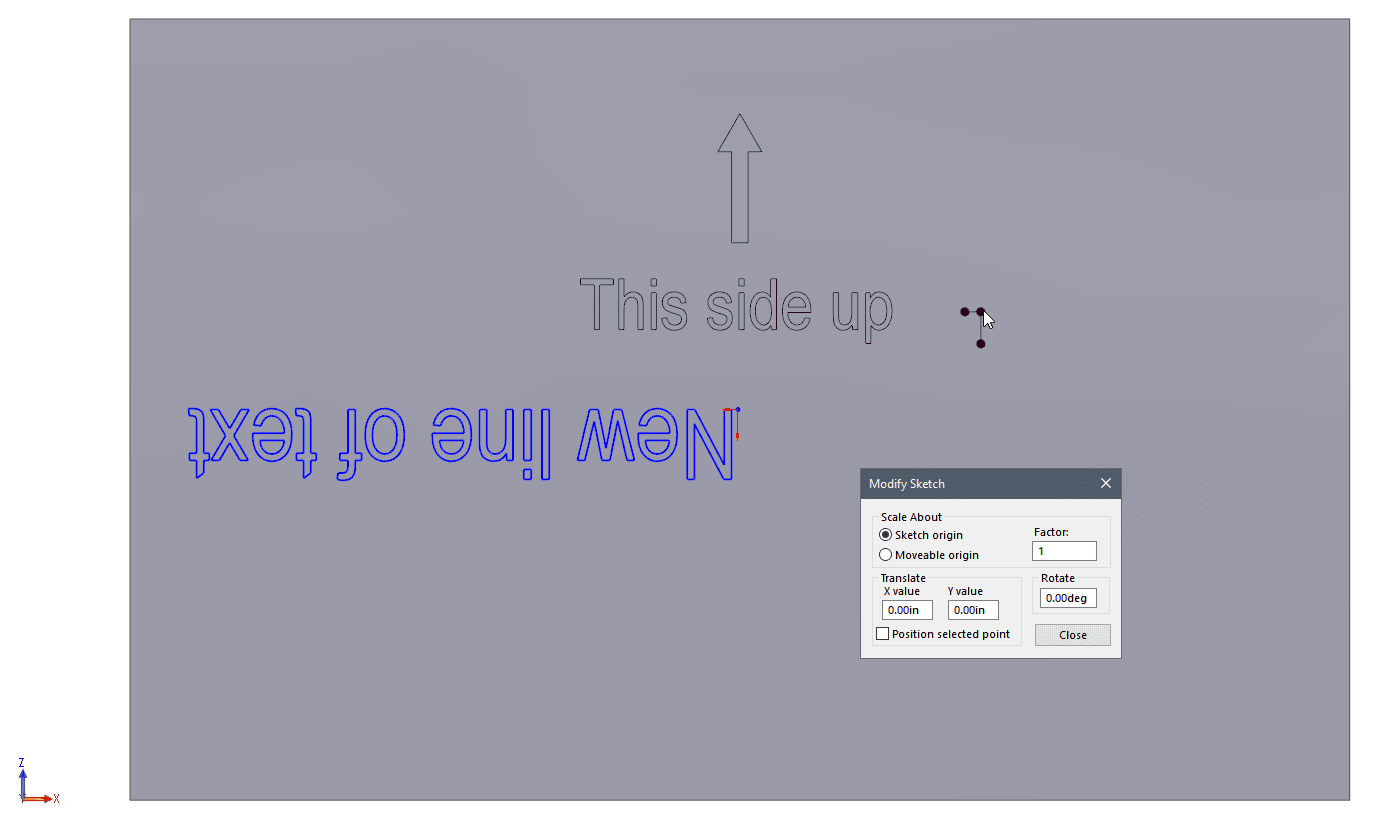
Modify Sketch has options to Translate, Scale and Rotate the sketch by entering values in the dialog box. Just don’t forget to hit Enter or nothing happens.
What may not be so clear are the options you have when placing the mouse cursor over the black origin symbol. Use the left-mouse to move, the right-mouse to rotate with the cursor in the graphics area. Place the cursor over each of the end points or the center of the black origin to flip the sketch. If the black origin is not located where you need it, place the cursor over the center point and use the left-mouse button to move it to that perfect spot.
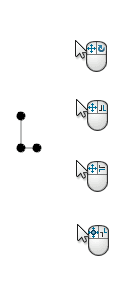 |
Move and rotate the sketch
Flip sketch along X axis Flip sketch along Y axis Flip Sketch along both axes |
Sometimes, it’s simply easier to see it in action and watch how it works.
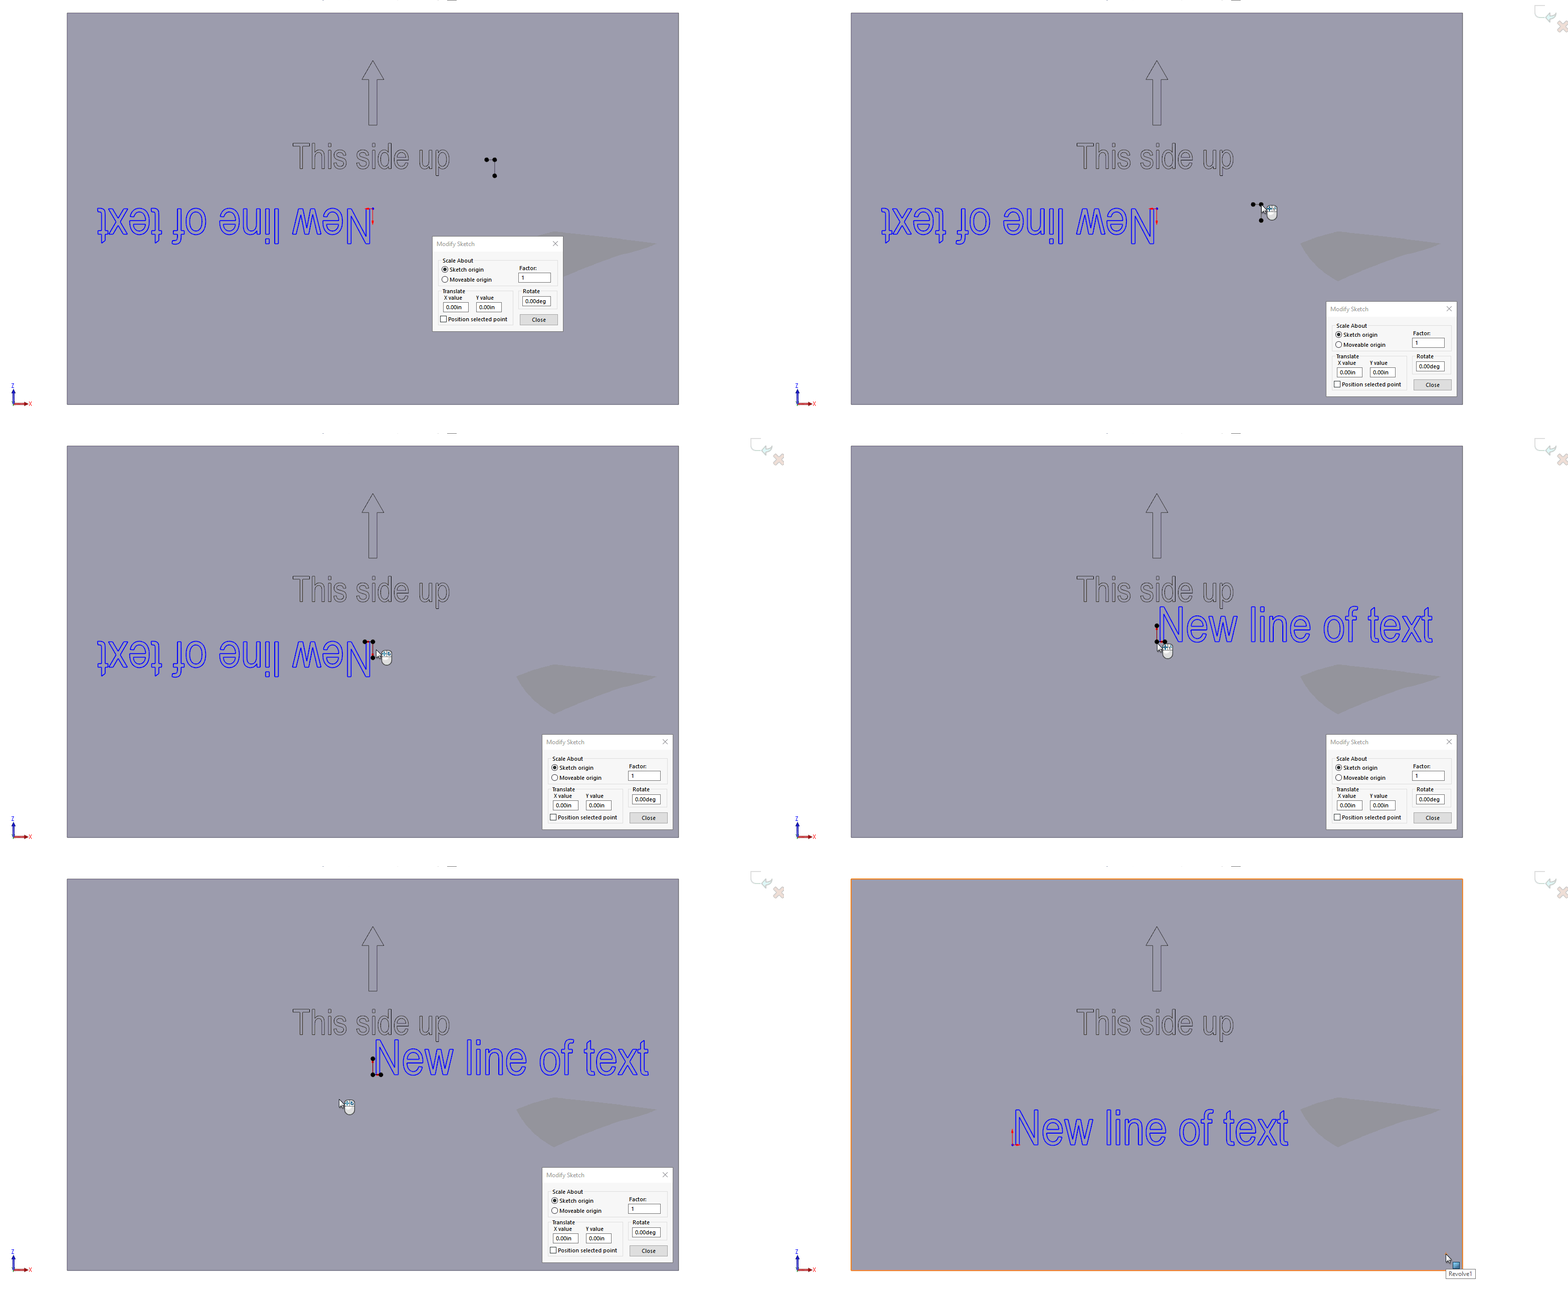
The next time you find yourself upside-down in a sketch, this oldie but goodie can save a ton of time.
Kris Dubuque
Field Technical Services Manager
www.cati.com

 Blog
Blog