Teaching Kids How to Fling Stuff! With SOLIDWORKS and Trebuchets. Part Two the Design
The trebuchet design needed to meet four main criteria. The design had to be safe, easy to assemble, low cost, and last but not least teach and inspire the kids about engineering. The best part of designing a trebuchet is that trebuchets are old technology. Many have been designed and built before. This fact allowed me to research what works well and what does not. I will have a list of reference websites at the end of this blog for anyone who wants to design and build their own trebuchet.
After a good deal of research I settled on a classic interpretation of a trebuchet. The counter weight will be free to pivot(swing), and the base will be fixed rather than on wheels. Two main reasons for this decision. With the counterweight being able swing there will be more energy generated as the weight will fall with a more vertical motion than if it were fixed to the end of the arm and only moving in an arc. The fixed base will be simpler to build and eliminate extra cost and time making wheels and axles. After a couple rough hand calculation the throwing arms length will be 8 feet. It helps a standard board length is 8 feet as well. The larger the throwing arm, and heavier the counter weight the beefier the frame needs to be in order to support these components. I decided to use 4″ x 4″ pressure treated lumber for the arm and frame due to the availability and strength.
The first step in the design was to use Assembly Layout to create a moving two dimensional representation of the frame, arm and counterweight. This worked well and gave me a starting point for the relative size of components. One thing to note is that I did not check for the minimum distance the counterweight could be at the bottom of the swing. Meaning at this stage in the design I maintained a vertical position for the counterweight through the movement of the swing. You will see later that this caused a clearance issue between the counterweight and the base of the frame.
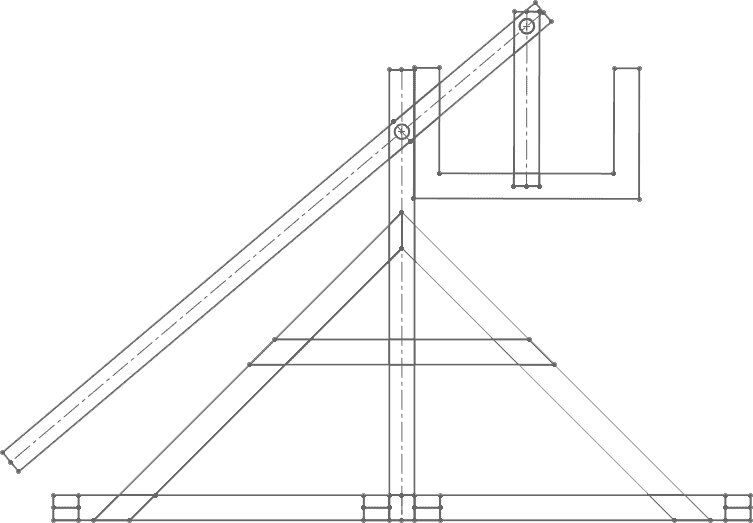
A general rule of thumb is that the pivot location be placed 3/4 of the way back from the end of the arm that attaches to the sling. With this in mind I positioned the pivot point at 70.5″. The pivot point for the counterweight was moved inward 2″ so a reasonable amount of material was on all sides of the pivot hole.
The next step was to start modeling the trebuchet in SOLIDWORKS. The easiest way to model structures like the trebuchet frame is to use the weldment functionality in SOLIDWORKS. Weldments use a standard library of beam profiles and apply them to an exiting sketch of the structure. I beams, C Channels, etc. in all major standards are in the library. I easily added common wood profiles in a custom library folder and set to work. One thing to keep in mind is that a 4″ x 4″ is actually a 3.5″ x 3.5″. Yep, you are not getting what you pay for.
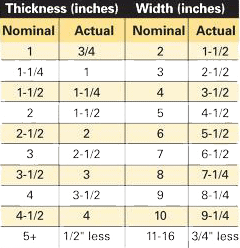
Weldments were again used to create the counterweight’s “basket” from 2″ x 4″s. The basket was originally going to be filled with cement giving it a weight of almost 600 lbs. After creating the frame, counterweight, and arm a preliminary assembly was put together to check for clearances etc. What I found was that with the arm pivot locations, counterweight dimensions, and frame height the basket was going to have minimal clearance if it was at rest with the arm vertical. If the basket was to swing(which it will) there would be a collision between the frame and the counterweight.
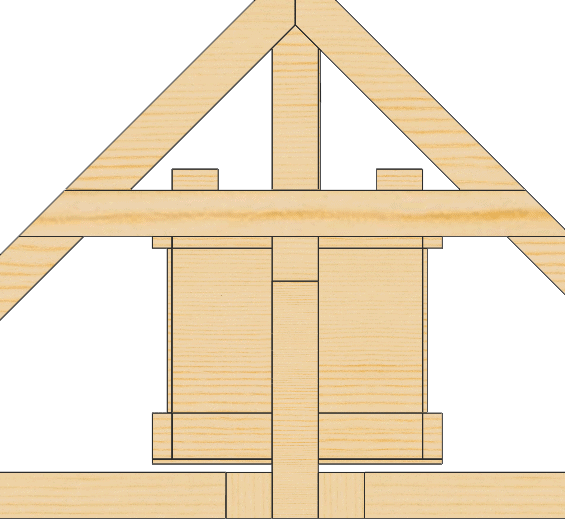
Thankfully I used SOLIDWORKS and weldments to design the frame and counterweight. Making changes to the weldment is as easy as changing the underlying sketches that drive them. Below is the modified frame sketch, and resulting weldment. The vertical posts were lengthened, the counterweight adjusted, and general tweaks here and there.
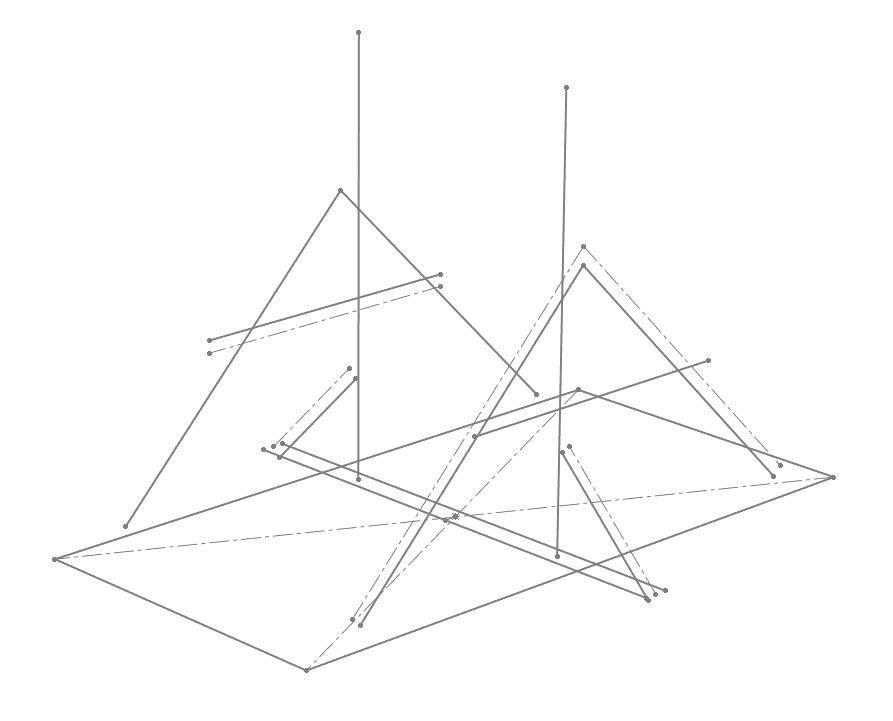
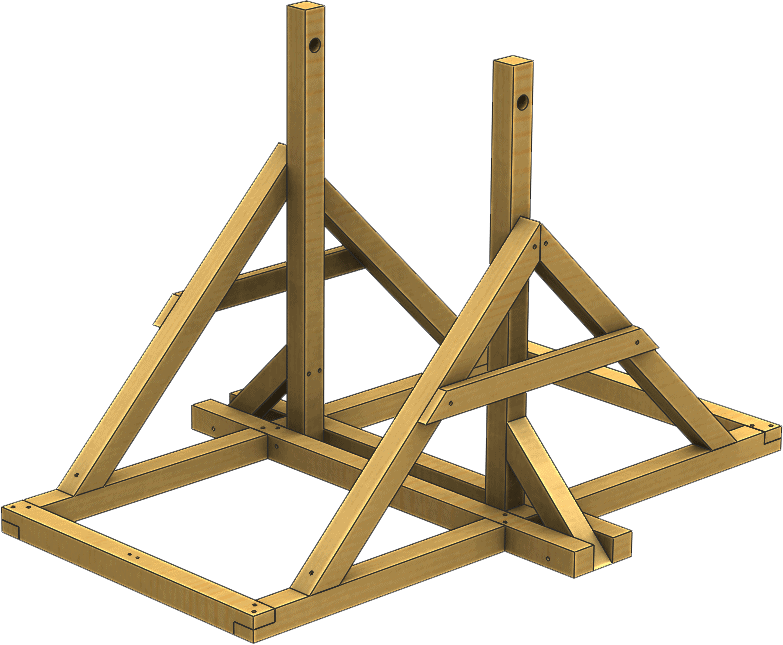
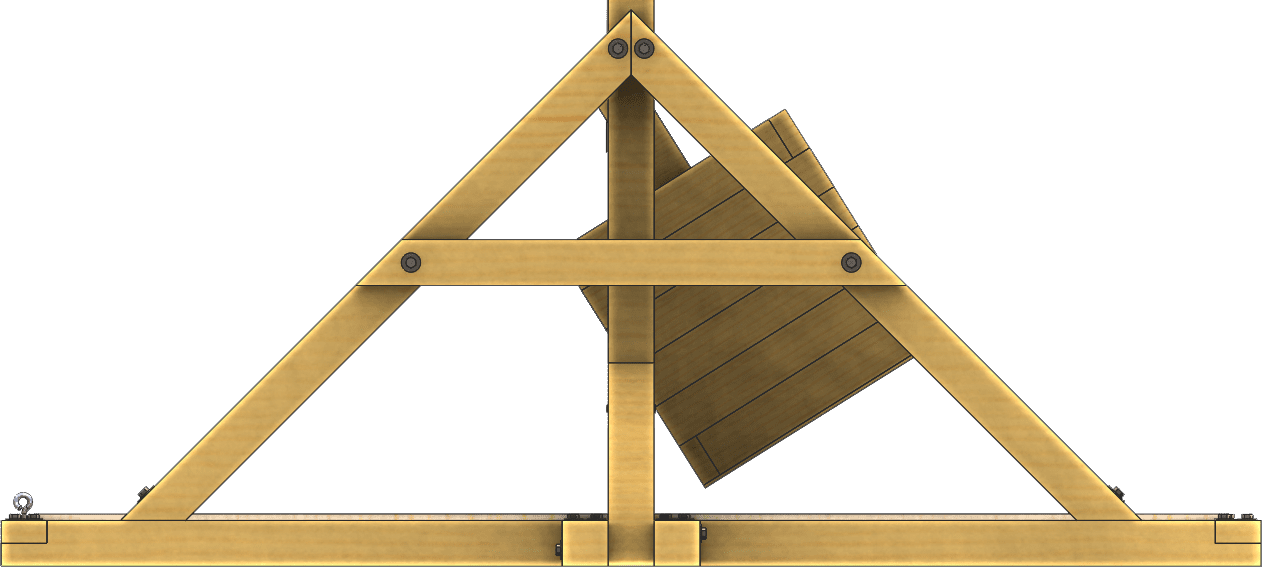
The frame and counterweight updated automatically in the assembly and proved to have a reasonable clearance between the counterweight and the frame.
Before moving too far in the assembly process the structure and axle need to be analyzed and sized for the loading. I used SOLIDWORKS Simulation for this task. An orthotropic pine material was specified for the frame and plain carbon steel for the 2″ schedule 40 axle pipe. I loaded the structure in three positions. Ready to launch, the arm in a horizontal position, and the arm in a vertical position. The worst case scenario is the horizontal loading. The counter weight applies the largest moment on the arm in this loading case. I used a load of 900 lbf. on the end of the arm where the counter weight attaches, and fixed the bottom of the frame. A no penetration contact was used for the pivot hole and arm axle. I increased the value of the load to account for the real life movement of the system in the static study.
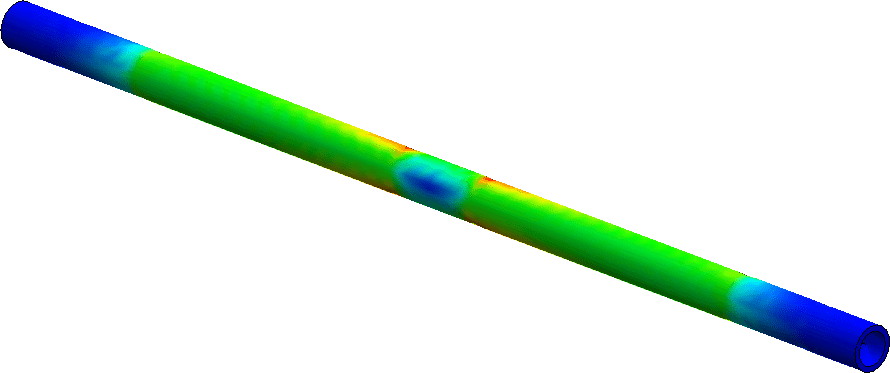
The arm and frame showed low stress values with the vertical posts supporting the bulk of the load. The main axle had a high stress of 7,000 psi drastically under the 32,000 psi yield of the material. The design was now evaluated to be safe. During the analysis portion of the project my friend called me and let me know that the trebuchet was going to be used in a parade and needed to be easily transported. A 600 lb. counterweight will not work. We switched from cement to sand keeping the basket the same size. This lead to a counterweight including the axle, basket, and sand that weighs just under 450 lbs. Of course this changes the performance calculations but it was a sacrifice that needed to be made.
In order to make the trebuchet easy to assembly we decided to make it one big kit. Two fastener sizes were chosen to help with the ease of assembly. All holes were to be in the same orientation allowing the cross members, a frame beams, etc. to be interchangeable. The counterweight was to be constructed beforehand. All the cutting was to be completed as well so the kids just had to bolt the frame together. The hole wizard, smart fasteners, and ease of mating inside SOLIDWORKS made this design step incredibly easy. To keep the arm and counter weight centered we decided to use 3″ PVC pipe as spacers. This worked better than expected.
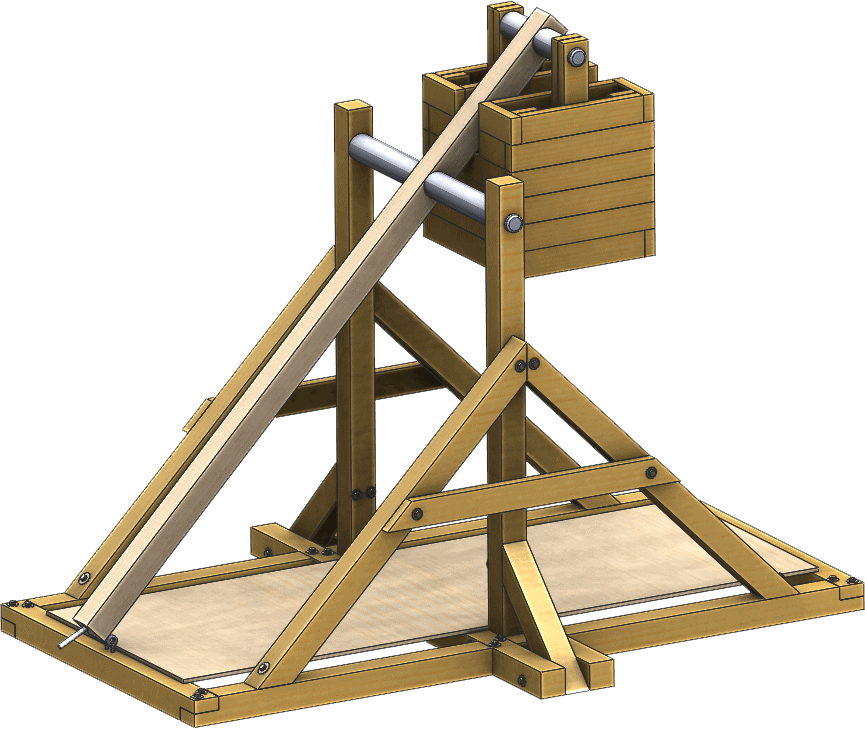
Eyelets were used to hold the arm in the cocked position with a firing pin placed through them. All thread was chosen as the pin at the end of the arm the sling attaches to. Counter-bores were added so that nuts and washer would hold the sling pin in place. A 3/4″ board was added to top of the frames base. This board will allow the sling and projectile to smoothly move over the frame.
The next step was to source the wood, lag screws, eyelets, and additional components. I used SOLIDWORKS drawings and the weldment cutlist to quickly acquire the amount of board feet needed. The assembly Bill of Material was invaluable totaling the fastener components including the lags, washers, eyelets etc. I passed these lists onto my friend and he started contacting the stores.
The next step is to start building the trebuchet in order to test it and disassemble it before the kids put it back together. Keep an eye out for my next blog “Teaching Kids How to Fling Stuff! With SOLIDWORKS and Trebuchets. Part Three: It Works”.
Reference Websites:
Trebuchet Information Source 1

 Blog
Blog