DWF/DWG File Mapping From SOLIDWORKS
DWF/DWG File Mapping From SOLIDWORKS
Use File Mapping when you want to save your SOLIDWORKS Drawings as 2D drawings with specific layers, line types and colors. File Mapping can be setup and saved as a specific setting. Maybe you want to save settings for a certain vendor, customer or even another department inside your company.
Let’s get started…
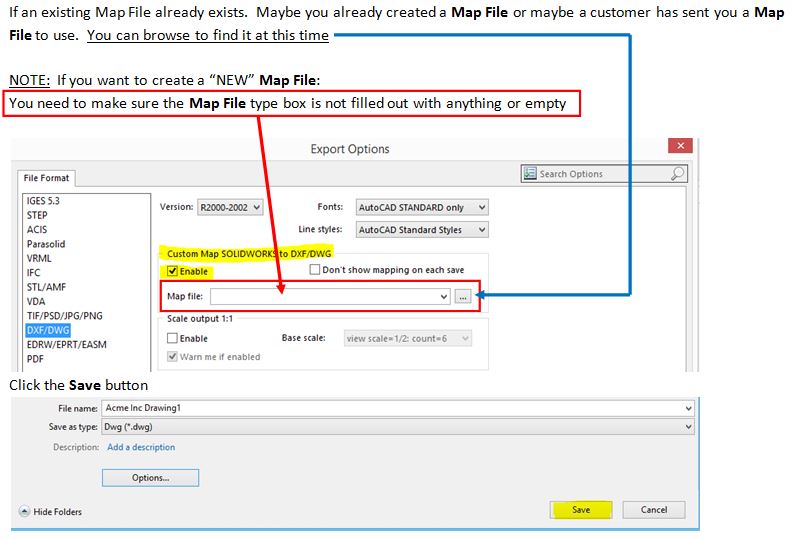
When you are in a SOLIDWORKS drawings. Click on File Save As, select File Type, either DXF or DWG.
Click on the OPTIONS Button:

Under Export Options, Select Custom Map SOLIDWORKS To DXF/DWG, Click OK.
OR
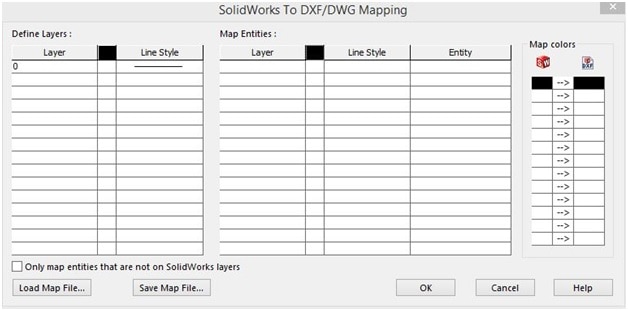
Since you enabled the Custom Map SOLIDWORKS to DXF/DWG option, you will see this dialog box like this below. This is where you begin to define which Layer Names, Colors and Line Styles you want to convert your SOLIDWORKS 2D geometry in your 2D drawing (DXF or DWG) file, after you save it.
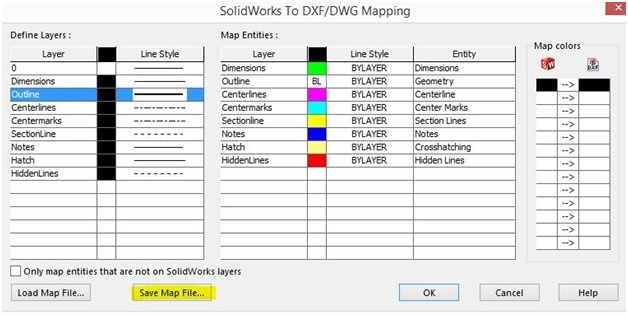
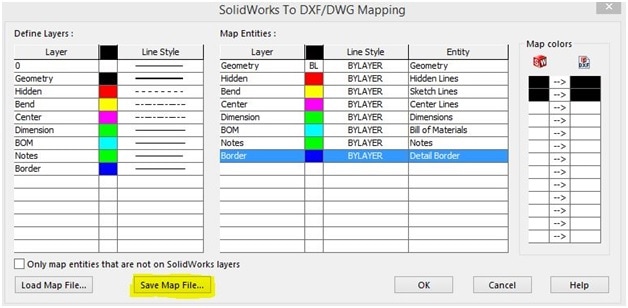
Here is an example shown below with the 2D Layers defined and the SOLIDWORKS Layers mapped:
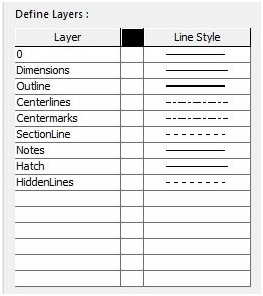
The Define Layers section, is where you will define the layers you want to create when you save the SOLIDWORKS drawing to a 2D drawing (DXF or DWG) file.
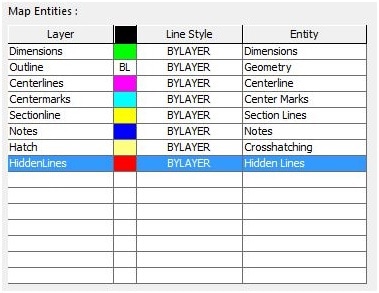
The Map Entities section, is where you “map” or “link” the SOLIDWORKS layers to the layers you have just defined.
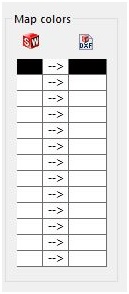
Map Colors from SWx to DXF file is only used to override mapped colors when saving as a DXF file type.
Once you have filled out the Define Layers and Map Entities sections. You can save out your file mapping by selecting Save Map File.
OR
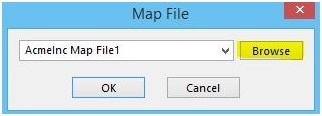
If an existing Map File already exists. Maybe you already created a Map File or maybe a customer has sent you a Map File to use. Then select the button Load Map File (This is a secondary area of where you can load an existing map file if you want)
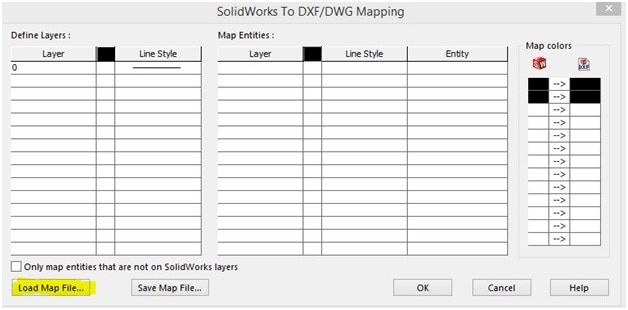
Once you found the existing Map File you wish you use, Click the OK button
Shown below is the result of what I defined and mapped together in my example:

Shown below is an example of file without any File Mapping applied:

Happy Mapping!!!
Check yah later,
Don Glaske, Application Engineer

 Blog
Blog