SOLIDWORKS Model Items
One of the coolest features of SOLIDWORKS has to be its ability to re-use sketch and feature dimensions in the drawing or detailing environment of the software. But if you are like most who tried this function out many years ago, you were not too impressed with all of the clean-up that had to be done after inserting all of those dimensions. The command I am speaking about is called Model Items, and can be found on the Annotation toolbar in the Command Manager in SOLIDWORKS.
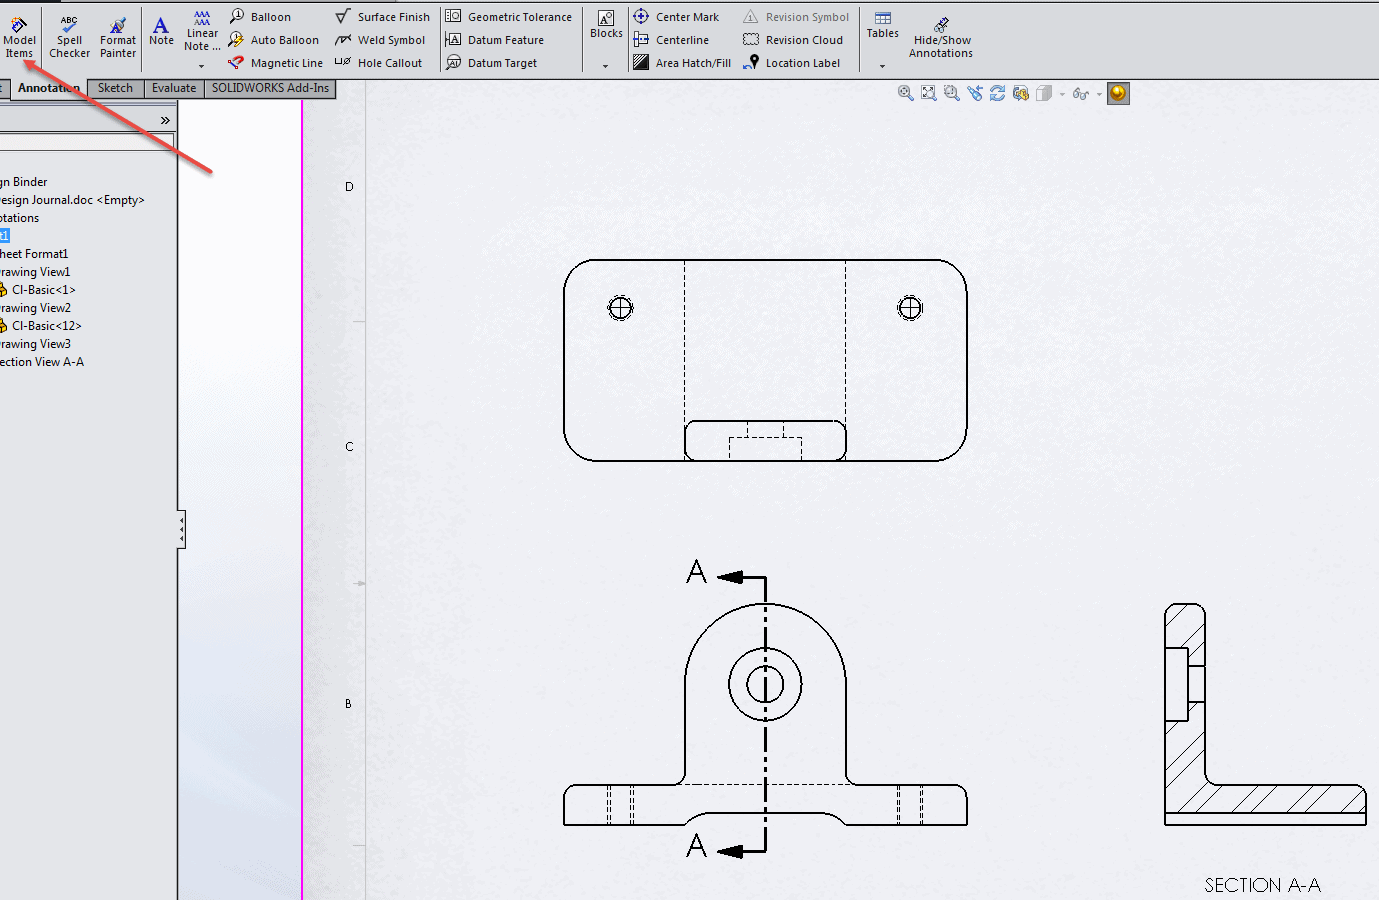
Create your drawing views, navigate to the annotation toolbar, press Model Items, and simply select the items from the Part Model that you wish to insert! Can it be that easy? Yes and No. You press the Green check mark and without paying too close of detail to the options, this is what you see:
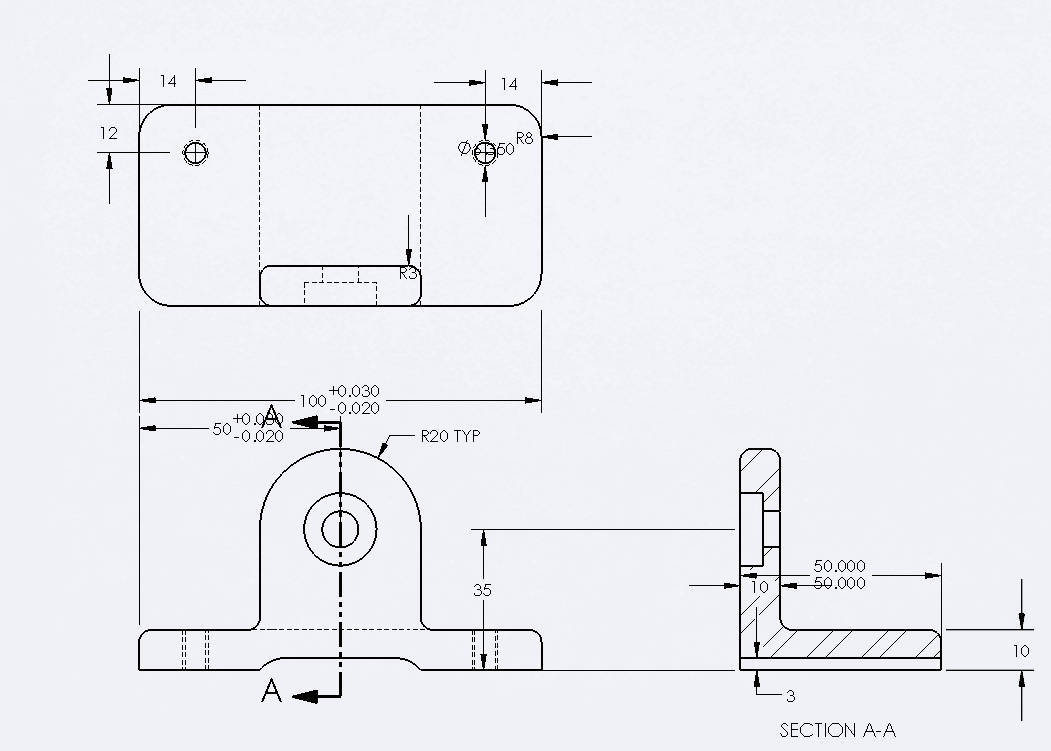
Not exactly what you had hoped for. But, if you simply adjust one or two of these settings, you can really make this command work for you.

Let’s start by turning off the default setting of “Use dimension placement in sketch”. Also, I find it better to use as my source a feature at a time on simple parts to help guide the command. Now that I have the command set for a feature at a time, you can see that my cursor is giving me feedback such as the name of the feature before I click. Plus if I have already selected a feature, it won’t let me click it again.
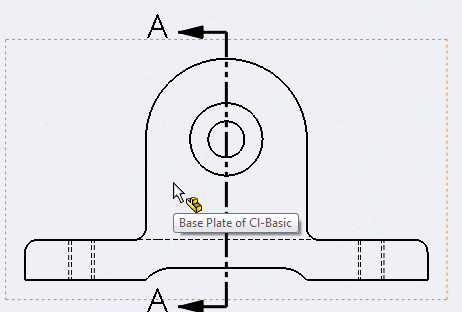
After placing the first few dimensions for our first feature, we see a message box appear:

We also notice that our cursor shows a mouse with the left and right button matching the description in the message allowing us to move dimensions while we place them as well as hide the ones that we don’t need to show:
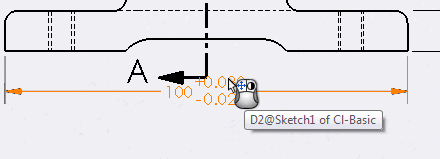
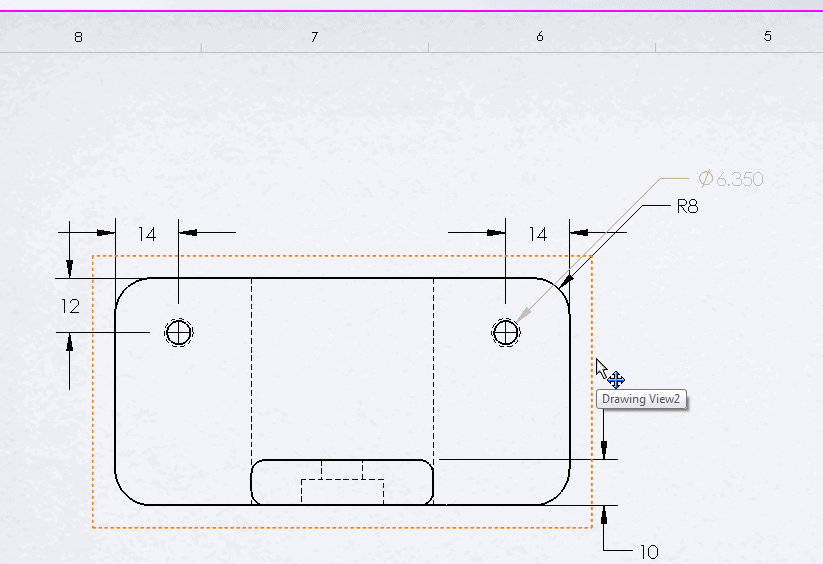
So for this example on the hole wizard, I have some dimensions I want to keep, and one I don’t want to show:
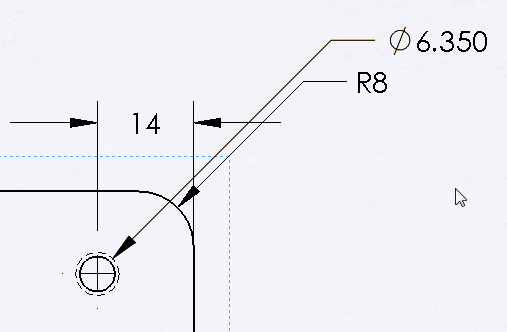
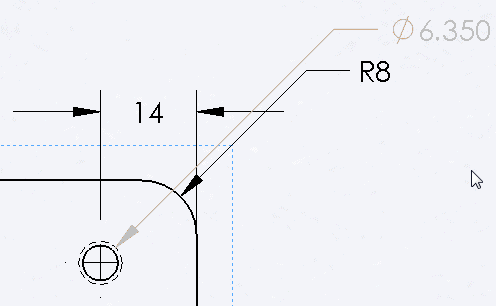
A simple right mouse click on the hole diameter dimension, and it hides by showing as a temporary light grey system default color while staying in the command:
I can even move dimensions from view to view assuming that the dimension I want to move can still be seen or attached to geometry in the view I want to move it to.
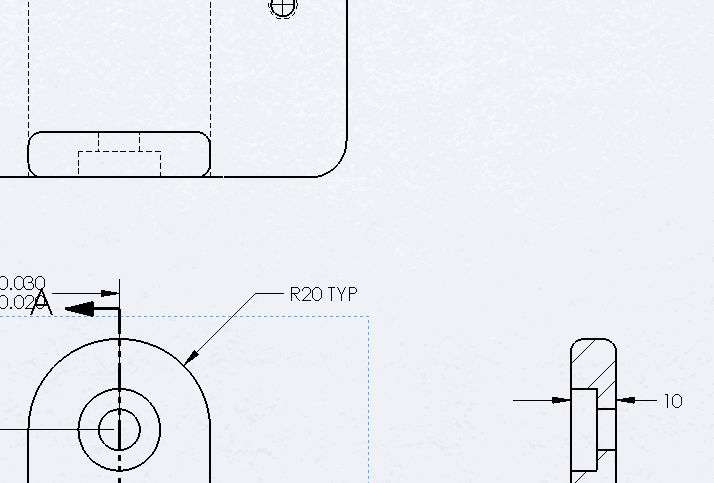
So I can drag the 10mm dimension from view to view just like I could outside of the command with any other smart dimension by holding down the SHIFT command.
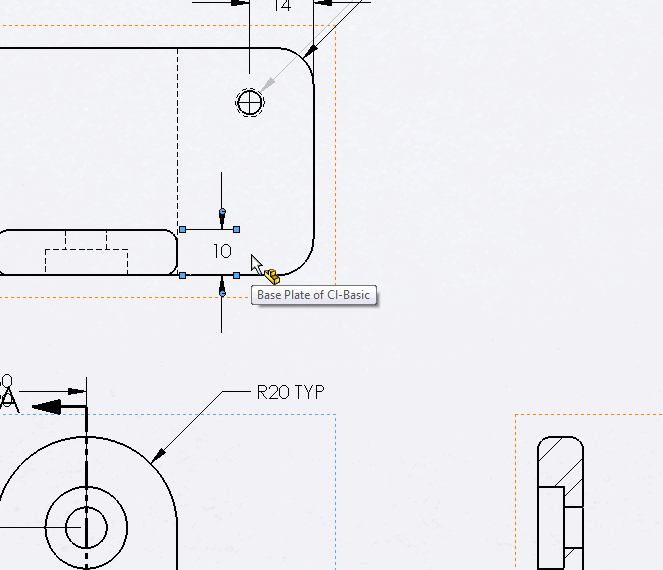
I can even drag views around while still in the Model Items command giving me full capability of placing and organizing my views on my drawing sheet.
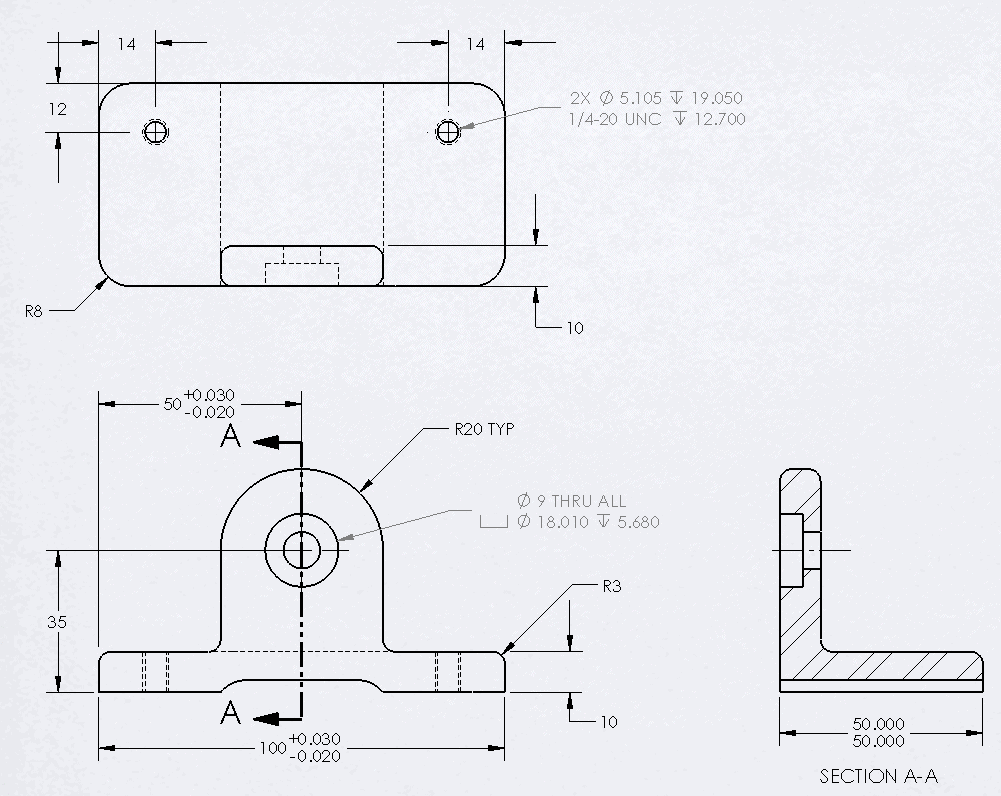
So if you haven’t tried this command for a while because your last time was not a pleasant experience, give this a try now and see if you can take advantage of some of these newer enhancements. Some of these have been around for a few years now and really do make this command much more productive especially if you need to use Driving model dimensions in your drawings today.
Thank you and enjoy.
Brian Reel
CATI Field Technical Services Manager
Computer Aided Technology, Inc.

 Blog
Blog