How to Isolate Simulation Results in an Assembly
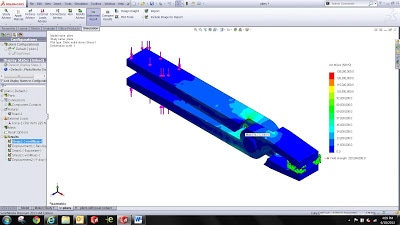
The actual process to get this to work is simple. In the first picture below, you will see the final results on the entire assembly. Now in order to view results on the upper arm of the pliers, you will need to follow these 4 simple steps:
- Select the Model tab at the bottom
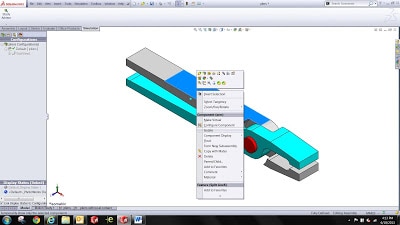
- Right click on the upper arm and choose Invert Selection from the shortcut menu
- Right click on any highlighted component and Hide
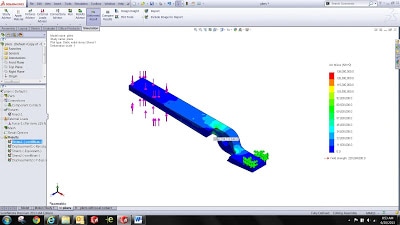
- Return to the study and show your result plots (Double Click)
Another option would be to create an exploded view. Again, you will need to click on the Model tab, activate the exploded view, return to the study tab, and re-show your result plots. It’s that simple. You now have results on isolated components for your reports.
For more training and tutorials on the many 3D CAD Modeling solutions in the SolidWorks family of products and add-ons, register for an upcoming Event or look into our SOLIDWORKS training.

 Blog
Blog 

