How to mate complex geometry in a SOLIDWORKS assembly
If geometry gets complex, mating can get difficult. The quickest way to mate two parts with complex surfaces is still using reference geometry (planes, axis). Using reference geometry also makes it easier for your processor to calculate, making animations smoother.
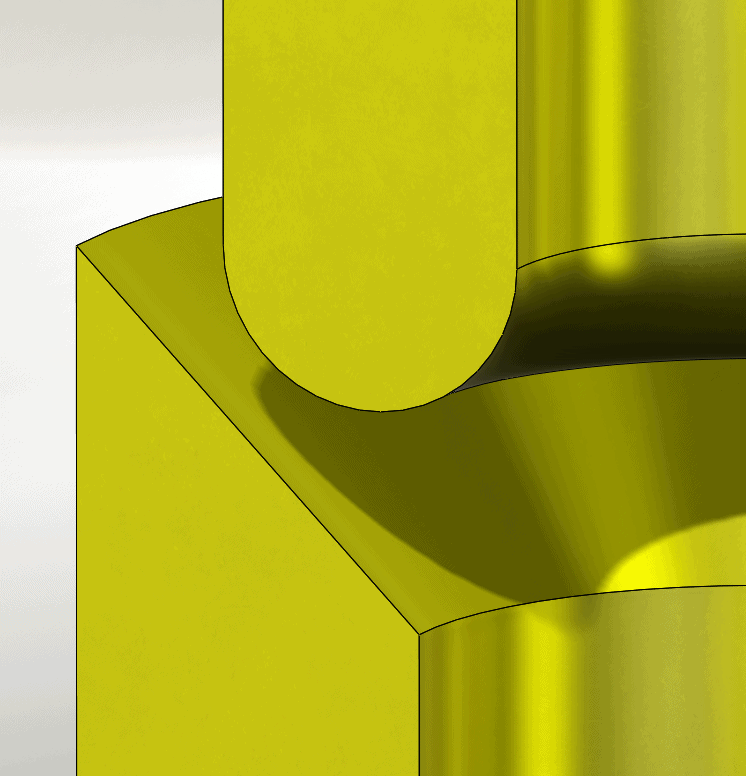
There are those times where reference geometry will fail you because the contact point is not straight forward. Here is one of those times displayed in the picture:

What we are looking to do in this situation is to mate up the two parts until they come into contact with each other. Logically thinking, we can use a sketch point and mate it up with a surface. The not so straight forward issue is "where do the two parts make contact?". To get that exact point, one must edit one of the parts in-context of the assembly. It does matter which part you use because all you are looking to do is put a point one of the parts.
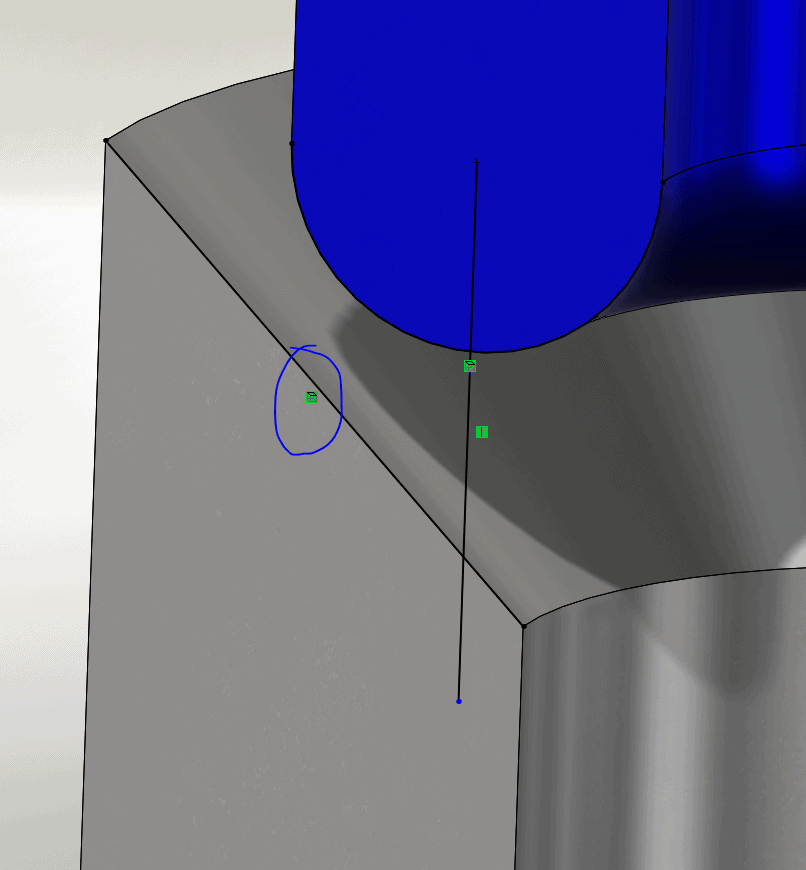
Once the sketch is inserted you can use "Intersection Curve" to project the edges of the bottom part. Please keep in mind you do not want external references for the simple act of mating. So delete the converted edge constraint.

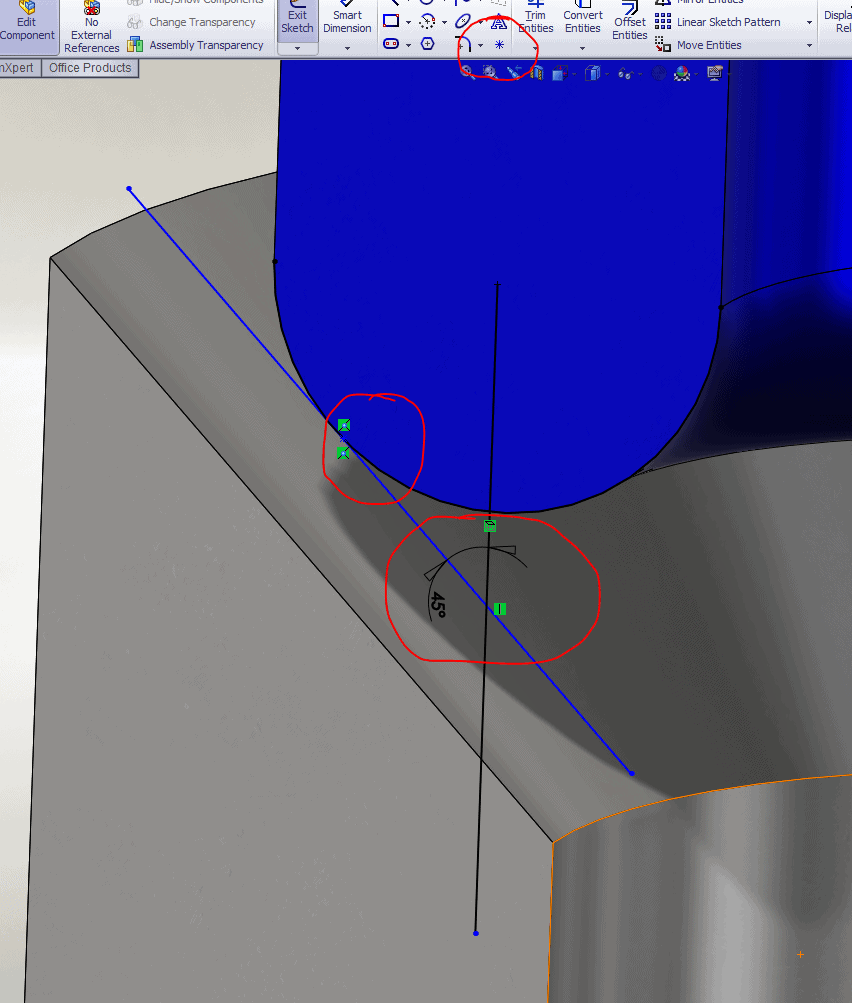
Once you delete the constraint do not move the line. Drop a dimension to preserve the angle that line is created to, by putting a vertical line in the sketch from the center of the arc. Then use a point entity and make that coincident to both arc and line. The location of the point is where the top part will make contact with the bottom. You can then mate the sketch point to the conical face of the bottom part.

Ketul

 Blog
Blog