Multiple Mate Mode
When putting together assemblies, many times you will have a bunch of parts that are all mated the same to one part. For example, you might have a bunch of parts that are concentric to the same shaft, or a bunch of parts that are coincident to the same surface. Instead of adding mate, after mate, after mate, try Multiple Mate Mode. This is found in the Mate Property Manager and you access it by selecting the paperclip with the lightning bolt on it.
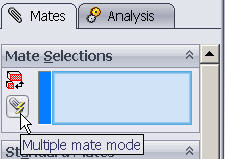
In Multiple Mate Mode, the first thing you select is the common reference – the face that the other parts are mated to. Then select faces from the parts that mate to the common reference.
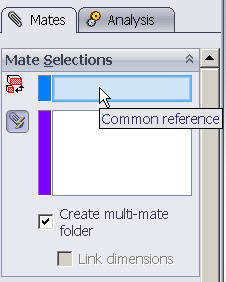
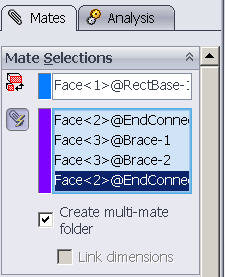
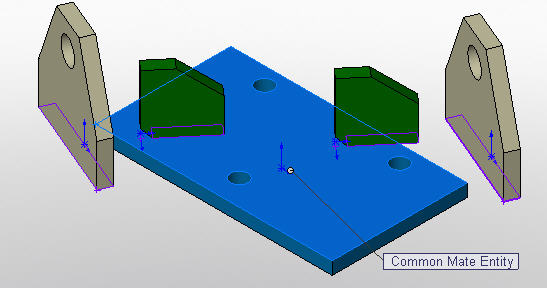
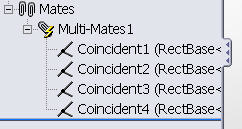
Change the mate type if the default selection is not what you want. If you chose to “Create Multi-mate folder”, then the mates will be grouped in a folder in the Mate list. From here, you can change the mate type, common reference, or distance for all mates in one operation. Otherwise, SOLIDWORKS will add individual mates for each component as if you were to create them all yourself.
This is not just limited to coincident and concentric mates either. Try using it for distance and angle mates and adjust the values individually for each part.
Design Faster!
Leslie Lougheed

 Blog
Blog